How to Craft Your Own Midjourney Style
Intro to the Midjourney Style Tuner and tips for making the most of it.
In my last 10X AI post, I mentioned Midjourney’s brand-new toy: the Style Tuner.
The Style Tuner lets anyone fine-tune their own unique aesthetic and ditch the generic “Midjourney look.”
Today, I want to show you exactly how it works and share a bunch of tips that help bend the Style Tuner to your will.
Strap in, let’s roll!
How to use the Style Tuner
The process goes something like this:
The tuner generates a grid of alternative looks for a given prompt
You pick your favorites from the grid
Midjourney blends them into a new aesthetic and gives you a unique code you can apply to future prompts.
Step #1: Generate the style grid
Let’s say I want to tweak the look of “blacklight”—one of my favorite Midjourney prompts.
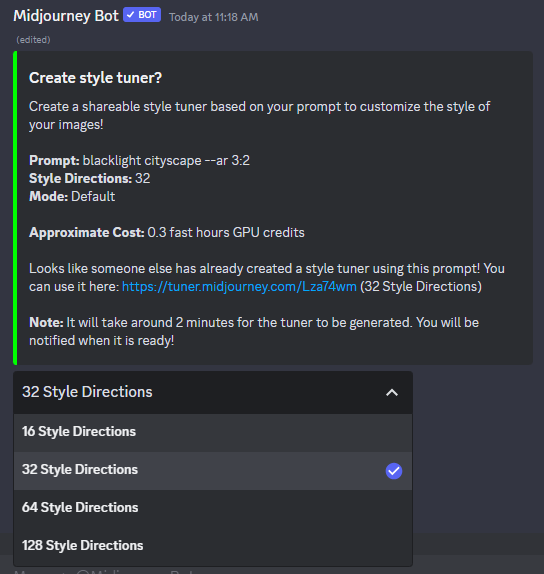
I invoke the Style Tuner through the new /tune command and give it my prompt:
I use “cityscape” in the above example, but you can pick any subject or scene. Having a specific subject simply gives you a good point of comparison for the next step.
By default, the Style Tuner will generate 32 alternative aesthetic directions, but you can modify that number:
Note: Creating a new Style Tuner uses up some of your fast hours.
Click “Submit,” and your tuner will be ready after a short wait:
It’s time for the fun part: tuning your style!
Step #2: Pick the styles you like
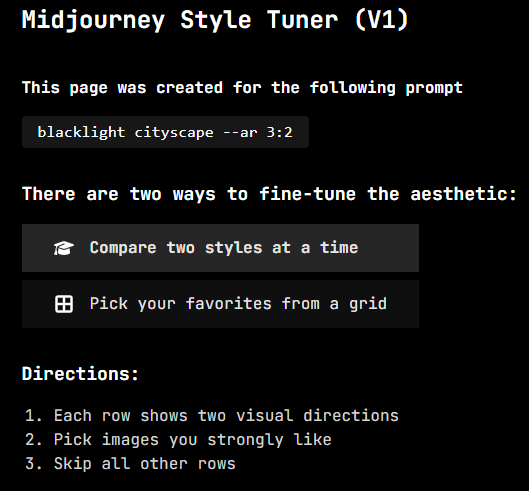
Here’s how the Style Tuner looks when ready:
There are two ways to select your favorites:
Pick one style out of a two-style combo. Repeat 32 times.
See the entire grid of 32 images and click all your favorites.
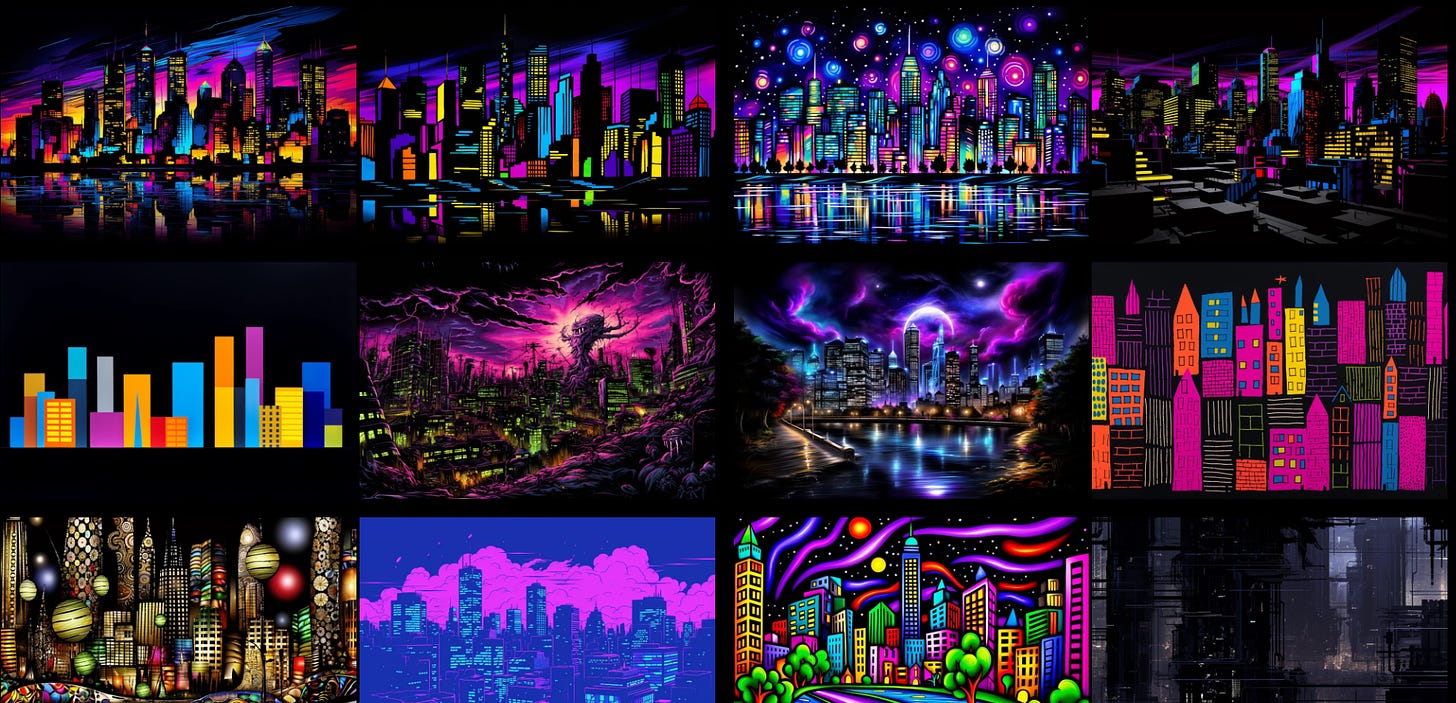
The styles vary quite a bit, so you can really zero in on what you like:
It’s perfectly fine to select only a few (or even just one) images during this step.
Step #3: Get your unique style code
Once you’ve picked your favorites, you’ll get a unique style code:
This code blends all of your chosen aesthetics into a new, combined look.
To apply the new style, you simply use the --style parameter in your prompt, followed by the unique style code:
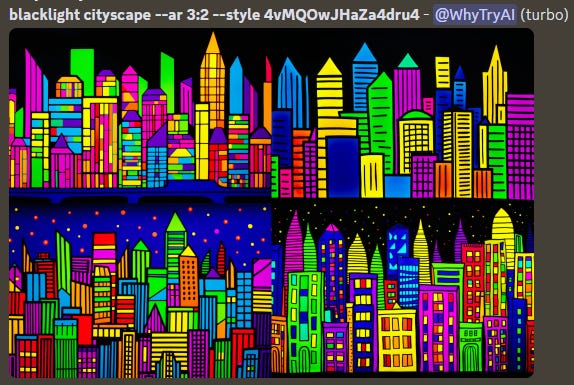
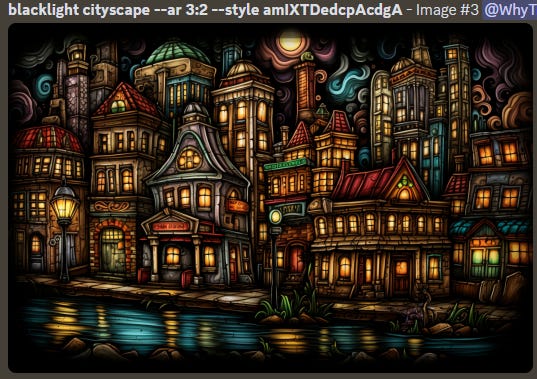
To see just how much of an impact this can make, here’s a comparison of the default Midjourney “blacklight” look with two different tuned styles:
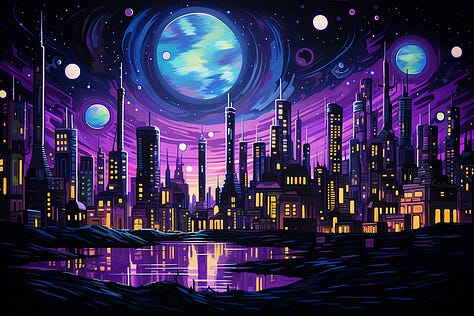
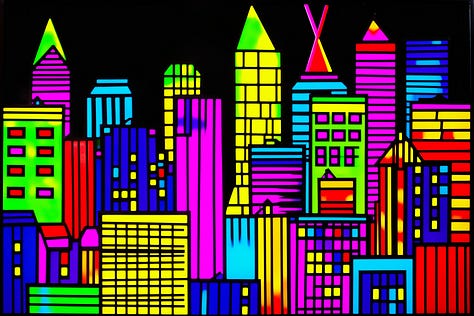
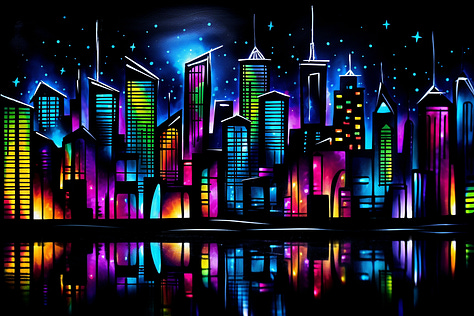
Here’s the official Midjourney FAQ, but the above should be plenty to go on.
Style Tuner tips & tricks
Now that you know the basics, let’s look at some cool things you can do with your tuned styles.
1. Share styles and tuners
You can share your style codes with anyone to let them recreate the same look.
Here are codes for the two styles I showcase above:
Style 1: 4vMQOwJHaZa4dru4
Style 2: q5kADJuYVeYJm
But it gets better.
You can share the Style Tuner itself, letting people create their own looks.
Here’s my “blacklight” tuner: https://tuner.midjourney.com/Lza74wm
Enjoy!
Note: While creating a tuner consumes fast hours, reusing it is completely free.
2. Mix multiple styles
You can blend styles by joining them with the “-” sign in your prompt, like so:
Here’s what that does:
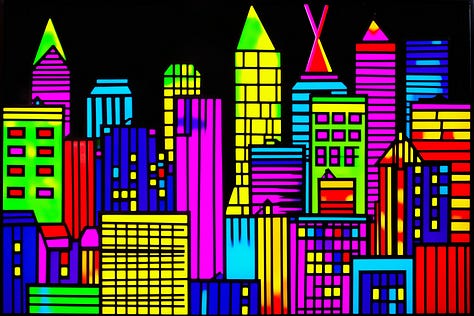
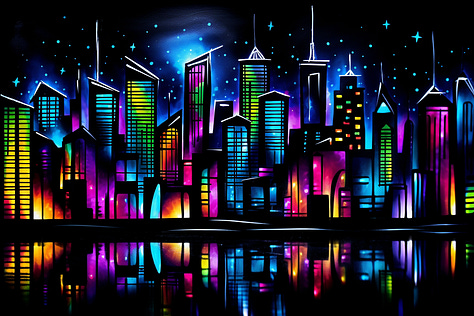
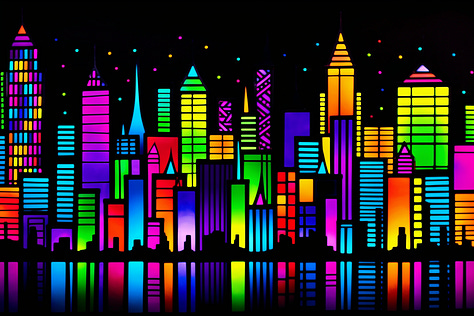
Note how Style 3 borrows elements from each of the others:
Colorful flat buildings from Style 1
Water reflections and stars from Style 2
Pro tip: You can combine more than two styles in a single string. Just remember to insert a “-” between them.
3. Adjust the “strength” of your style
You can use --stylize to control how strongly your style influences the image. (The --stylize parameter ranges from 20 to 1000 for custom styles.)
Here’s what that does:
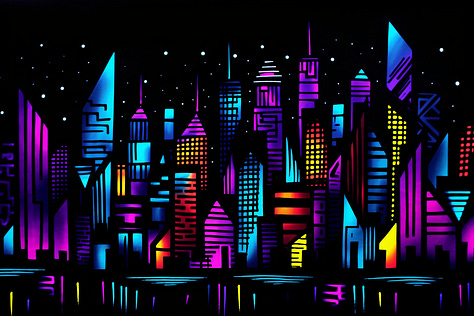
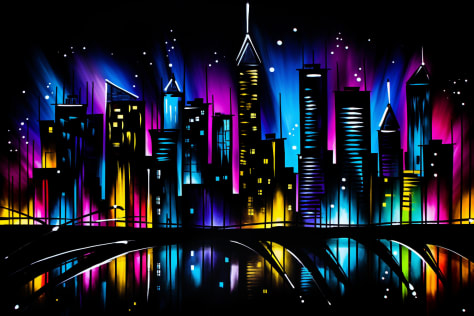
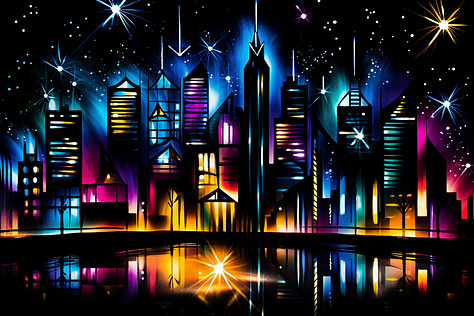
At the lowest level, we can see hints of our custom style: a few stars in the sky and subtle water reflections. At the highest level, both of these elements are a lot more pronounced.
Play around with the --stylize value to get your desired look.
4. Name and save your style
Let’s be honest: “4vMQOwJHaZa4dru4” doesn’t exactly roll off the tongue.
It’s hard to keep track of your custom styles when they’re nothing but cryptic strings of symbols.
That’s where the /prefer option command comes in!
You can use it to give your favorite styles a memorable name.
Let’s use /prefer option set to name our style with flat, colorful buildings “rainbow”:
Success:
Now, whenever I want to invoke that style, I can simply use “--rainbow” instead of the long style code:
Midjourney will know exactly what to do:
Easy!
5. Apply your styles to any prompt
Here’s the cool thing: Even though we trained our style using “blacklight cityscape,” we can apply it to other subjects with a comparable effect.
Here’s what a “blacklight panda portrait” might look like using our styles:
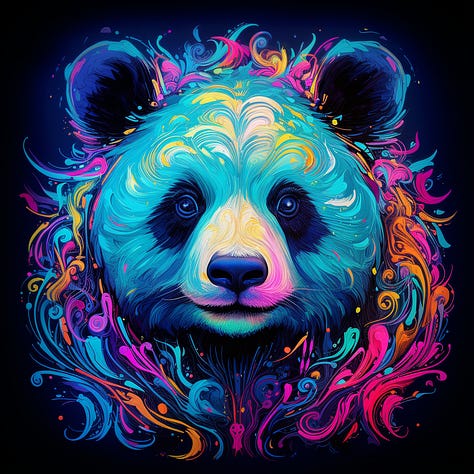
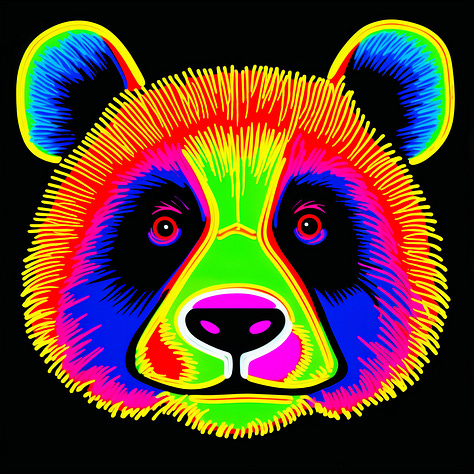
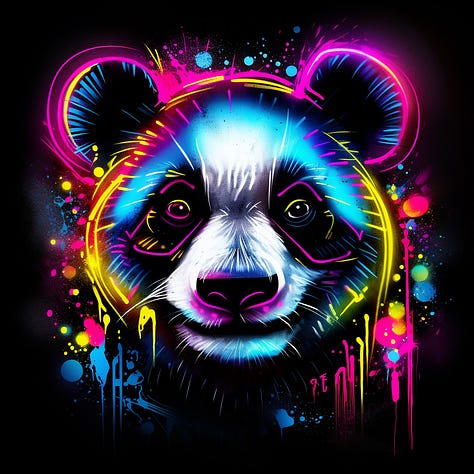
You can see hints of Style 1 (flat vibrant colors) and Style 2 (splashy stars) in our images, even with a different subject.
But it goes beyond that. You can even drop the “blacklight” modifier altogether and apply the styles to any prompt imaginable.
Here’s a “photo of a happy family” with our styles applied:
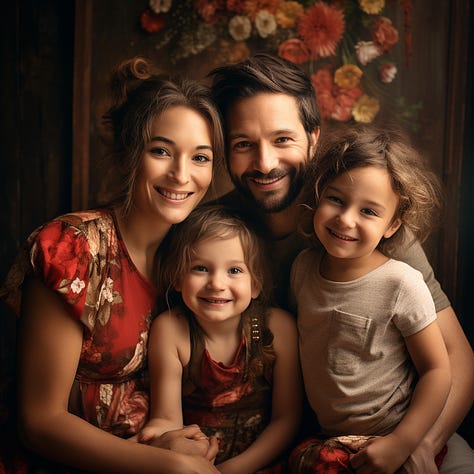
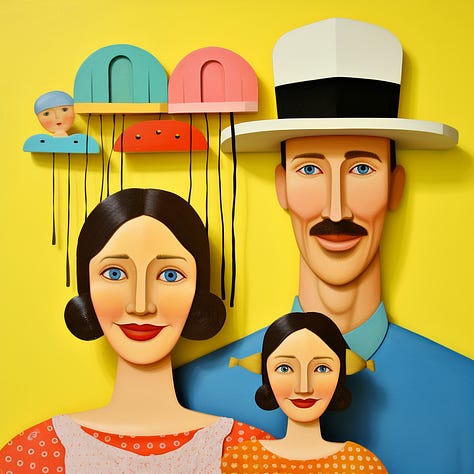
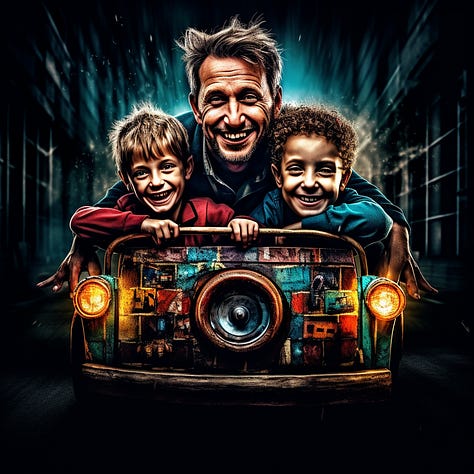
In this case, our blacklight-trained styles definitely pull the image away from the “photo” direction we’re going for.
But it can still be a fun way to change up the vanilla Midjourney look.
Speaking of which…
6. Roll the dice with a random style
If you’re feeling adventurous, you can drop the whole “tuning” part altogether.
Simply use --style random to have Midjourney spin the wheel and spit out an arbitrary style string:
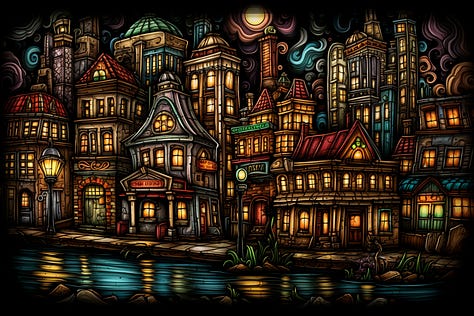
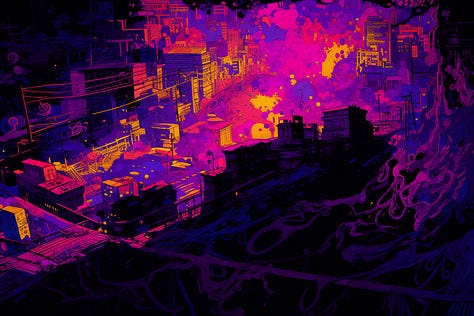
Here are three wildly different looks I got with this “Surprise me!” approach:
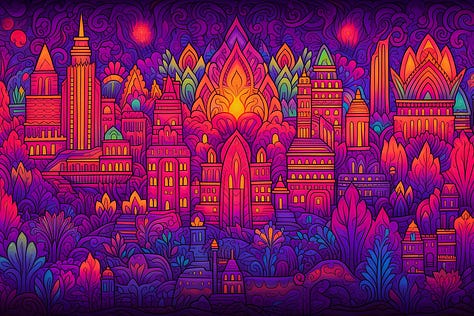
After generating a random style this way, Midjourney provides you with its code, so you can recreate the style in the future:
The Style Tuner is perhaps the most powerful and fun Midjourney feature to date.
No more complaining about the default aesthetic.
We can now take matters into our own hands and craft whatever look we want.
Give it a try!
Over to you…
Have you had the chance to play with the Style Tuner? Did you discover any styles you’re especially happy with? Have you come across awesome styles from other users?
I’d love to see what you came up with, so feel free to share your style codes and images.
You can send me an email at whytryai@substack.com or leave a comment.






I do a LOT of work using gen AI, blending it with traditional filmmaking techniques to create science comedy films. I am currently working on an AI-driven feature-length film and am exploring ways to keep styles consistent over many scenes.
This worked really well for me, and it could certainly play a role at establishing artistic consistency over many different scenes. Plus - this was fun to do. :D
Thanks a lot! This feature is kinda complicated and these guides are much easier to understand than the MJ FAQs. Here’s one I just made --style b2gf8BiBtpydsNH2 with the prompt: popsurealism.