Midjourney Finally Does Consistent Characters. Let's Play!
Intro to the new --cref parameter and how to use it.
Happy Thursday, creature caricaturists,
The long-awaited “consistent characters” feature has come to Midjourney.
Here’s why that’s a big deal: As good as text-to-image models have gotten, they often struggle to reliably reproduce the same character in different settings.
There are many situations where keeping a character consistent over multiple images might be important. For instance:
Photoshoots: You want the same person in the same outfit standing in different poses in different locations.
Visual storytelling: Comics and picture books need repeatable characters.
Virtual try-ons: You might want the same model showcasing different outfits.
To be fair, it’s long been possible to train a model like Stable Diffusion on a specific character or person via Dreambooth or similar tools. But this often required a lot of time, dozens of reference images, and a seriously powerful computer.
Alternatively, you could get semi-consistent characters in Midjourney by using image prompts. However, the original composition of the reference image would invariably bleed into the result, so it was tricky to go for different styles, outfits, scenes, etc.
In contrast, the new Midjourney parameter called --cref (“character reference”) lets you recreate a character from just a single image.
Let’s see how it works.
💡Want to become a Midjourney power user?
Start with the basics and go beyond in my 80-minute workshop:
Workshop: Midjourney Masterclass
·“This is one of the only webinars where I've actually been glued to my screen for the entire time, not distracted by passing whimsies... it was just so practical for how I use Midjourney (or should be using it, anyway!), and I learned a whack in a short period of time. Thank you so much for putting this on!”
How to use the --cref parameter
In short, --cref works just like --sref which lets you copy the style of an image.
The only difference is that you’re reproducing a character instead of a style.
Wild, I know.
Here’s the step-by-step walkthrough:
Step 1: Get your reference image
To start with, you’ll need an image of the character you want to replicate.
You can create an image in Midjourney or use an existing one from elsewhere.
Let’s look at each option:
Option one: Generate an image with Midjourney (recommended)
According to Midjourney, --cref works best with characters made by the model itself.
So if you’re starting from scratch, choose this option.
If you are not after a particular outfit, I recommend making an image with the face in focus. This gives Midjourney more details to go on.
I’m going with the following prompt:
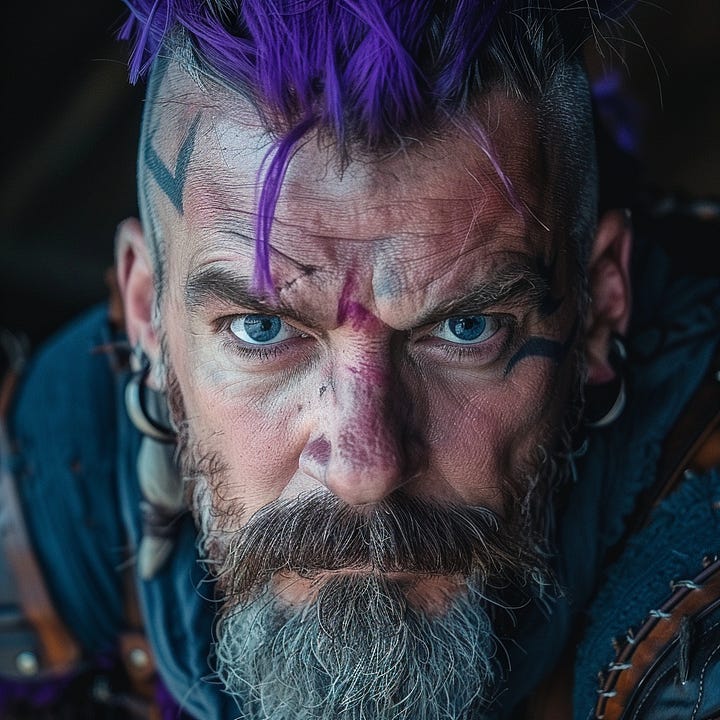
close-up photo of a Viking warrior with purple hair and a gray mustache staring into the camera
I like the bottom-right image best because it’s well-lit and the face is unobscured. Let’s upscale it:
This separates the image from the grid and lets us use it on its own:
Now all we need is the image URL. Click on the image and then on “Open in Browser”:
This opens the image in a browser window and gives you its URL:
Save this URL, as you’ll need it for Step 3!
Option two: Use an external image (less effective)
Even though --cref is fine-tuned for Midjourney images, you can certainly try using an existing third-party image.
You’ll need to upload it to something like imgur.com to get a publicly accessible URL.
You can also drop it directly into Midjourney, as I do here with my beautiful face:
Now that you have the URL of your image, it’s time for the next step.
Step 2: Figure out your scene
Now you’ll need to decide what you want your character to be doing and come up with a prompt.
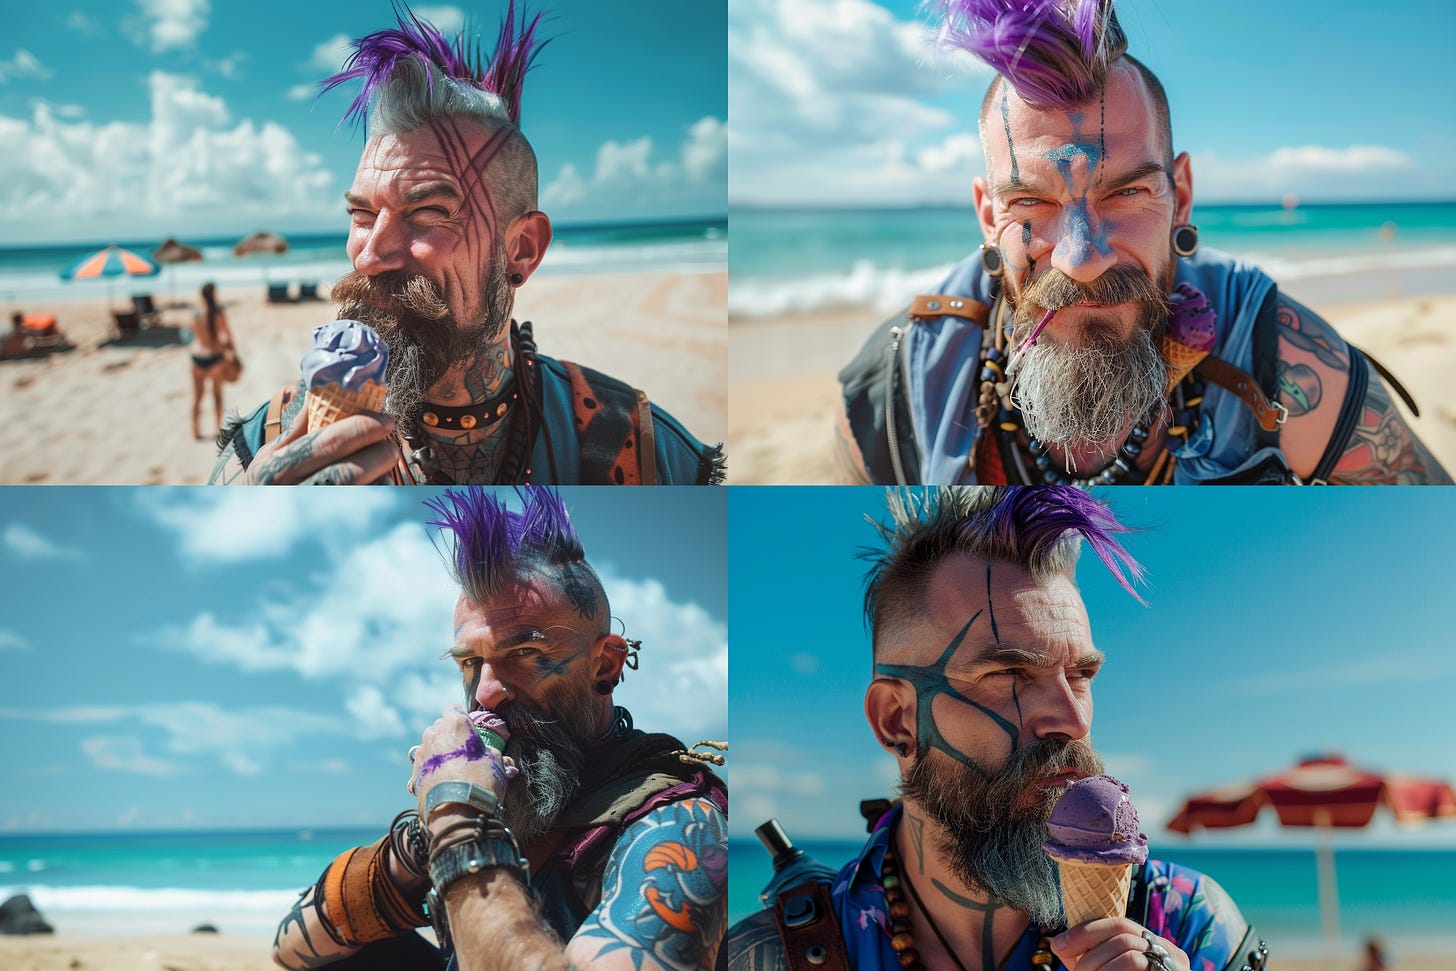
For my test, I want my Viking to enjoy an ice cream on the beach, so I’m going with:
man in a Hawaiian floral shirt eating an ice cream on the beach --ar 3:21
Now it’s time to throw our character into the mix.
Step 3: Add your character using --cref
This part is straightforward.
All you do is append --cref to the end of your prompt, followed by a space and then the URL of your chosen image. Like so:
man in a Hawaiian floral shirt eating an ice cream on the beach --ar 3:2 --cref https://s.mj.run/GaAUS2xLBVQ
Let’s see what happens:
Delightful.
Look at our Viking having the time of his life!
But wait…where’s the Hawaiian shirt we asked for?
That, friends, is where another parameter comes into play: --cw (“character weight”)
Step 4: Use --cw to adjust the character influence
The --cw parameter lets you set a number between “0” and “100,” which tells Midjourney how much of the character to take into account:
0 = Midjourney will only replicate the character’s facial features.
100 = Midjourney will also take cues from clothes, hair, accessories, etc. - everything that’s visible about our character in the original image.
If you don’t add the --cw parameter, it defaults to “100” (full character).
That’s what happened above. Our original Viking image included hints of a necklace and a blue T-shirt, so that’s what Midjourney replicated in the scene, ignoring our request for a floral shirt.
Now let’s set --cw to “0” (just the face)…
man in a Hawaiian floral shirt eating an ice cream on the beach --ar 3:2 --cref https://s.mj.run/GaAUS2xLBVQ --cw 0
…and see what happens:
Nice!
He’s now wearing that Hawaiian shirt, as requested.
Unfortunately, he seems to have also lost his purple hair and face tattoos.
Let’s test if --cw 50 gives us the best of both worlds:
man in a Hawaiian floral shirt eating an ice cream on the beach --ar 3:2 --cref https://s.mj.run/GaAUS2xLBVQ --cw 50
Bingo!
We’ve managed to get both the floral shirt and his purple hair and face tats.
So if you’re not getting the desired results, try playing with the --cw value.
That’s the basics of using --cref in combination with --cw to reproduce consistent characters in new scenes, poses, outfits, and more.
Current limitations of the --cref parameter
Because --cref is a brand-new feature, there are still plenty of kinks to iron out.
Here are some of the limitations:
1. Not precise with minor details
As you’ve probably noticed, our Viking’s tattoos don’t look the same in any of the images. Midjourney says that --cref isn’t optimized for things like freckles, tattoos, earrings, accessories, and other similar nuances.
2. Works best for human characters
You can try --cref with non-human characters, animals, or objects, but the results are less convincing.
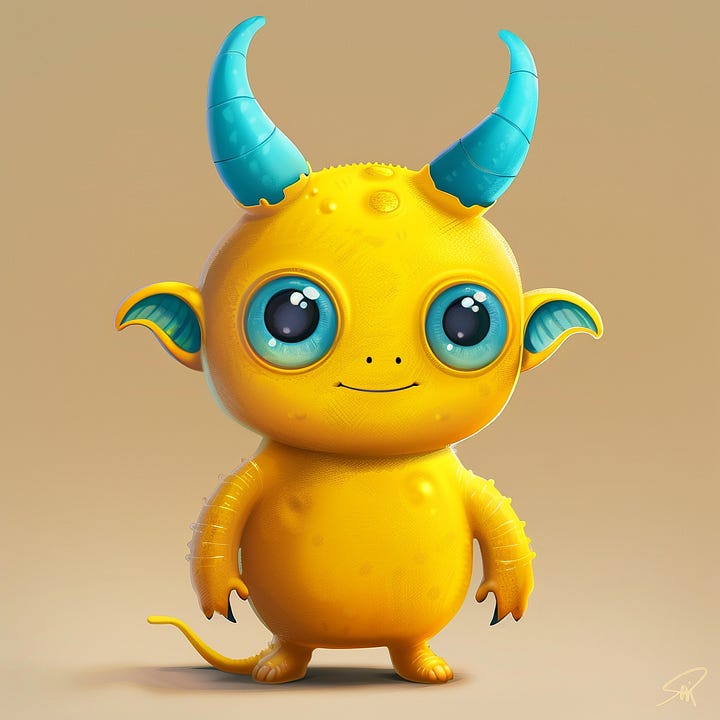
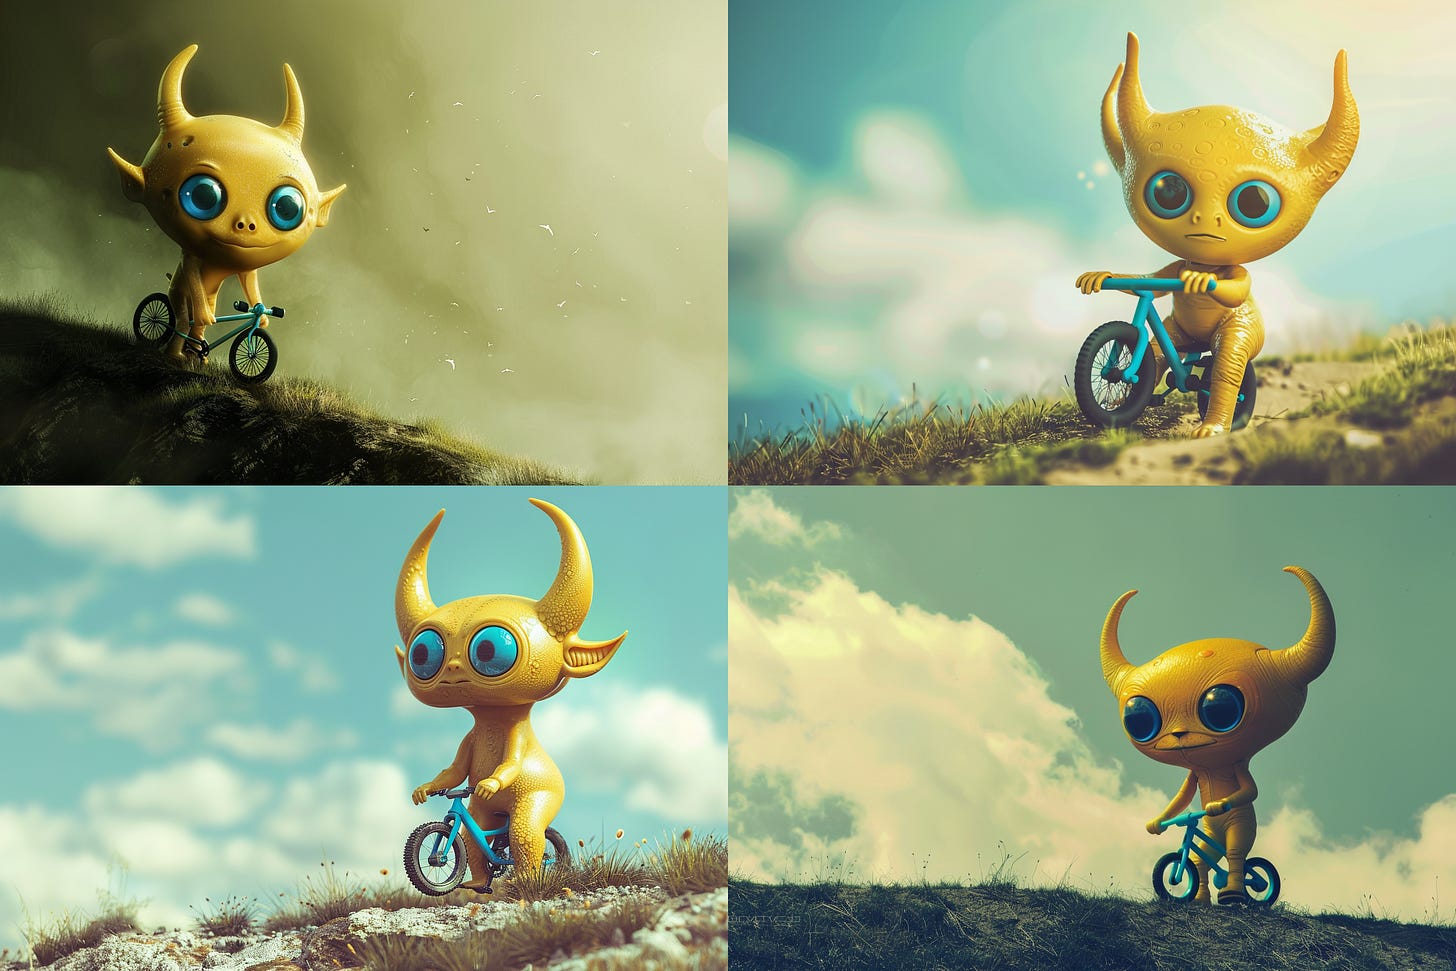
I tried taking this yellow alien with blue horns…
…and making him ride a bicycle:
As you can see, many inconsistencies creep in, along with the horns turning yellow.
I also asked for this silly-looking red phone with yellow buttons…
...and then threw it on a sofa:
Apart from the red-and-yellow color scheme, these phones are obviously very different.
So we won’t be using --cref for precise product photoshoots just yet.
3. Doesn’t work for scenes with multiple characters
This is to be expected.
If we map a single character onto a scene with many of them, how is Midjourney supposed to figure out which one to change?
Turns out, it doesn’t even try to. It just makes every character the same.
I wanted our Viking to take his grandma out to lunch, so I asked for:
man having lunch in a cafe with his grandmother --ar 3:2 --cref https://s.mj.run/GaAUS2xLBVQ
You’ll never guess what happened next:
Yup, our Viking pulled an Agent Smith and simply replicated himself.
Bye, granny!
4. Not great with real photos
I already pointed out that using photos of real people is not the preferred option.
We’re about to see why.
Here’s what happened when I took my lovely mug…
…and requested Midjourney to put me in a fancy tuxedo:
Yeah, that’s…not…great.
But there’s a partial fix for this specific issue, which I’m about to show you.
Three fun things to try with --cref
Before I wrap up, I want to share some cool ways to experiment with the new feature.
1. Combine --cref with Picsi.Ai for better face swaps
Despite being less effective with photos, --cref is the perfect companion for the face-swapping Picsi.AI that I showcased last August:
That’s because --cref provides a more usable template for Picsi.Ai by creating a character that looks vaguely like you.
Let’s take one of my “James Bond” images from the failed grid above…
…then use the InsightFaceSwap bot2 to paste my face into it:
Better!
Sure, I look like Tom Hanks wearing an oversized suit at the end of Big, but hey, at least my face is recognizable.
2. Combine --cref with -sref
If you like a specific style in Midjourney, you can apply it to images using the --sref parameter, as I showed in an earlier post.
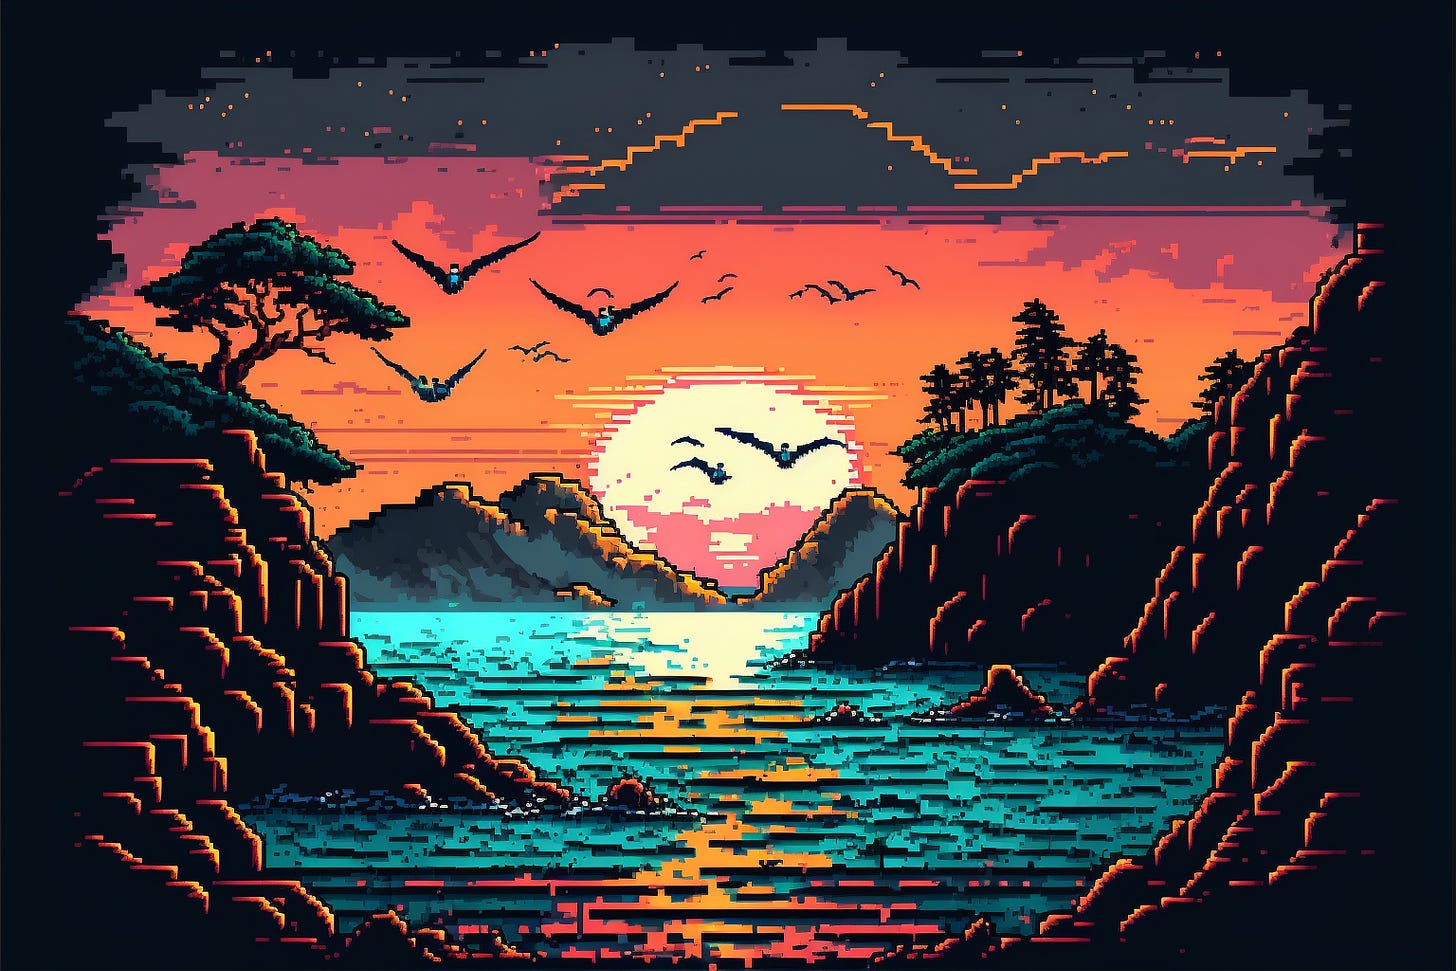
So if I want to take our Viking, put him in a futuristic city, and apply this 16-bit pixelated style from my earlier Midjourney V4 images…
…I can do so by using both --sref and --cref in the same prompt:
man walking through a futuristic city --ar 3:2 --sref https://s.mj.run/W8ez1aqt6Vk --cref https://s.mj.run/GaAUS2xLBVQ
And here’s how that might look:
Neat, right?
3. Blend characters together using multiple URLs
This is where things get a bit crazy.
You can also fuse more than one character in a single prompt by adding several image URLs after --cref.
So let’s end this post by mixing our yellow alien with our infamous Viking:
Here’s our prompt:
studio photo of a man sitting in an armchair --ar 4:5 --cref https://s.mj.run/GaAUS2xLBVQ https://s.mj.run/Xrvu1qbnRQE
And here’s the result:
On second thought, this was a terrible idea.
I am…so sorry.
Want to become a Midjourney power user? Start with the basics and go beyond in my 80-minute workshop.
Over to you…
Have you tried creating consistent characters in Midjourney yet? Do you have some experience doing this with other tools? How do they compare?
Leave a comment or shoot me an email at whytryai@substack.com.
You can also message me directly:
(I’m using --ar 3:2 to set the aspect ratio to 3:2.)
I explain the process in detail here: https://www.whytryai.com/p/how-to-swap-your-face-into-midjourney-images












That's fun!
Great job on these. I am still trying to get one of these tools to accurately generate images of hands with all five fingers, in a single close-up, just changing the nail polish color and skin tone. Any thoughts on the best tool for this?