Using Midjourney "Blend" for Fun and Profit. (But Mostly for Fun.)
Join me as I explore random use cases for the Midjourney /blend command.
Midjourney’s /blend feature has been around for a while. I showcased it briefly in my deep dive on Midjourney commands.
But if I’m honest, I rarely used it beyond making a few initial tests.
I do think there are a bunch of fun and semi-practical applications for Midjourney’s blend tool, which I’d like to check out today.
Let’s roll!
💡Want to become a Midjourney power user?
Start with the basics and go beyond in my 80-minute workshop:
Workshop: Midjourney Masterclass
·“This is one of the only webinars where I've actually been glued to my screen for the entire time, not distracted by passing whimsies... it was just so practical for how I use Midjourney (or should be using it, anyway!), and I learned a whack in a short period of time. Thank you so much for putting this on!”
What is /blend?
It’s a Midjourney command that lets you blend two or more images into a new one. If you give it the following two starting images…
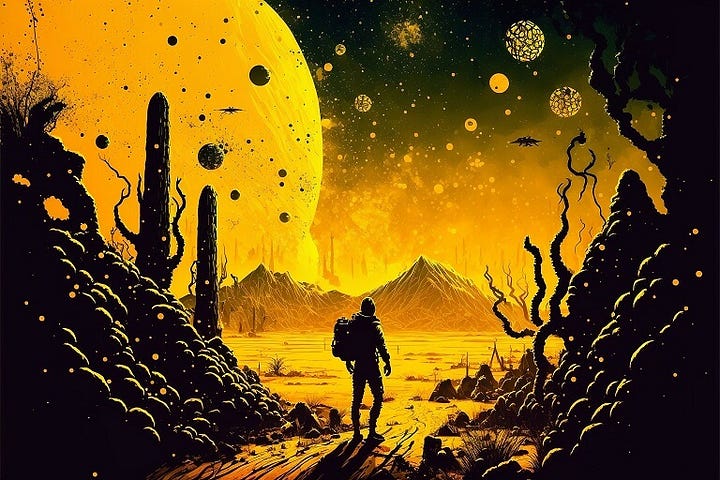
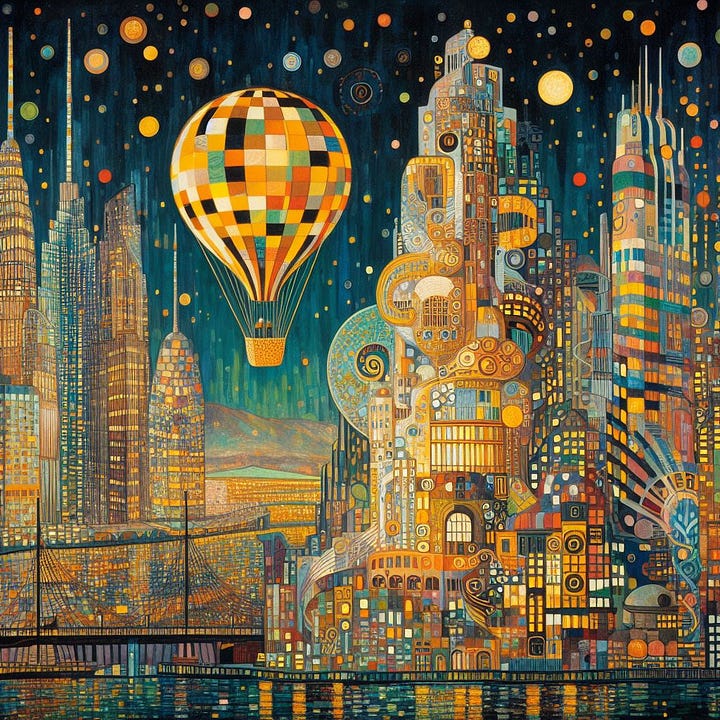
…it will fuse them into a single picture that combines their styles, compositions, subjects, colors, and other elements. Like so:
Pretty cool, right?
This also works with photos:
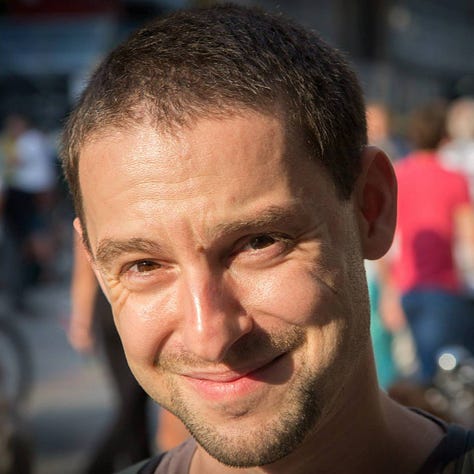
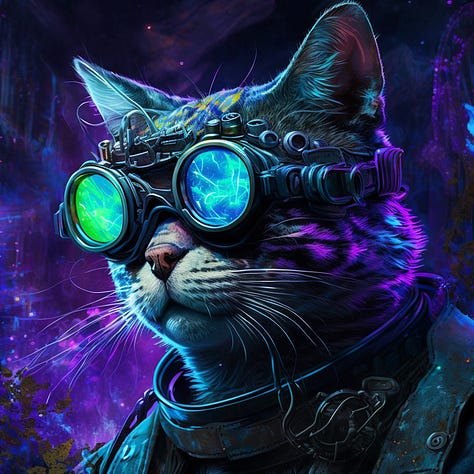
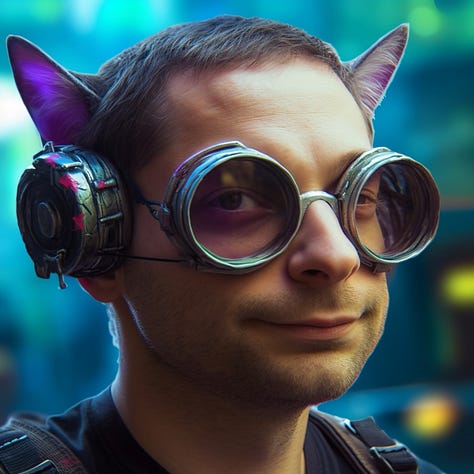
I’m so sorry.
This post might get cut off in some email clients. Click here to read it online.
How to use /blend?
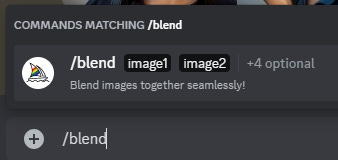
To get started, simply type /blend in the Discord chat field:
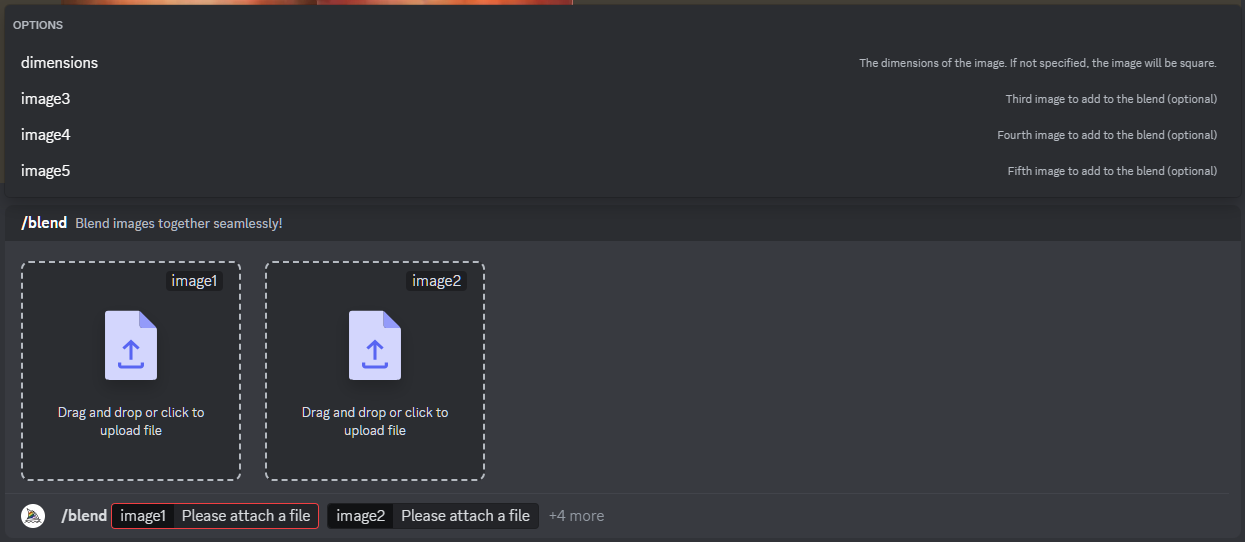
Now press “Enter.” This brings up a dialogue box:
Here, you can upload between two and five images you want to mix together.
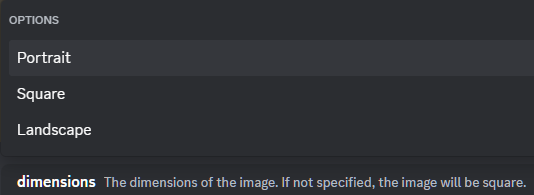
You can also specify the dimensions, but this is optional. Blended images will be square by default. If you’re aiming for a specific aspect ratio, you can ask for a square (1:1), portrait (2:3), or landscape (3:2) image.
In my Midjourney commands article, I blended images of all the Spice Girls…
…into a portrait of this Five-Spice Amalgam:
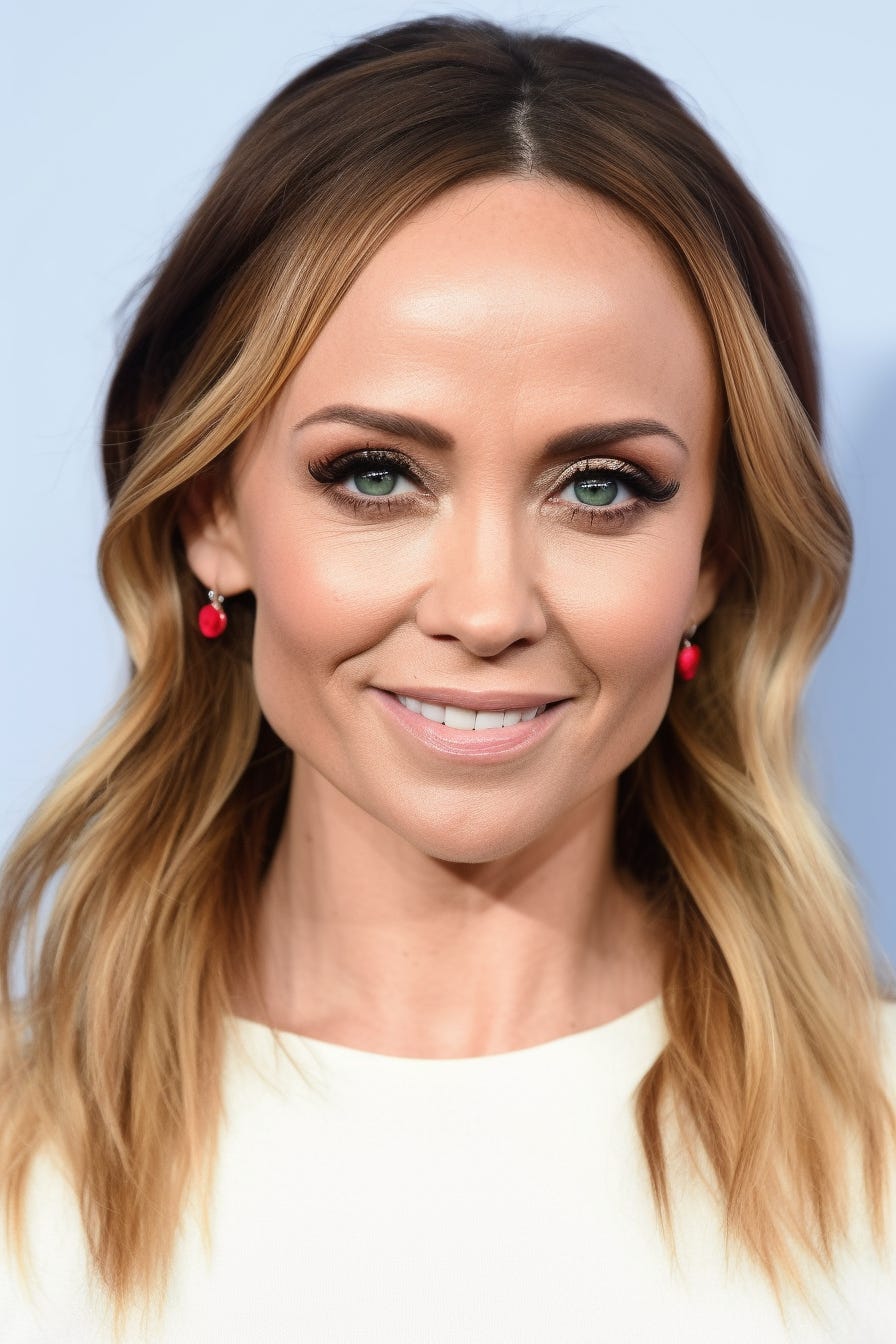
But what’s the Midjourney /blend actually good for?
Blend use cases
Let’s be honest: Blending images with Midjourney doesn’t have many practical applications. It’s too imprecise and unpredictable for most serious work.
But it’s great for inspiration and goofing around. Here’s what I mean…
1. Visualizing someone in a movie role
If you’re a casting director, you might want to picture a certain actor as one of your characters before contacting them.
Hopefully, you have a great imagination.
But if not, /blend can help.
Say you’re thinking of casting Brad Pitt in the role of Achilles for your epic movie about Troy. (I know, crazy thought, but let’s pretend.)
You could generate an image of Achilles in Midjourney, then blend it with Brad Pitt’s headshot:
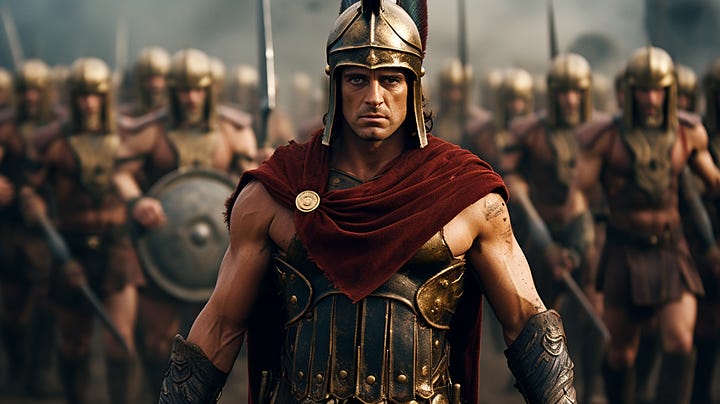

This might give you some idea of how well he fits the role:
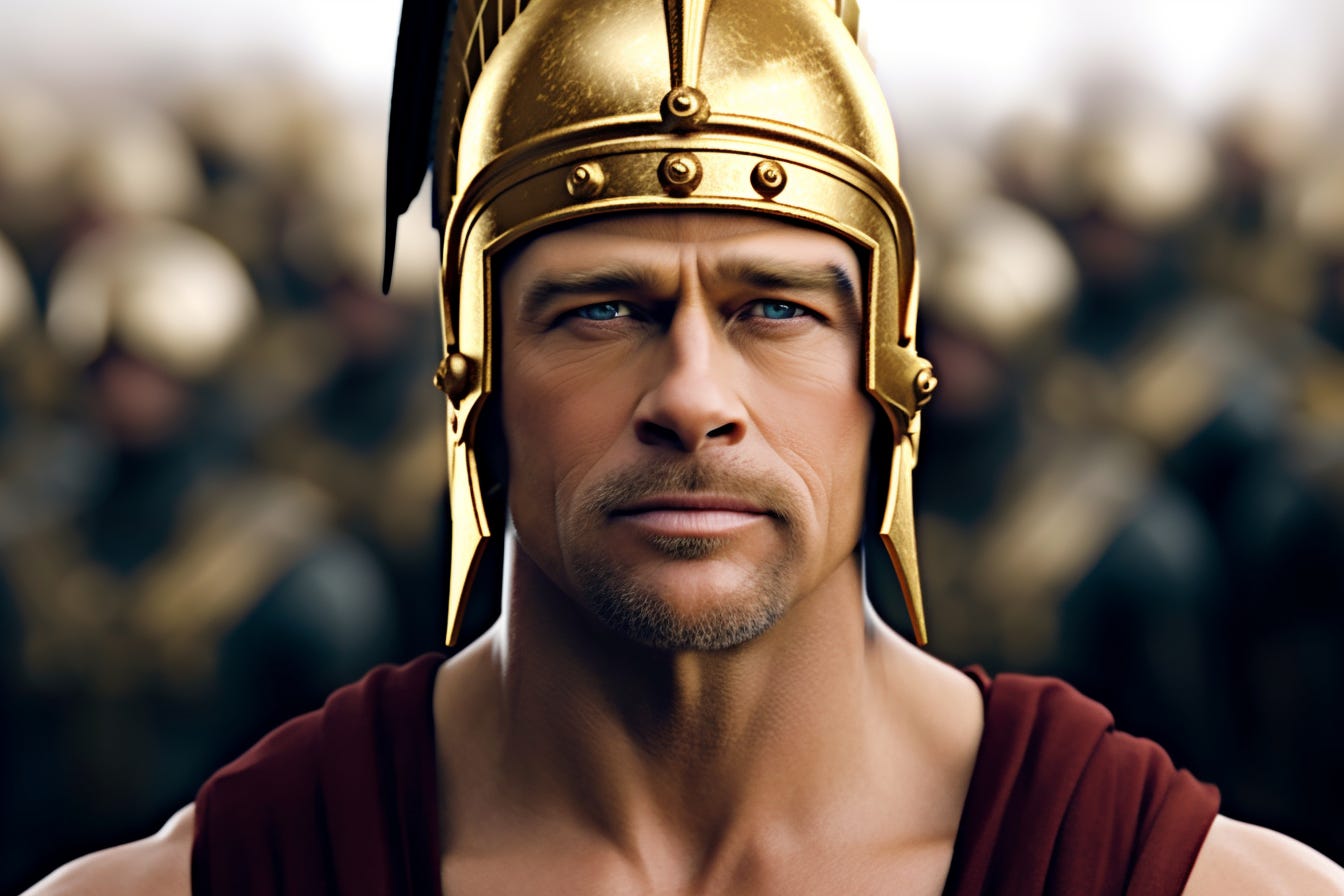
Granted, with someone as famous as Brad Pitt, you’re better off simply asking Midjourney for…
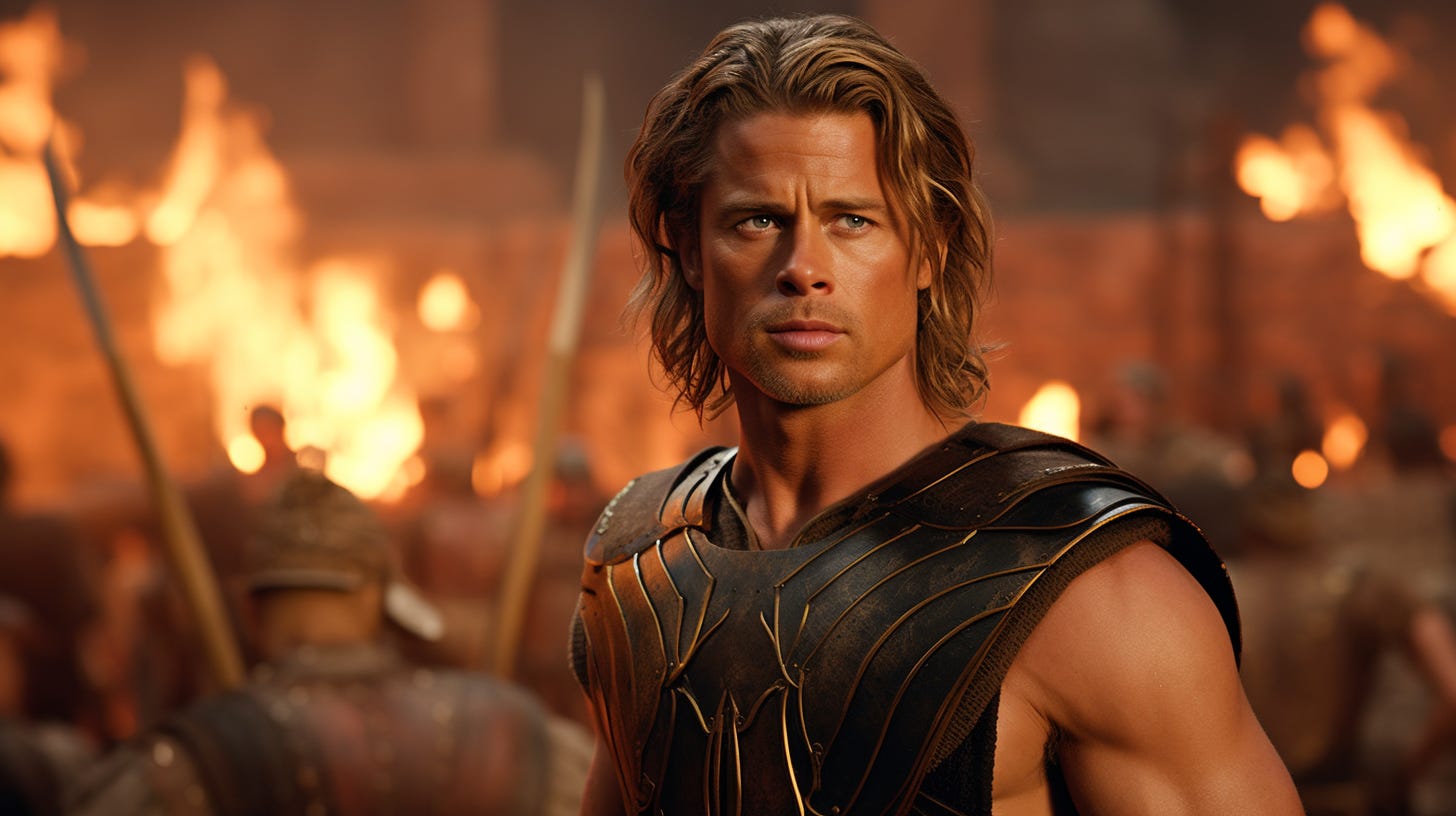
Brad Pitt as Achilles, cinematic movie still
…which gives you a way better result:
But for people not represented in Midjourney’s training data, the /blend command is a viable alternative.
2. Virtual try-ons
You can also use /blend to get an idea of how different clothing styles might work for you.
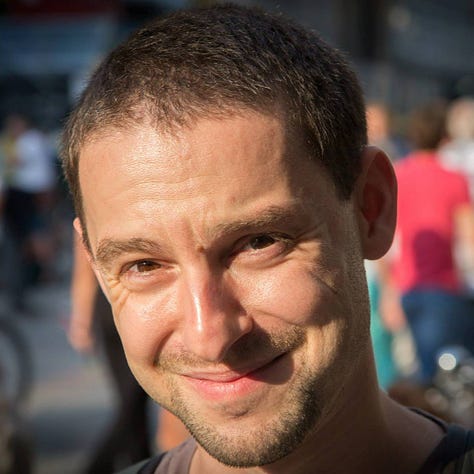
Maybe I’m considering buying a formal business suit, an ugly Christmas sweater, and a Hawaiian shirt, because I hate myself:
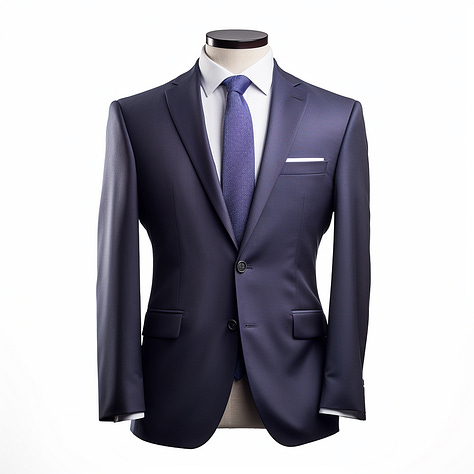
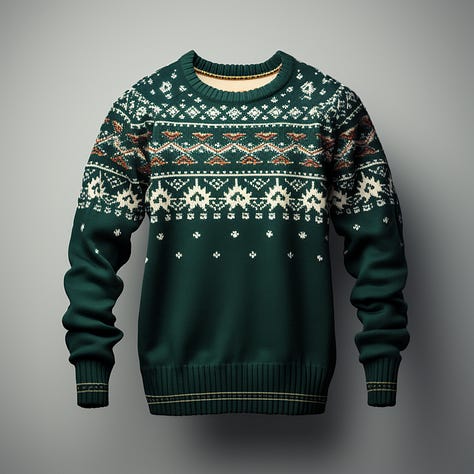
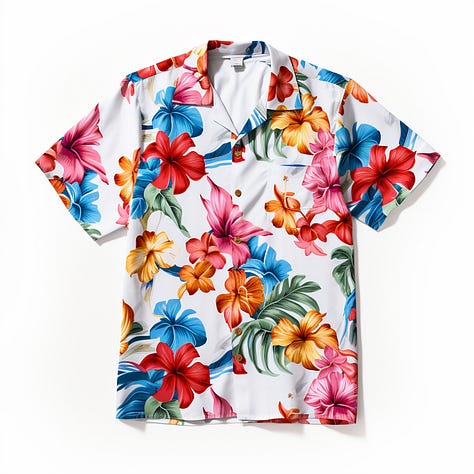
All I need to do is blend these with my mugshot above and voila:
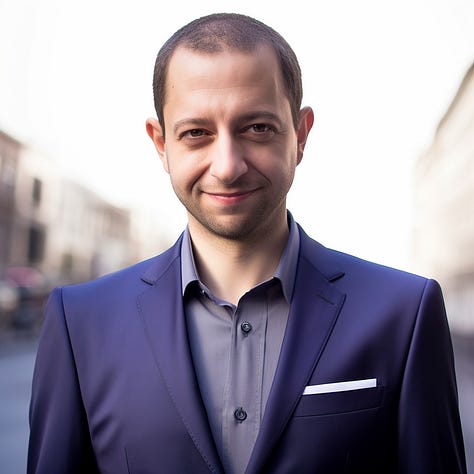
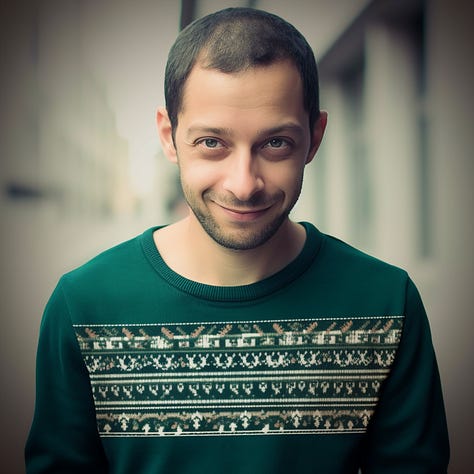
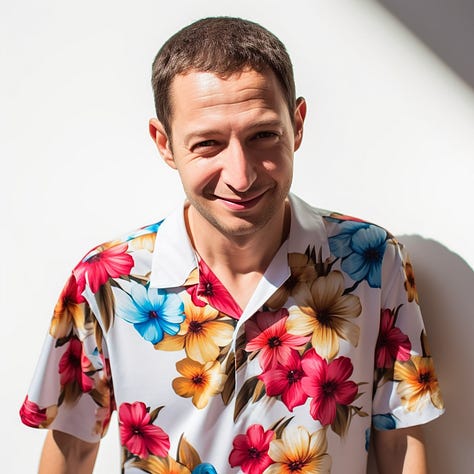
Does that look like me? Only very approximately.
Does it tell me enough to know that wearing clothes isn’t my thing? Emphatically!
3. Style transfer
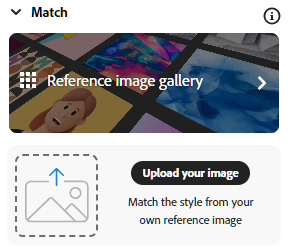
There are dedicated tools that let you map the style of a given image onto another one, like the Style Match feature in Adobe Firefly:
But in certain cases, the Midjourney /blend command can sort of do the trick:
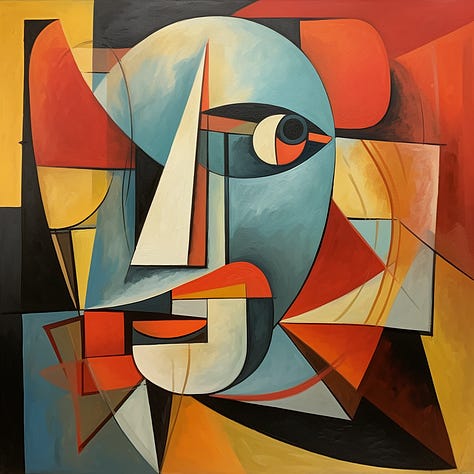
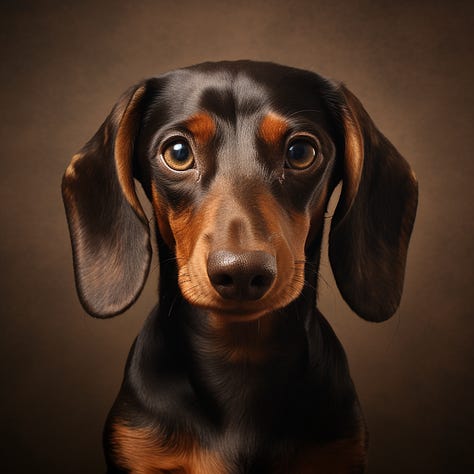
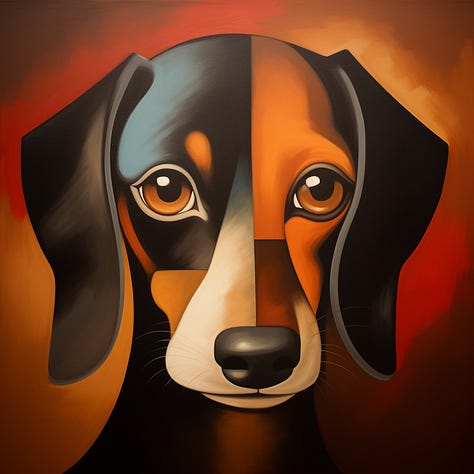
This is less of a direct style transfer and more of a style fusion, but there are ways to boost the impact of any input image, as I’ll show later.
4. Hybrid creations
Now we’re moving squarely into the “fun and games” territory.
Midjourney blend is perfect for creating ungodly animal chimeras…
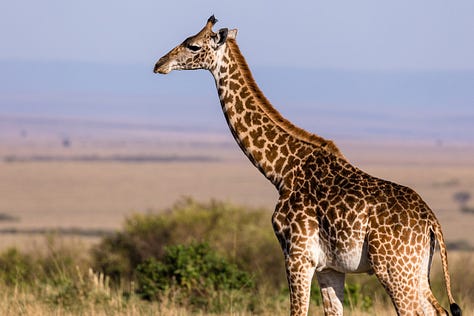
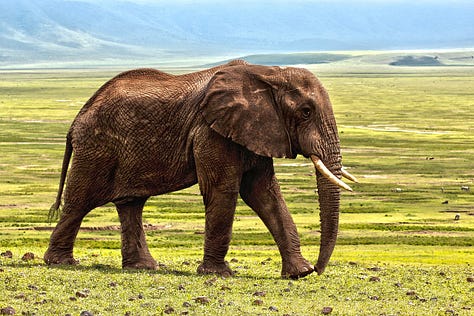
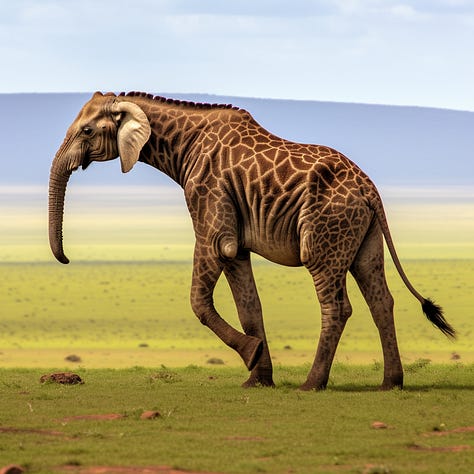
…”inventing” new “products”…
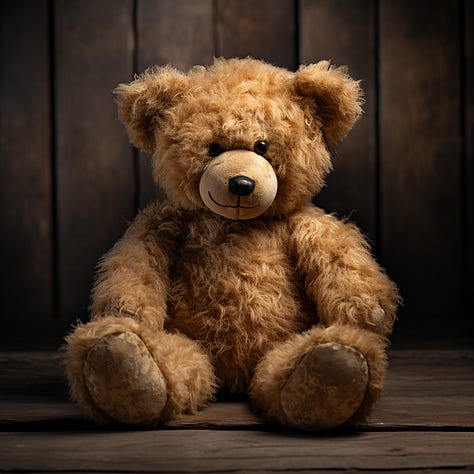
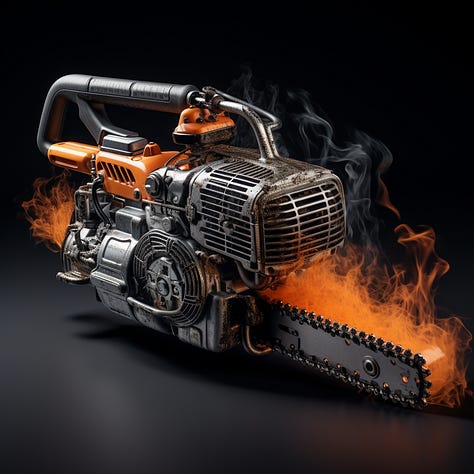
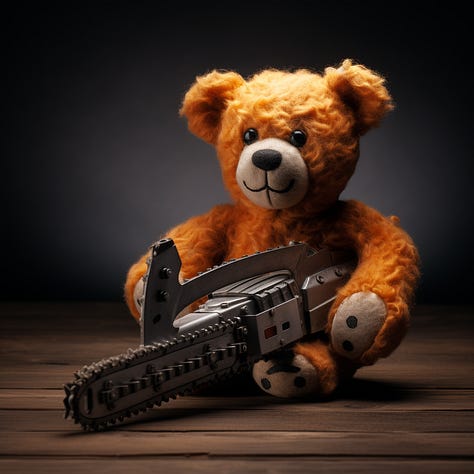
…or mixing those up:
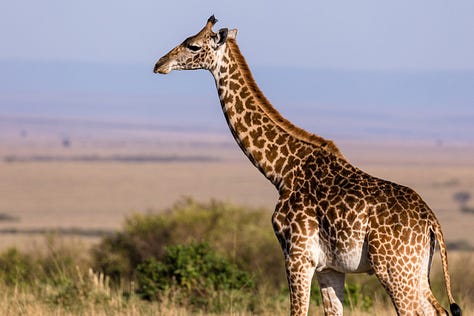
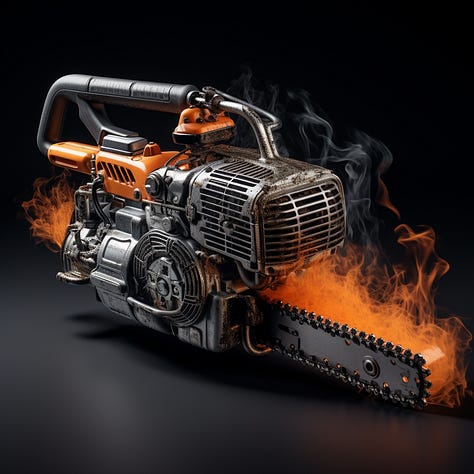
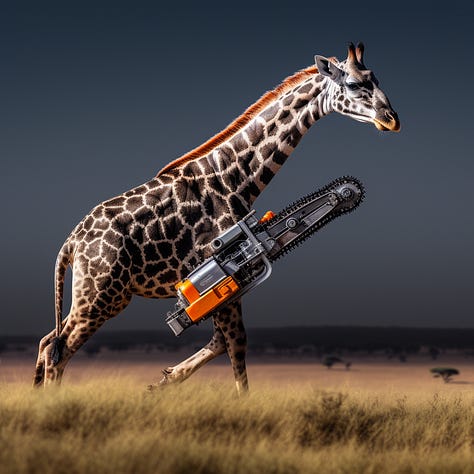
Please don’t try this at home.
5. Memes
What is life without memes?
Nothing but chainsaw-giraffes, that’s what.
Blend is great for inserting yourself or your friends into existing classic hits:
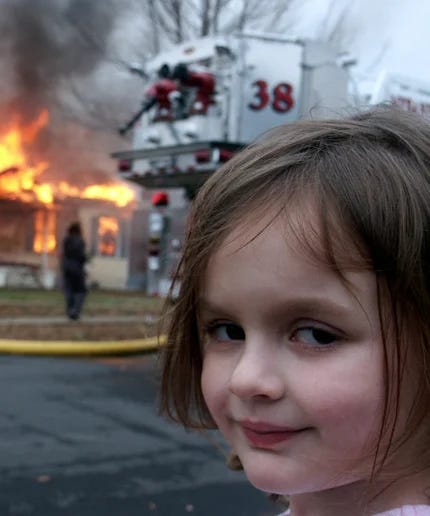
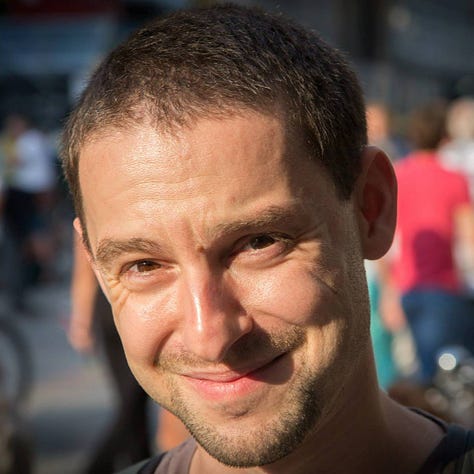
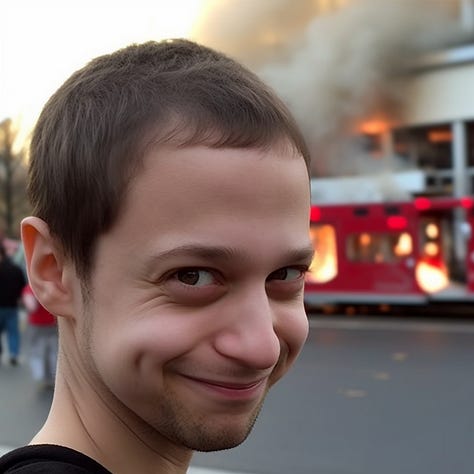
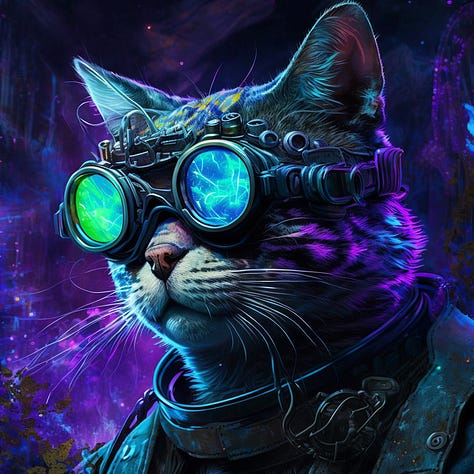
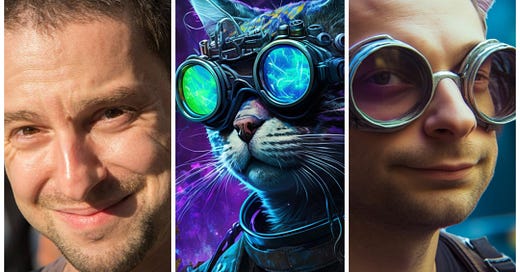
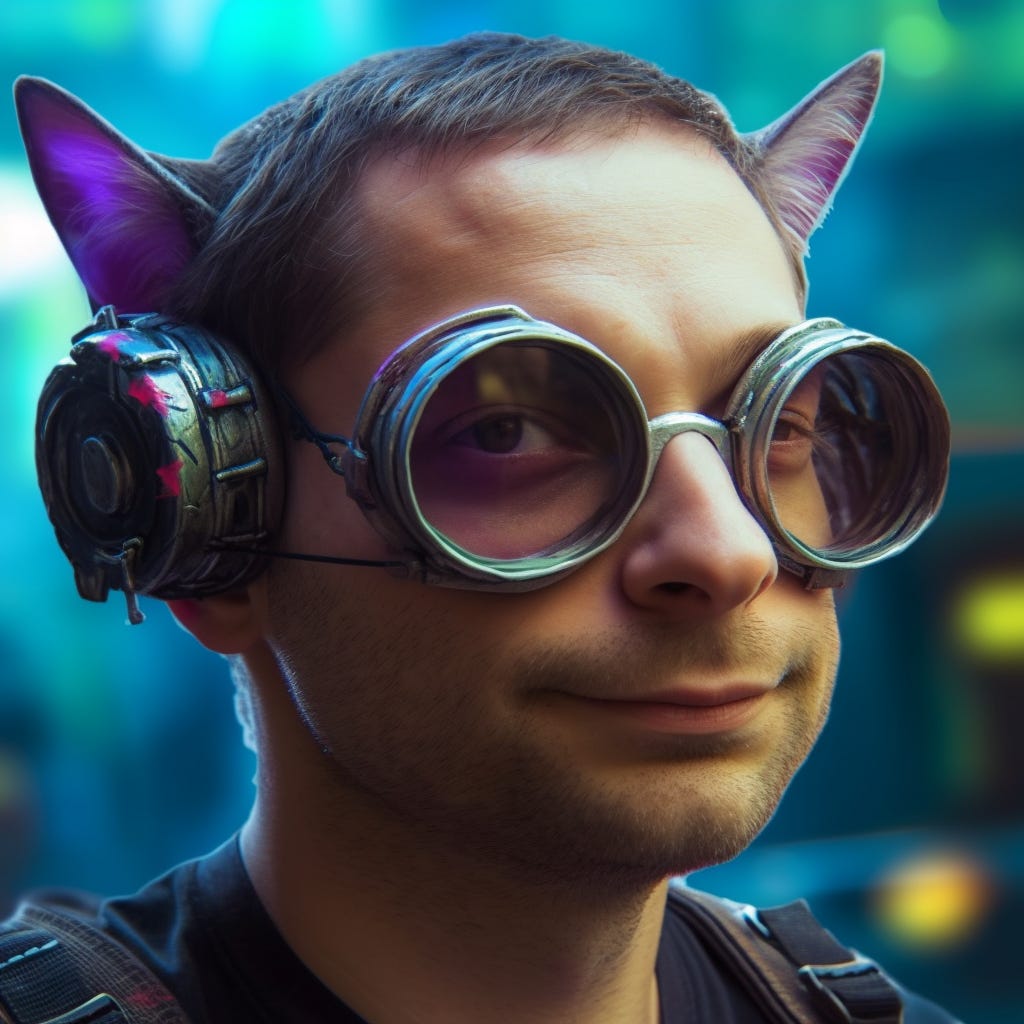
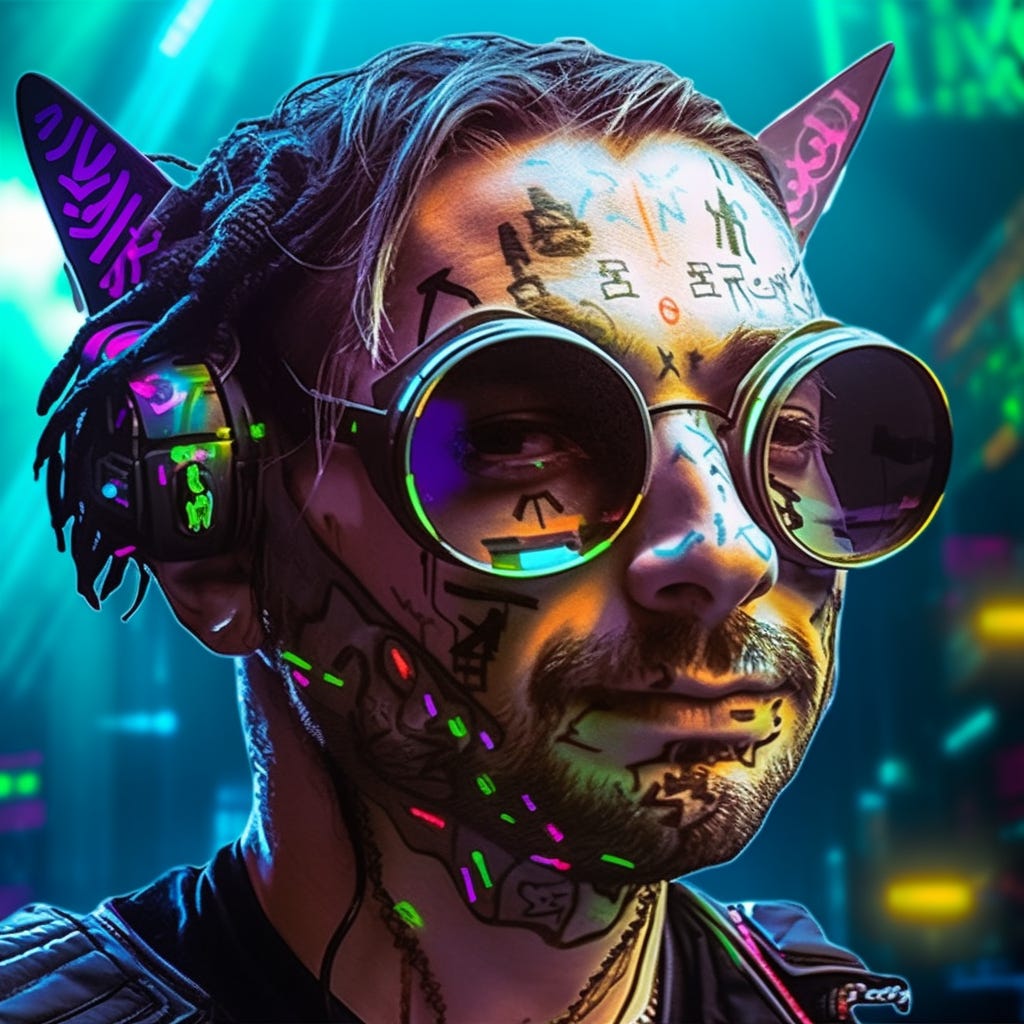
I didn’t think things could get much worse than “Me + Cyberpunk Cat.”
I was wrong.
Tips & tricks
Let me make it up to you after assaulting your eyes with disturbing images.
Here are a few actually useful tips for blending images in Midjourney.
1. Add a text prompt via “prefer suffix”
By default, using the /blend option doesn’t provide any space for a text prompt. It operates purely with images.
But you can “hack” this by using the /prefer suffix command, which appends your chosen suffix to any subsequent prompts.
Remember how I mixed myself with the cyberpunk cat?
Of course you do! How could you ever forget? And yet, just in case, here:
Because my image was a photo, it diluted the original modifier applied to the cat portrait, which was “blacklight cyberpunk.”
I can make that style stronger by assigning it as the suffix value:
Done:
Now watch what happens when I mix myself with the cyberpunk cat again:
Note how “blacklight cyberpunk” is added after the two mixed images.
Here’s the impact:
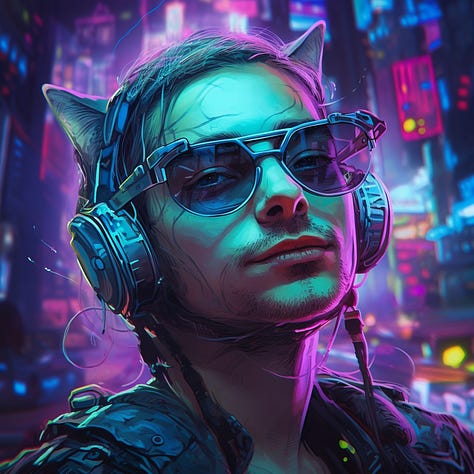
Is it less disturbing? Hell no!
But at least it’s the “blacklight cyberpunk” kind of disturbing.
2. Make tweaks via “Remix” + Vary feature
You can also try to make adjustments to a chosen image after it’s been blended.
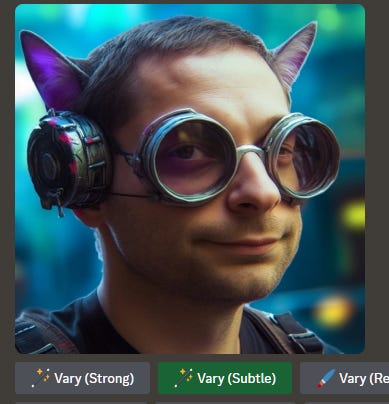
Make sure that the “Remix” mode is turned on and click on “Vary (Subtle)” below your chosen image:
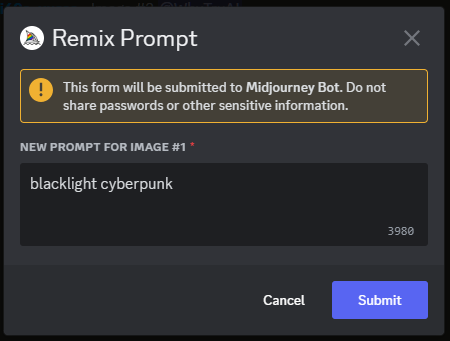
You can now describe what you need in the prompt field:
Here’s what that does:
There are several advantages to this method:
You can decide what you’d like to change after first seeing the blended image.
You get to keep the overall composition of the image, especially if you use Vary (Subtle) instead of Vary (Strong).
You can adjust the image multiple times, adding or tweaking minor details.
But it also has a few shortcomings:
As you can see, the applied style here is less impactful than when we added “blacklight cyberpunk” to the initial prompt via /prefer suffix.
Remixes often add noise and unwanted details. To wit: My face looks like the result of a hilarious college prank.
Each subsequent remix also tends to degrade in quality, coming out slightly more blurry and washed out.
3. Use extra images to adjust style strength
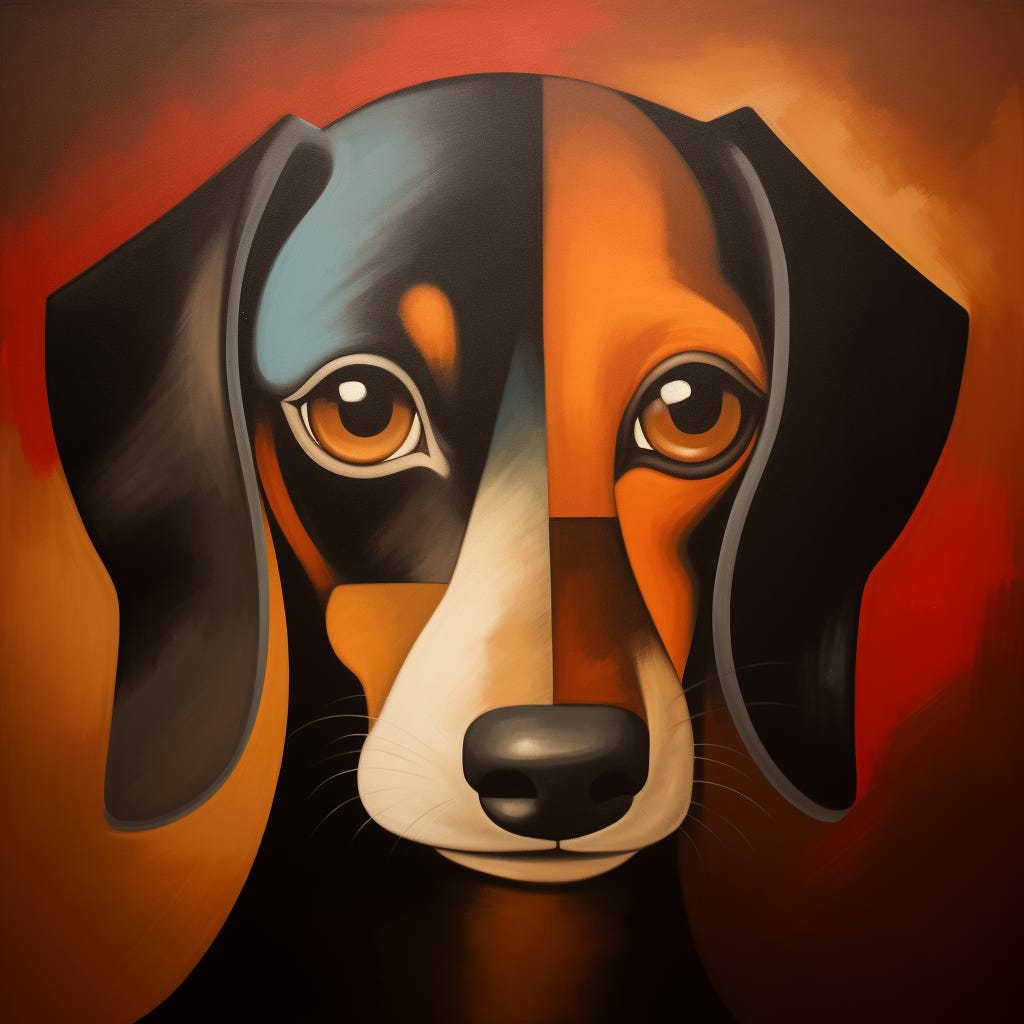
Remember our Cubist Dachshund?
What if we wanted to make it more cubist?
We could append “Cubist art” to our prompt via suffix, but we can also do this by mixing more Cubist images into our blend, like so:
Using two Cubist images instead of one definitely has a stronger effect:
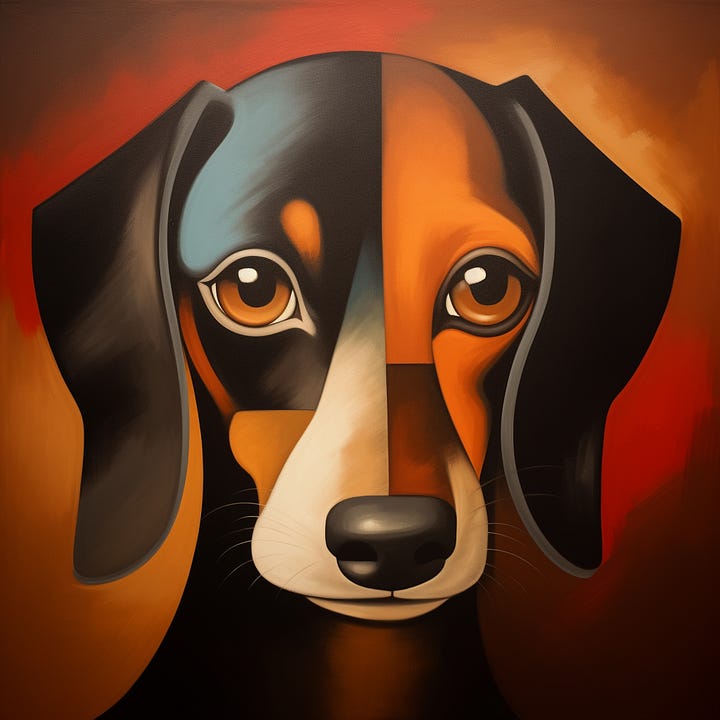
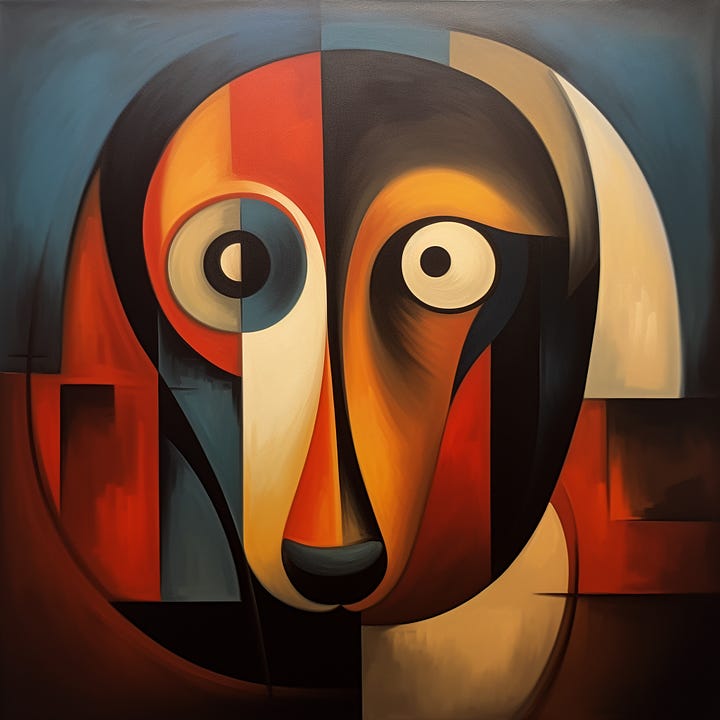
Try to play with the amount of images in your mix to get the desired outcome.
4. Stick to similar input images
Want more predictability in your final image?
Try to select starting images that are similar in terms of composition, aspect ratio, camera angle, and so on.
If you try to mix a close-up portrait of one person with a zoomed-out full-body shot of a superhero, the resulting blend will necessarily be a compromise.
That’s why blending two portrait images or two full-body images together is a better way to go. (Unless you’re mixing me with a cyberpunk cat. In that case, there are no winners.)
5. Get more control with multi-image prompts
Before /blend became a thing, you were able to blend images in Midjourney by simply pasting their URLs into the /imagine prompt field.
More on that here:
That “image prompt” option hasn’t gone away.
It’s slightly less convenient because you first need to upload each image somewhere and use the resulting URLs in your prompt.
But doing this has several benefits:
You can append a text prompt directly to your image URLs instead of using workarounds like /prefer suffix.
You can use image weight to define the strength of images vs. text. (I showcased image weights in my Midjourney V5 article.)
You can blend more than five images if needed. I tested an image prompt with eight URLs, and I don’t know if there’s an upper limit at all.
Whether you use this option or the Midjourney blend feature, I hope you’ve learned something today, even if that something is “Daniel’s face is terrifying in all scenarios.”
Want to become a Midjourney power user? Start with the basics and go beyond in my 80-minute workshop.
Over to you…
Have you found a more practical application for Midjourney /blend? What are your overall thoughts on the /blend command? Is it useful or just a fun toy?
Leave a comment or shoot me an email at whytryai@substack.com.







You had me at cubist wieners.
I loved /blend and used it a lot, as it easier from phone and most devices, without having to get the images url but just drop them easily on discord. However I’m using more and more /imagine for the same purpose, only because it enables me to get back working on old jobs with no time limit. The major blend inconvenience is that the images you drop so easily are ephemeral links that will disappear after a couple of weeks, and will make any variations to your old job impossible.