How to Test Your Text Prompts With Free AI Art Generators [+Video]
Using tools like DeepAI and Craiyon to test prompts quickly and at scale.
Man, the AI art scene went wild this summer!
From DALL-E 2 to Midjourney to Stable Diffusion (Dream Studio) from my last post, we’re drowning in a sea of apps that can create art from a simple text prompt.
Most of the top-shelf AI art tools let you generate dozens of images for free. Then they start charging a nominal fee to request more images.
As fun as it is to play around with the new art-creating AI and watch it spit out random images, if you want get specific and precise results out of them, you’ll have to get better at providing the right text inputs.
This takes some practice to get right…and that’s exactly where free text-to-image tools come in handy.
Why use free text-to-image generators?
While the big players’ fees are honestly quite affordable—typically around $10 dollars for hundreds of images—they do cost money.
Do you know what doesn’t cost money? Free AI art generators. (You heard it here first, folks: You don’t have to pay anything for free stuff.)
If you want to get a better understanding of how text prompts work without burning $15 on pictures of a dunking llama, there’s really no better sandbox than free AI art software.
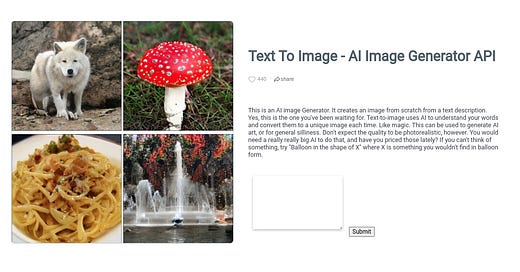
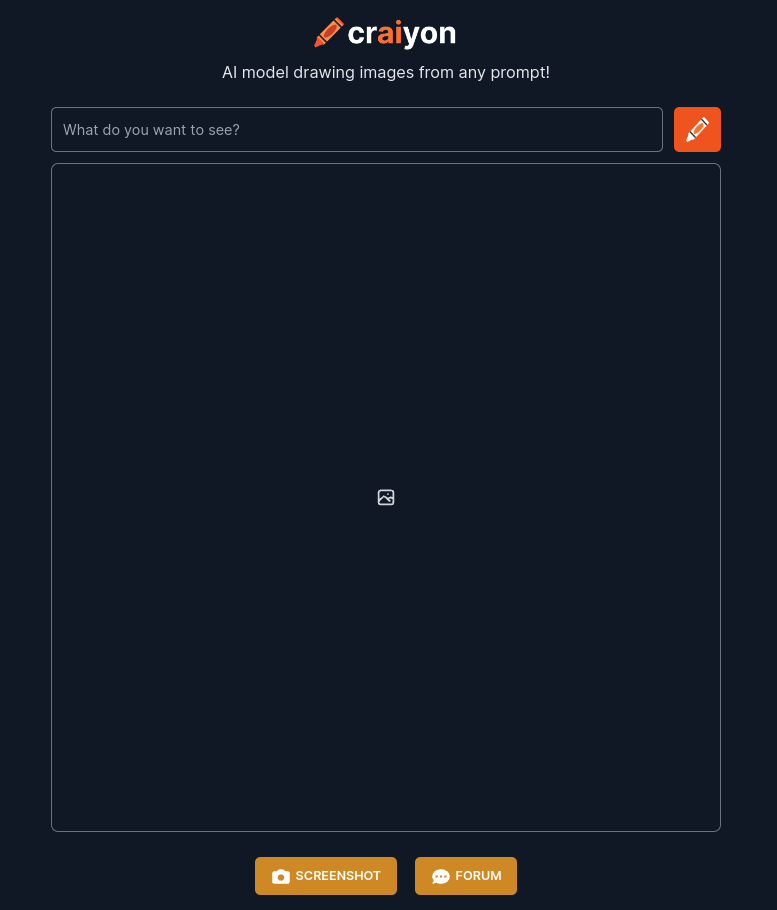
Let me introduce you to two such tools: DeepAI and Craiyon (formerly DALL-E mini).
Here are the benefits of using these two sites:
1. No sign-up process
Forget about registering an account, joining a Discord channel, or signing up for a waiting list. With DeepAI and Craiyon, you literally just visit the site, type in your text prompt, and watch the magic happen.
2. No advanced settings
There are no additional parameters to tweak here—no prompt weights, AI model selections, or number-of-iterations sliders.
If you’re an advanced user, you might see this as a drawback.
But this is excellent news for the beginner: Not only do you have less stuff to tweak and think about, but you’re forced to focus exclusively on the text prompt itself to get the outcome you want. Arguably, this is one of the most important skills to master when it comes to text-to-art tools.
3. No usage limits
None!
You can run dozens of generations in a row while tweaking your prompts and experimenting with the outcomes.
4. Multiple images per generation
For every text prompt, Deep AI spits out 4 images and Craiyon a whopping 9 images.
Not only does this increase the chance of you getting at least one workable result, but it lets you reliably measure how consistent your text prompt is. If most of the 9 generated images come out the way you want, your text prompt is probably good enough to try out in one of the paid tools.
A couple of necessary caveats:
DeepAI and Craiyon run simplified AI models, so their outputs are generally of a much poorer quality than those of the big brands. Don’t take them as accurate reflections of what modern AI art software is truly capable of.
Even if your text prompt works well in both Craiyon or DeepAI, there’s still no 100% guarantee that the outcomes you’ll get in e.g. DreamStudio will be exactly what you want. The algorithms in play are different, DreamStudio has many more parameters to play with, and so on. But you’re still likely to be many iterations ahead of the curve by first testing your prompts for free.
The prompt-tweaking process in action
To showcase how the iterative process of crafting your prompt might work, I recorded this uber-amateur video:
Since you’ve already read this far, you can safely ignore the long-winded intro and skip straight to the prompt iterations around the 3:50 mark.
Tips for testing prompts with DeepAI and Craiyon
I touch upon most of these tips in the video, but here’s a helpful summary:
Tip #1: Don’t limit yourself to a single tool
Rather than sticking to just one of the free tools, try using them in tandem.
This helps you narrow down your text prompt to a version that gets consistent results in both programs. By doing that, you increase the chance of the prompt also getting the result you want when you run it through the better-quality software.
Tip #2: Start with the minimum
There are many, many modifiers you can add to make your images look like pencil sketches, oil paintings, photos, and so on. You can even ask the algorithm to imitate the style of a certain artist.
But unless you know exactly the look you’re going for, I recommend starting out with a simple description, using as few words as possible to get your idea across. This way, you’re better able to gauge how future iterations affect your “base” outcome.
Example:
Let’s say I want the AI to provide me with a stock photo of business people in a conference room. Instead of going full monty with something like…
“Detailed and realistic stock photo of a group of business people wearing formal clothing sitting around a table in a conference room”
…I would simply start out with:
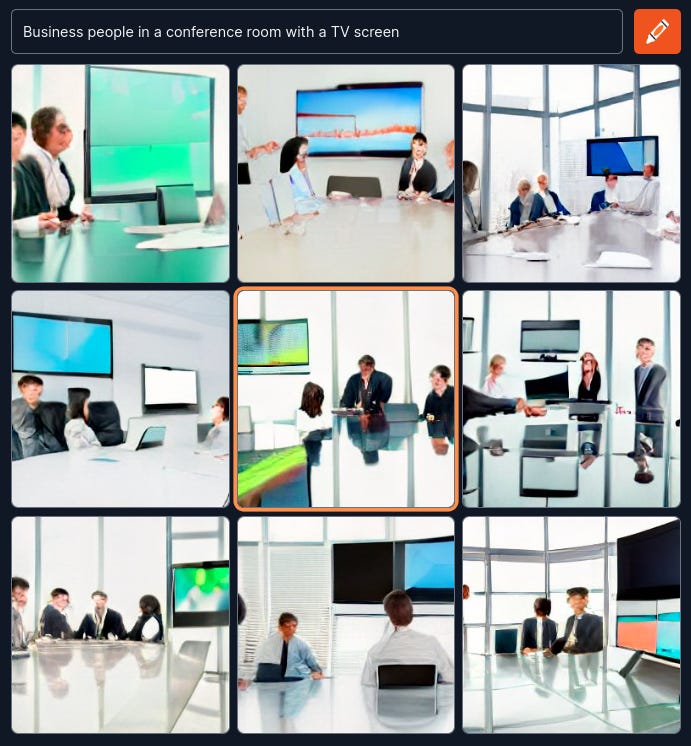
“Business people in a conference room”
My hypothesis here is that since the AI has been trained on millions of existing pictures, it’s very likely that it already knows that images in this context are typically stock photos of formally dressed people sitting around a table.
And in this suspiciously convenient case, it turns out I’m right:
As you can see, every single image contains all of the elements I needed. I can basically stop improving this particular text prompt after the first try.
Obviously, this ideal case is the exception rather than the rule. You’ll often need extra qualifiers to get the result you want. But starting with the minimum helps you identify what elements are missing and what tags you might need to add.
Tip #3: Add or change one parameter at a time
If your first generation isn’t what you’re looking for, try to pinpoint exactly what separates it from the ideal image you had in mind.
Maybe you wanted the camera to be behind the people instead of seeing their faces. Or maybe you were hoping for a cartoon sketch of a friendly clown but the algorithm rendered a photorealistic image of Pennywise and now you can’t sleep at night.
Whatever you feel is the biggest driver of disparity, fix that first.
Example:
To stick with our saga of business people with morphed faces from The Ring…
Let’s say I needed a TV screen in the conference room but it didn’t show up in the original batch of images. If I’m otherwise happy with the rest of the look, I’ll just add that single extra element—”a TV screen”—and run the model again:
In this scenario, that one addition was enough. I now have a prompt I’m happy with.
Tip #4: Keep track of your iterations
Save your text prompts and the resulting images at all times. Hoard them like you’re a tech bro stocking up on cryptocurrency.
You could, say, use a simple Google Sheet with a list of text prompts and copy-pasted screenshots of the images they produce.
This lets you revisit every step of the process to see where things went off the rails, figure out what impact each tag has had, and get inspiration for improving your prompt.
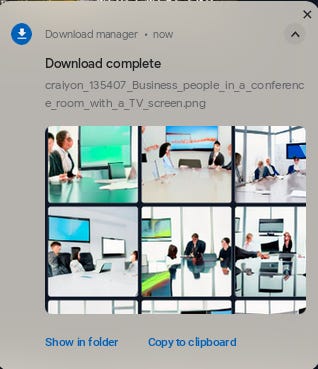
Craiyon actually makes this extremely easy with its handy “SCREENSHOT” button located under the 9 generated images:
Clicking it saves all of the images as a single screenshot, along with the date and the full text prompt:
Soon, your hard drive will be flooded with more images than you’ll know what to do with.
And then they’ll pay. They will all pay!
No, but really: Save your work.
Tip #5: Look for inspiration if you’re stuck
At some point, you might hit a wall where it feels like nothing you type gets you the image you’re after.
Guess what? You’re not alone. Millions of people are trying to figure out this whole prompt engineering thing as we speak.
Luckily, many third-party tools are popping up to help with that process.
Here are two that I find especially helpful:
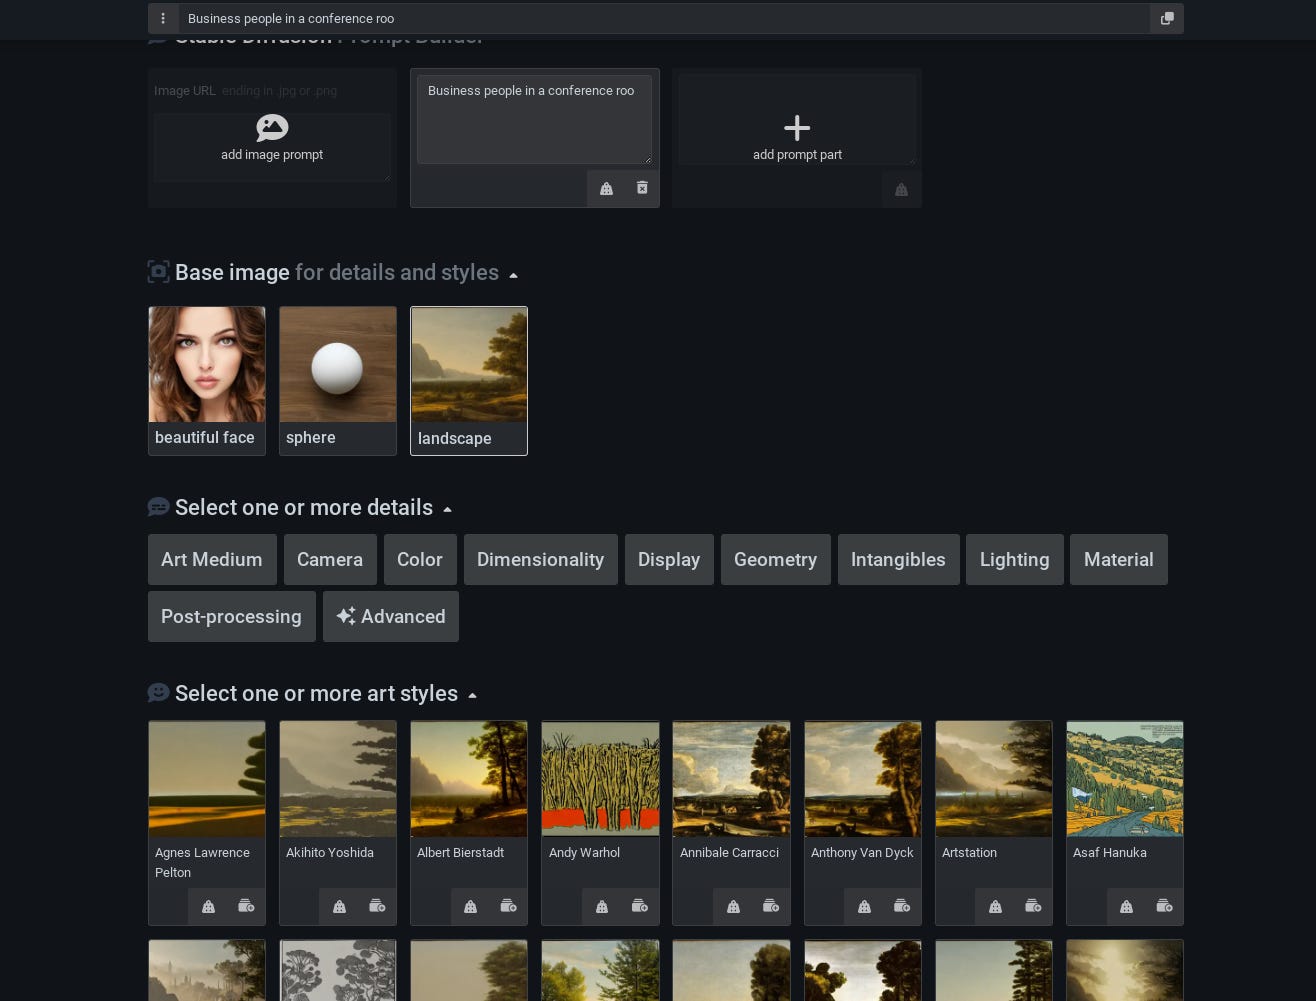
1. promptoMANIA
This site is basically a tutorial / wizard that walks you through the process of assembling your prompt via a series of steps.
You start with your text prompt, select a standard “Base image” to help you visualize the changes, then browse a huge library of parameters, from art mediums to camera angles to lighting and artist styles:
Clicking on the style or tag you want will add it to your prompt, which you can then copy-paste into the AI art generator of your choice.
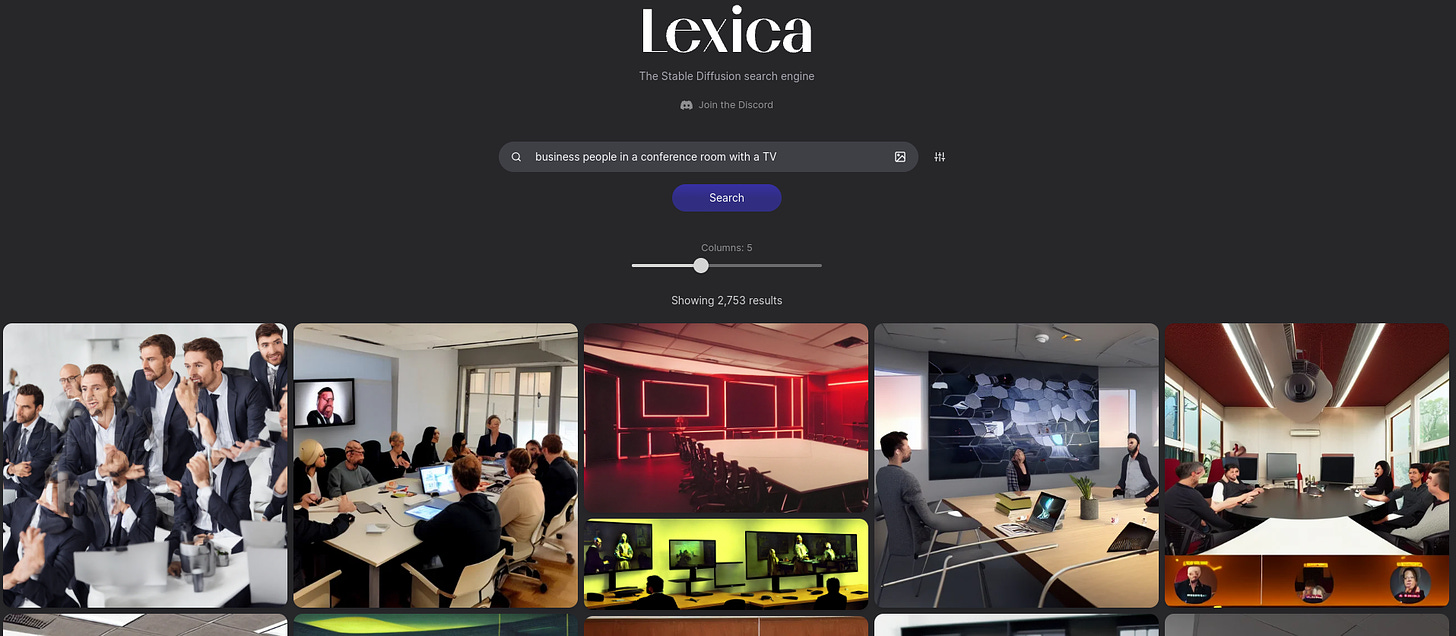
2. Lexica
This is an ever-growing, searchable library with millions of images that have already been generated using the Stable Diffusion algorithm.
Searching for your main keywords will bring up thousands of related results:
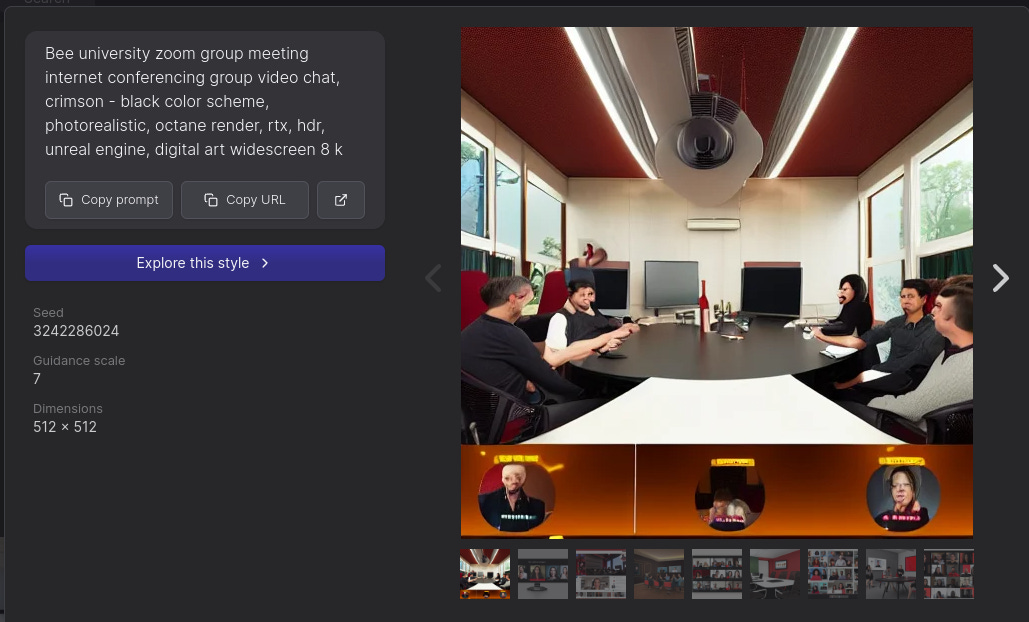
You’re likely to find an image that at least resembles your idea. When you click on it, you’ll see the exact text prompt used to generate it:
Now you can reverse-engineer the process and use whichever prompt elements you find relevant.
Getting your final image
At some point, you’ll end up with a prompt that consistently gets you the desired outcome in both DeepAI and Craiyon.
At this stage, you can throw your final prompt into your text-to-art software of choice and—cross your fingers—get the result you want.
Don’t get annoyed if you’re still not quite there. Rinse and repeat, or play with the settings in the more advanced tool to see if you can get a better image.
Remember: Crafting prompts is part art and part science.
You aren’t ever guaranteed to get the perfect outcome.
But experimenting with free text-to-art programs will give you invaluable insights and put you well ahead of the curve.
Over to you…
While this is a process I personally find helpful, perhaps you’ve discovered an even smarter, more efficient, or more reliable way to get what you want out of AI tools.
If so, I’d love to hear about it. This is a new area for most of us, and I’m eager to learn.
Leave a comment or drop me an email to share your own experience!






Craiyon doesn't appear to be free anymore.