Ditch These Pointless Midjourney Photography Terms
Don't waste time with camera settings. Here's how to get the photos you want instead.
If you know one thing about me, it’s that I haunt your inbox every Thursday and Sunday.
If you know two things about me, it’s that I prefer the “less is more” approach to prompting in general and image prompting in particular.
To wit:
I’ve already talked about my dislike of “splatterprompting”—filling your image prompts with dozens of dubious descriptors.
But today I want to look more closely at using Midjourney and other image tools to create photographic images.
For a long time now, I’ve been coming across prompts that use specific camera names and settings in the hope of achieving the desired effect. Stuff like this:
Professional hyper-realistic photo of a man, shot on [CAMERA BRAND + MODEL] at [FOCAL LENGTH] and [F-STOP] on [ISO SETTING].
Here’s the thing though: Midjourney is not actually a camera.
(I’ll give you a moment to process this shocking revelation.)
You can’t turn tiny knobs on it to precisely adjust the focus, ISO settings, etc.1
So let’s look at what works and what doesn’t when it comes to generating photo images with AI.
⏩TLDR
If you take away nothing else from this post, know this:
For most of your AI photography needs, simply using “photo of [description of your subject and scene]” is more than enough.
If you want specific effects, camera angles, or types of shots, describe those directly using natural language instead of “tweaking” settings on an imaginary virtual camera.
Now, without further ado, let’s look at the camera settings and their impact.
Here are quick links to all of them:
🧪The test
I’m not the first person to look at the use of camera settings in Midjourney prompts.
Other similar explorations indicate that they have no measurable effect.2
But since I keep seeing these camera prompts, I wanted to run my own experiment to put an end to the misconceptions once and for all.
So I’ll be testing each camera setting separately to measure its impact.
For each set of test photos, I’ll also use this simple prompt:
photo of a woman, [tested setting]
I’ll also stick to the following Midjourney parameters:
--style raw (this strips the default Midjourney aesthetic and is recommended for photos)
--stylize 0 (this further lowers any inherent aesthetic effects)
--seed “N” (I used a fixed seed number per set of photos to lock the starting point for image generation, making the results easier to compare)
Note: While my exploration is focused on Midjourney, I expect the findings to generally apply to other AI image models. If you have a different experience with another tool or model, I’d love to hear about it!
🖼️”Photorealistic”(special mention)
I briefly touched on this in a footnote once, but we really gotta talk about the term “photorealistic” here, folks.
I can’t tell you how many times I come across image prompts that use “photorealistic” in combination with requests for photos.
Popular alternatives include “ultrarealistic,” “hyperrealistic,” and “super-mega-plus-realistic.” (I might’ve made the last one up, but can you know for sure?)
What people think it does:
“It makes the photos look more realistic, duh! It’s right there in the name, bruh.”
What it actually does:
Here’s the twist: All of those “-realistic” terms are used specifically to describe art that’s made to look like a photo, not the photo itself. (See: photorealism.)
Here’s the entire test grid for “photo of a woman”:
And here are some of the worst offenders for “photo of a woman, [prefix]-realistic”:
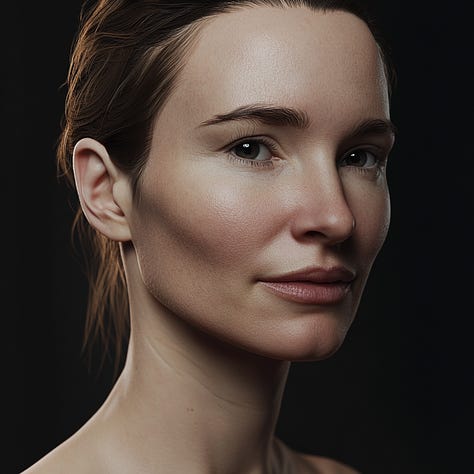
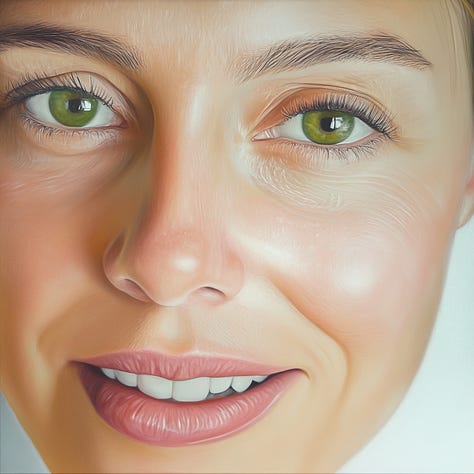
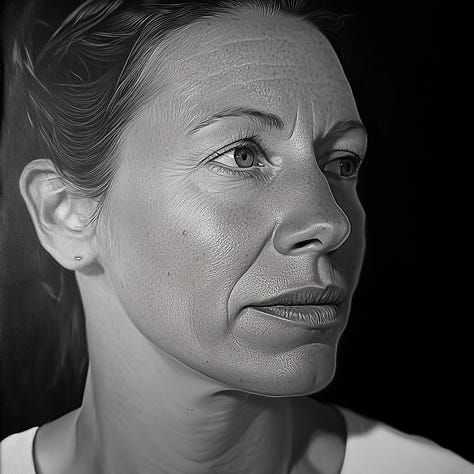
A careful viewer might notice that while the first batch could pass for real photos, the second batch feels as if they were painted to look like photos. Even using the word “photo” in the prompt can’t save them from turning into paintings.
What you should use instead:
Stop using the terms “photorealistic,” “hyperrealistic,” or “anything-realistic” when what you’re actually after is a photo. Just use “photo” on its own.
🔆ISO setting
With real cameras, increasing ISO lets you brighten a photo taken in low-light conditions at the cost of making it more grainy or “noisy.”
What people think it does:
“Low ISO in Midjourney = my image will be dark; high ISO = my image will be bright.”
What it actually does:
Jack shit.
Here are three photos at ISO 200, 1600, and the very nonsensical 70500:
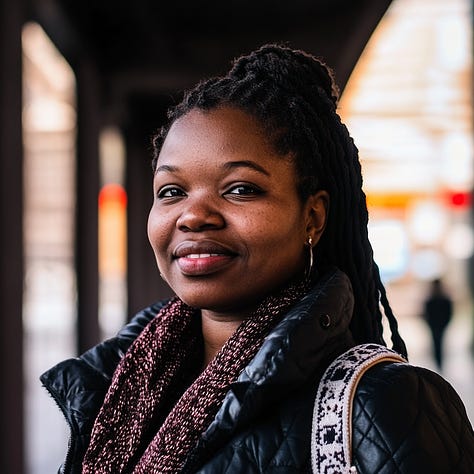
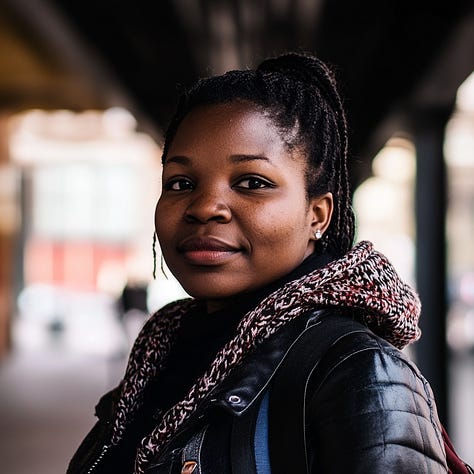
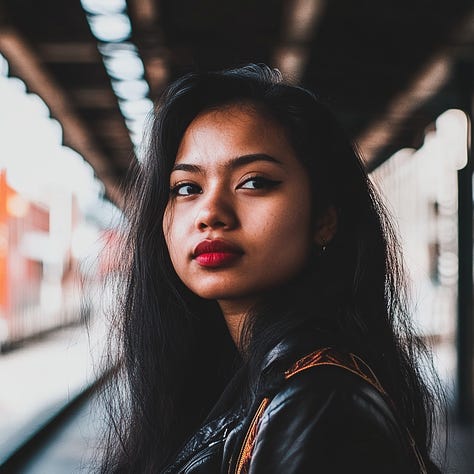
Apart from the woman casually morphing into a different person, ISO doesn’t affect the overall brightness in any consistent, meaningful way.
What you should use instead:
In the real world, the main reason for using ISO is to brighten an image you can’t brighten in any other way (e.g. by increasing exposure time). It always comes with the risk of grainy footage, and you’re typically better off using the lowest ISO setting if you can get enough light on your subject.
But again: Midjourney’s not a camera. It doesn’t have to deal with poor lighting conditions. There’s absolutely no reason to force Midjourney to compensate for imaginary challenges via ISO.
So ask yourself: Why are you trying to use a particular ISO setting in the first place?
If it’s to brighten an image, just describe the lighting conditions directly instead. I covered five lighting terms here:
If you’re using a high ISO setting to introduce noise and grain, use words to specify the effect you’re going for. Here’s “photo of a woman, grainy footage”:
🔭Focal length
In the real world, the focal length affects the angle of view and magnification.
What people think it does:
“Short focal length = zoomed out image; long focal length = zoomed in image.”
What it actually does:
Nothing. Zilch. Nada. Zero millimeters.
Here’s a grid with 18mm, 200mm, and the nonexistent 12345mm focal length:
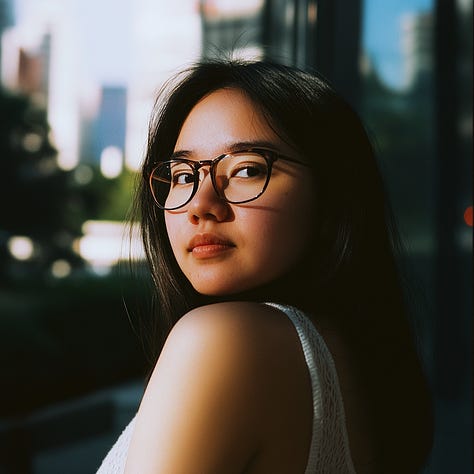
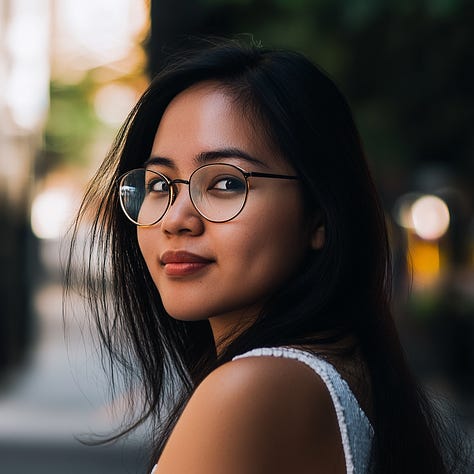
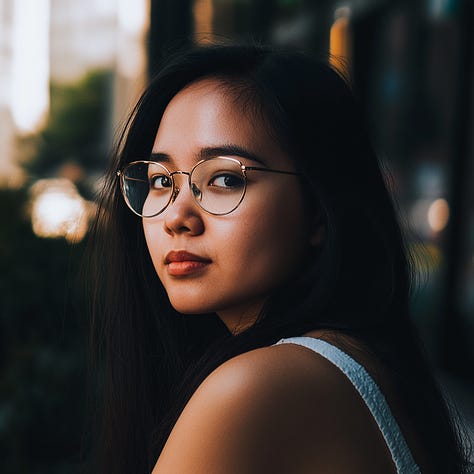
There’s practically no difference. If these settings worked as intended, we’d be staring at an extreme close-up of this woman’s nose in the second image.
What you should use instead:
Midjourney responds much better to descriptive terms, so spell out the type of shot you’re after. Here’s the same experiment but using “close-up shot,” “medium shot,” and “wide shot” modifiers:
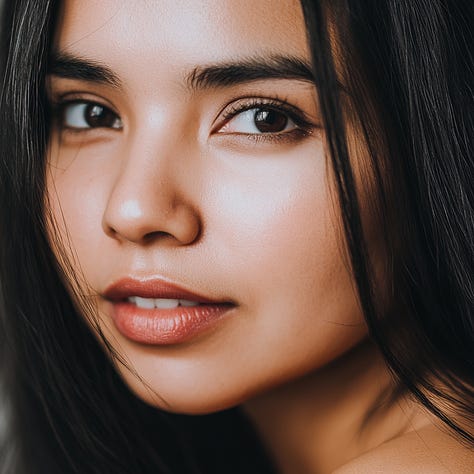
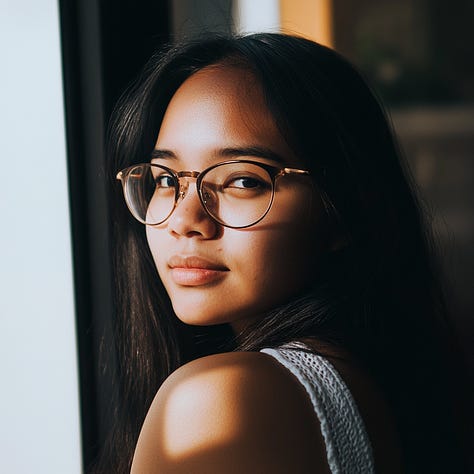
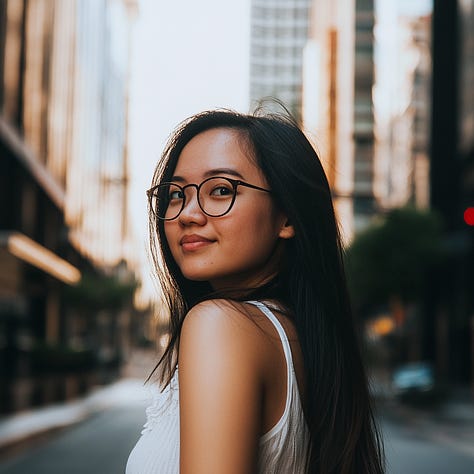
If you’re pedantic, you might argue that the medium shot doesn’t capture the waist as it should and the wide shot isn’t quite wide enough3, but it’s clear that explicitly describing the level of zoom has more impact than using focal length numbers.
🎬Shutter speed (fractions of a second)
If you’re using a real camera, shutter speed determines how long the shutter stays open, which affects the amount of motion blur and how much light gets in.
What people think it does:
“High shutter speed = perfect freeze frame; low shutter speed = lots of motion blur.”
What it actually does:
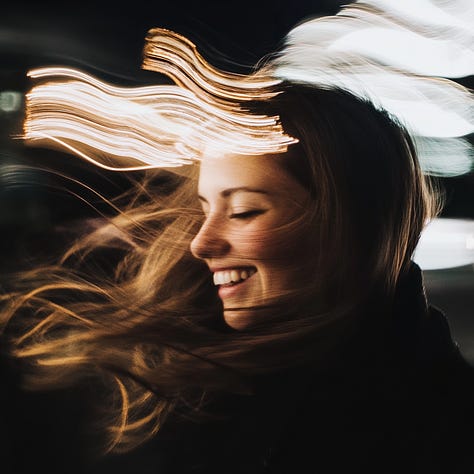
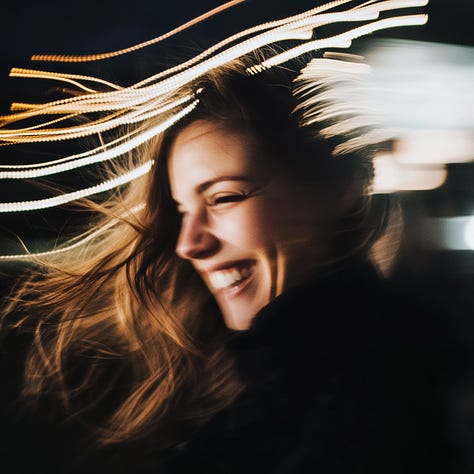
Let’s take a look-see. Here are shutter speeds ranging from the ultra-fast 1/4000 second to 1/4 second to the abnormally long 679 seconds:
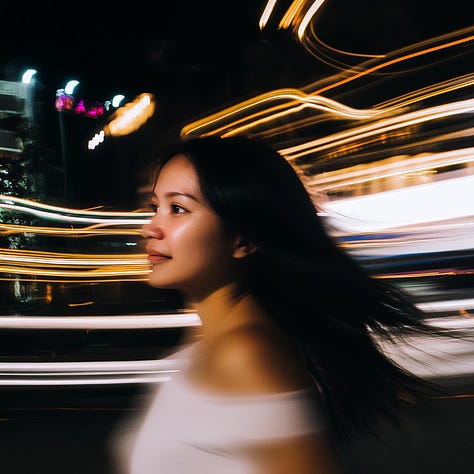
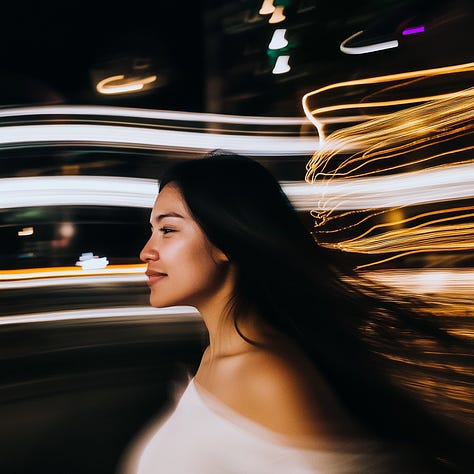
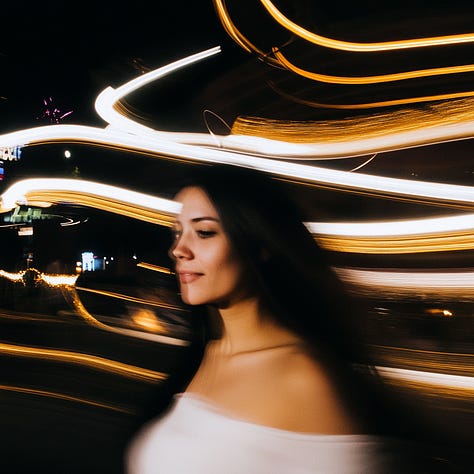
Using the term “shutter speed” clearly has an effect: Midjourney seems to interpret it as a request for long-exposure photographs.
However, adding numeric values to this term doesn’t have any predictable impact. The 1/4000-second image should result in a perfectly sharp freeze-frame shot, while 679 seconds would be a blurry mess of vague shapes and colors.
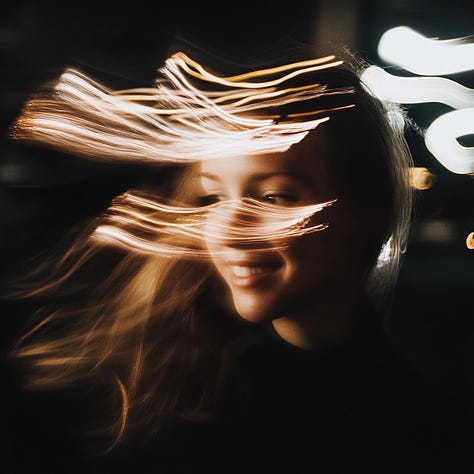
Notably, this doesn’t even work with spelled-out shutter speeds like “slow,” “fast,” or “ultra-fast”:
What you should use instead:
You’re likely starting to see the pattern by now.
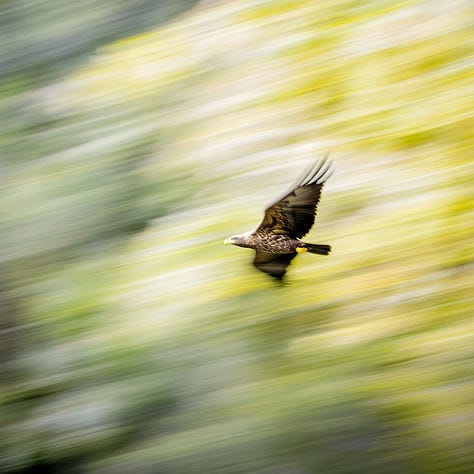
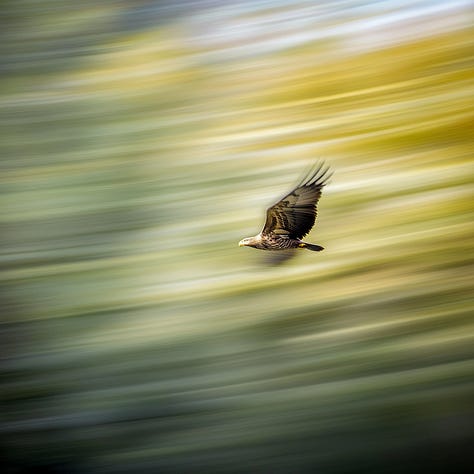
If you want specific types of shots, describe those using natural language!
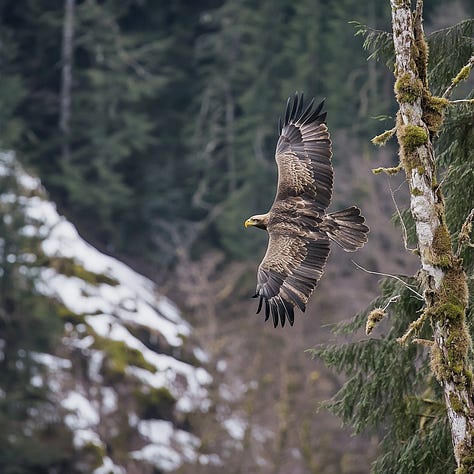
For instance, here are some flying eagles with “motion blur,” “long exposure” (same thing, really), and “freeze frame” modifiers:
💡Aperture (f-stop)
The aperture size controls the amount of light entering the lens and the depth of field. In the real world, it’s a key component of deciding which elements to keep in focus, depending on light conditions.
What people think it does:
“Wide aperture (lower f-stop value) = subject in focus/blurry background; narrow aperture (higher f-stop value) = more things in focus.”
What it actually does:
All together now: N-O-T-H-I-N-G!
Here’s a woman at aperture values of f/2.8, f/32, and f/777 (not a thing):
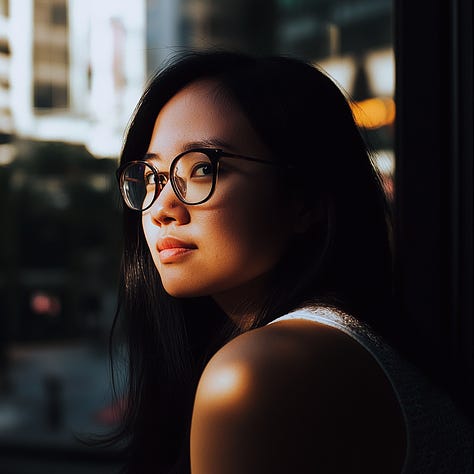
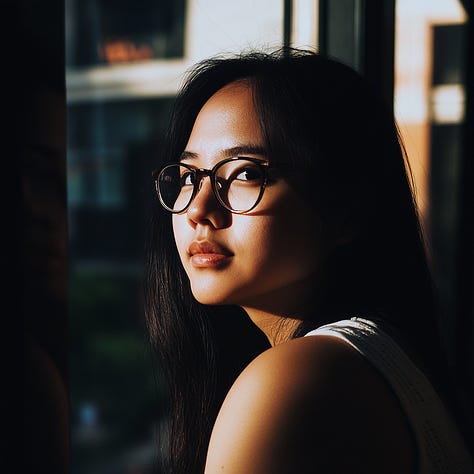
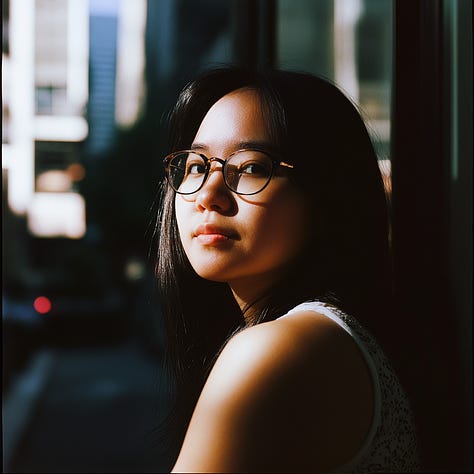
At higher numbers (narrower aperture), we should see all objects being equally sharp, but the woman is in focus in all instances, with blurry backgrounds.
What you should use instead:
This one’s a bit tricky.
Midjourney tends to default to wide aperture images, keeping the subject in focus while blurring the background. (See most examples in this post.)
If that’s what you need, it’s usually enough to just use “photo” and describe your subject. Or you can try ramping things up by using situation-specific modifiers like “bokeh” or “blurry background”:
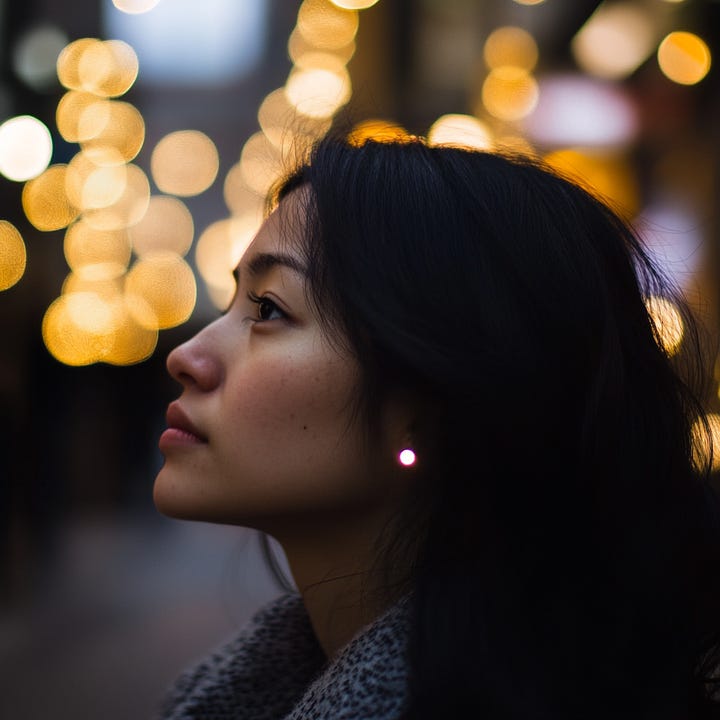
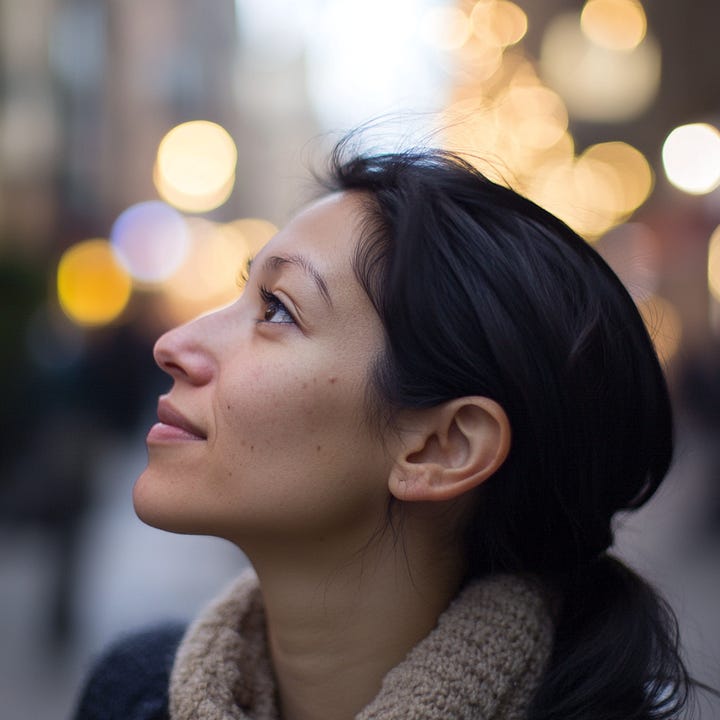
But getting the background to appear sharp usually requires doing the following:
Describing the background scene in some detail to make Midjourney focus on it.
Using a Midjourney negative prompt (“--no” parameter) to try excluding things like "bokeh” or “background blur.”
You can combine the two to increase your chances of keeping everything in focus.
Here’s a sample prompt that worked pretty well for me:
photo of a woman, mountains and trees in the distance --no background blur, bokeh
Here are three images from the resulting grid with all elements in focus:
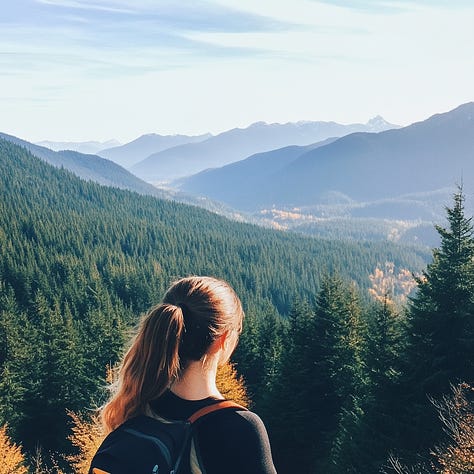
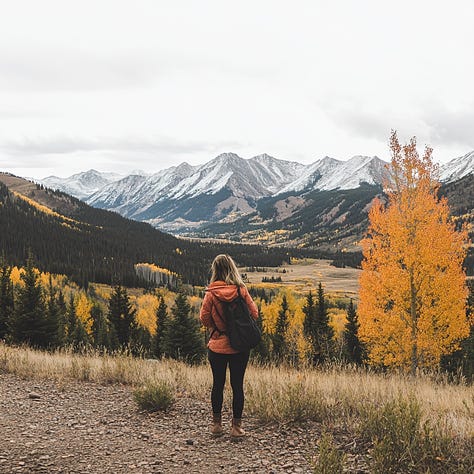
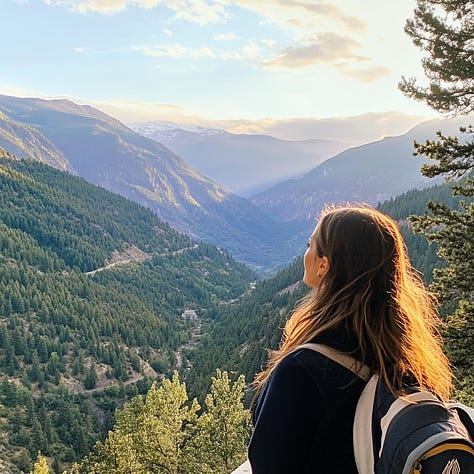
It’s not a silver bullet, but shifting Midjourney’s focus on background elements should help keep those sharp.
📸Camera brand + model
There are dozens of camera brands and hundreds of camera models out there.
For some strange reason, we expect Midjourney to have internalized their nuances and faithfully reproduce those.
What people think it does:
“Midjourney will capture the look and feel of a specific camera model. Somehow.”
What it actually does:
You tell me!
Here are three photos “taken” with different cameras, one of which I just made up. See if you can guess which one:
Nikon Z6 III
Canon EOS R5
Sony Booger Flex 666
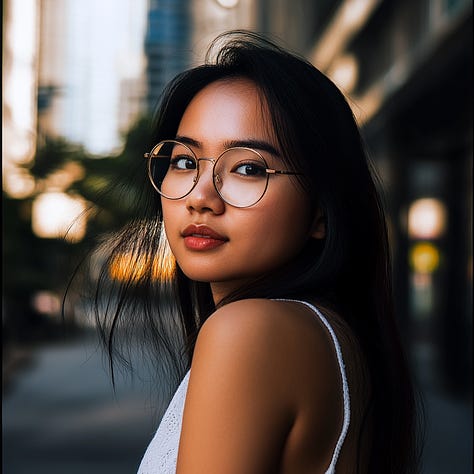
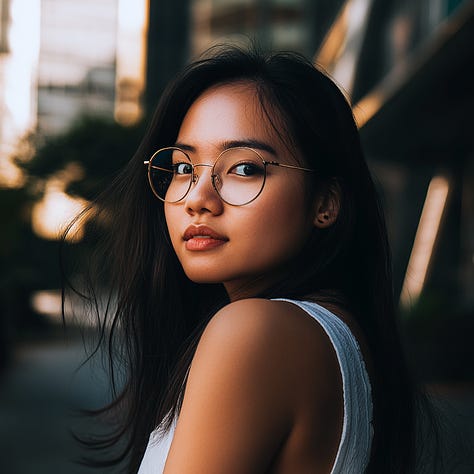
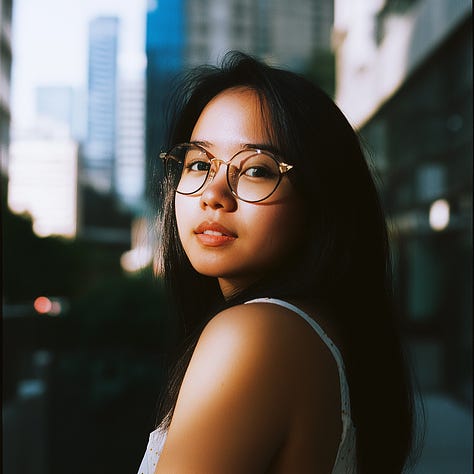
I don’t know about you, but I love how Sony Booger Flex 666 makes the colors pop!
What you should use instead:
To be honest, I don’t fully know what people expect when using a particular camera brand + model combo. The photo depends on so many factors other than the camera itself, like the film type (for analog cameras), lighting conditions, and the settings I’ve discussed above.
But if you’re consciously picking a camera because you associate it with a certain look, describe that look using words instead.
*️⃣Exceptions (stuff that works)
Not all camera-related modifiers are useless.
Certain terms are sufficiently popular to be well-represented in Midjourney’s training data and their effects are distinct enough to affect the outcome.
For instance…
📷“Iconic” cameras
Midjourney might not know Sony Booger Flex 666 (even though it’s 100% real), but you can bet it’s seen the terms “Polaroid,” “Instax,” and “Riga Minox” before:
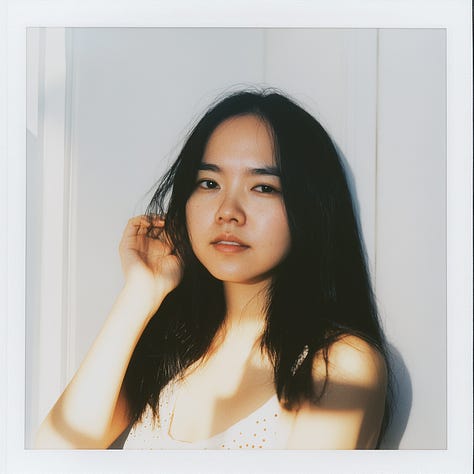
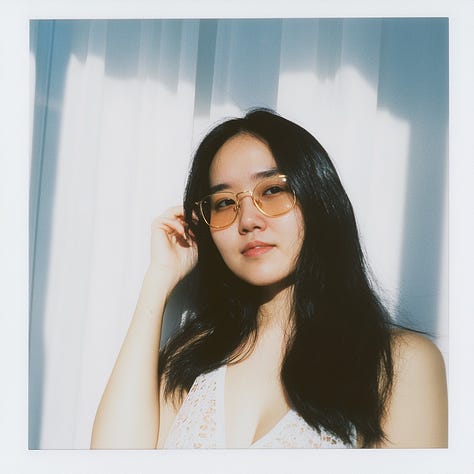
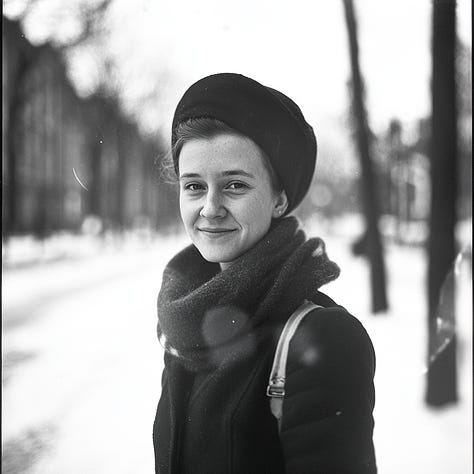
Cameras with pop culture status and strongly associated with a distinct aesthetic are much more likely to change the look of your images in Midjourney. Here’s a list of “iconic cameras” you might want to try.
🎞️Distinct photo films
On a related note, the same arguments apply to popular types of photo film.
I covered some niche ones before:
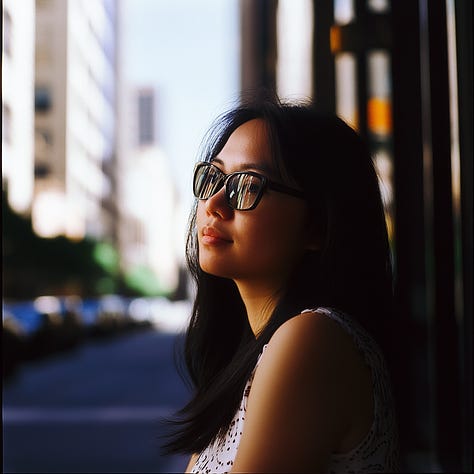
I tried a few popular film types and they seem to have more of an impact than what we’ve seen above:
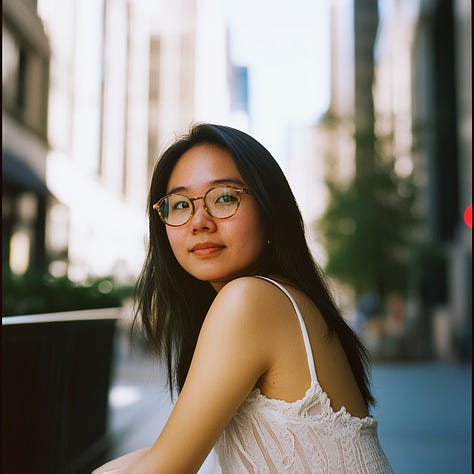

This article has a few good options and doesn’t suggest voodoo stuff like shutter speeds, etc.
🧑⚖️The verdict
As I’ve shown, tweaking imaginary camera knobs and adjusting virtual shutter speeds won’t do much for your Midjourney photos.
Like most diffusion models, Midjourney is trained on millions of images tagged with descriptive alt texts and learns to understand natural language instructions in the process.
As such, you’re always better off simply describing the desired effect instead of pretending you’re operating a camera.
Hell, you’re better off asking a chatbot to help you, as I’ve argued almost a year ago:
So let me return to what I’ve said in the TLDR section.
If you want Midjourey to make a photo, use this basic starting prompt:
photo of [description of your subject and scene]
If you want to add specific effects or types of shots, just tell Midjourney exactly what you need.
And if you ever come across someone using these pointless camera terms, send them a link to this article so they can yell at me and tell me I’m wrong.
Now go out there and have fun!
Or don’t.
I’m not the boss of you…to the best of my knowledge.
🫵 Over to you…
What did you think of these tests? Were you surprised? Have you previously used these terms in Midjourney?
If you have experience with camera settings in other image models, I’d love to hear whether you’ve reached similar conclusions.
Leave a comment or drop me an email at whytryai@substack.com.
Now, there’s some inherent logic in expecting text-to-image models to respond to certain camera settings. After all, diffusion models are trained on existing photographs (among other things), and it’s not inconceivable that some of those are tagged with camera settings, allowing diffusion models to learn these. However, it doesn’t look like enough photos on the Internet actually use camera settings as tags or alt text for these terms to make it into the models’ understanding of the world. As we see in this post.
Here is a Reddit post testing them. Here is one on Facebook.
I’m also doing Midjourney a disservice by using a square aspect ratio for these galleries - wide shots would turn out better with horizontal aspect ratios.




I remember when you had to get a prompt just right. You had a very limited number of attempts per time period, so you had to make 'em count. I've also become a bit of a minimalist over the last year or so, especially as simply iterating on what you've just created is way, way faster than trying to correct a prompt. "No, I meant the other type of X" is an example of the pointed, simple corrective stuff you can get to quickly.
Of course, I make very fast images and use them predominantly to support what I've written, and that's a very different thing than making a standalone image for its own sake, so that context really matters.
Midjourney very often uses these terms in its own /describe outputs. What do you make of that?