Summer vacation is upon us.
I’m in the mood for something a bit less serious and a bit more visual.
So I thought I’d share three cool random things you can do in Midjourney.1
Enjoy!
1. Apply any color palette to your images
Midjourney V6 is great at prompt adherence, which means it can follow detailed directions, also when it comes to colors.
For instance, let’s take this prompt:
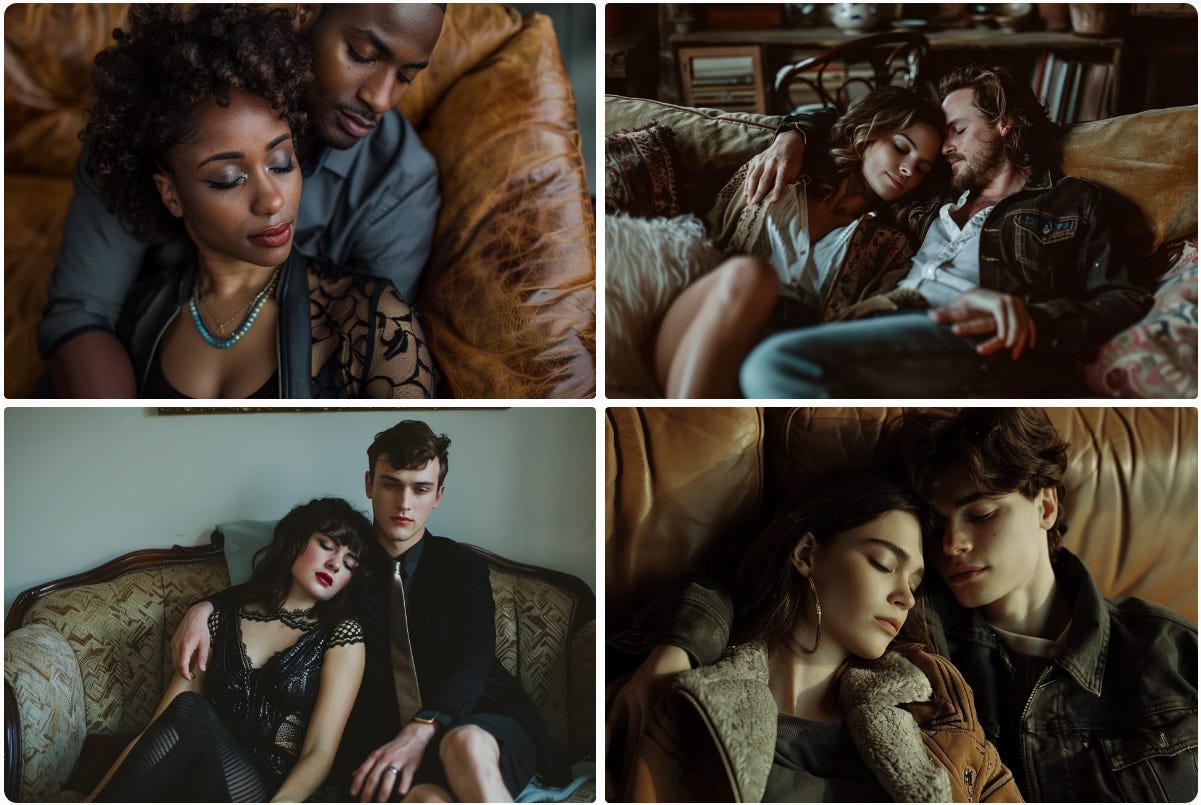
Fashion photo of a couple on a couch
The default grid will give you a range of images:
Now say you want your photo to accentuate specific colors, like teal, brown, and red.
The simplest way to achieve this is to simply list those colors in your prompt:
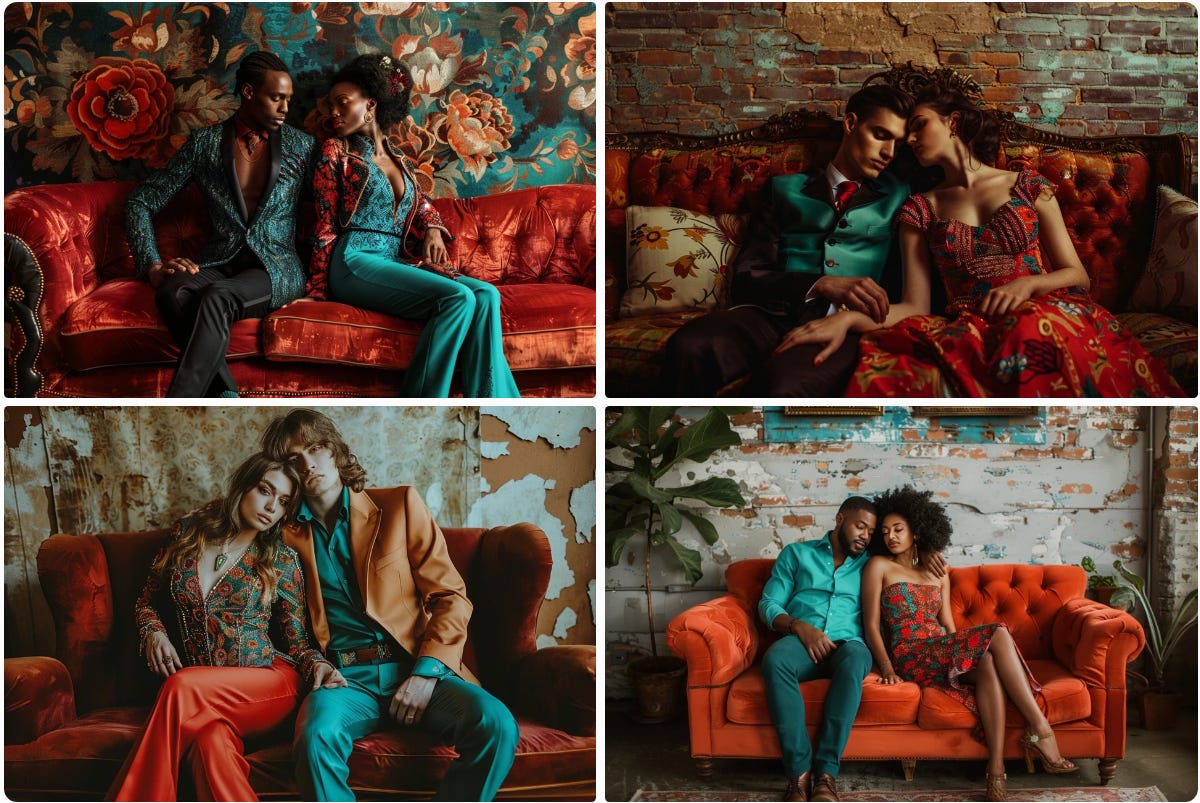
Fashion photo of a couple on a couch, red, teal, and brown colors
This has an effect:
But what if I told you that it’s possible to get even more precise and nuanced with your colors?
All you need is your desired color palette and the --sref parameter.
Here’s the step-by-step walkthrough.
Step #1: Grab your color palette
If you already have a specific color palette to use—such as your brand colors—go ahead and skip to Step #2.
There are lots of sites that help you design or find color palettes.
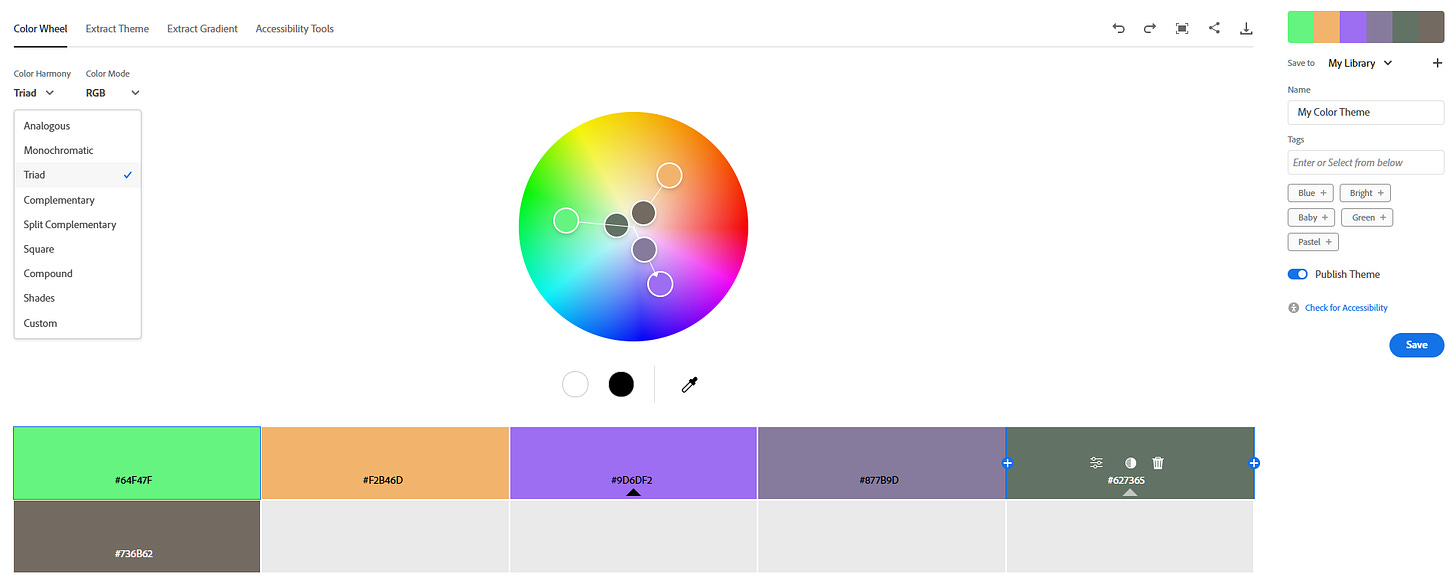
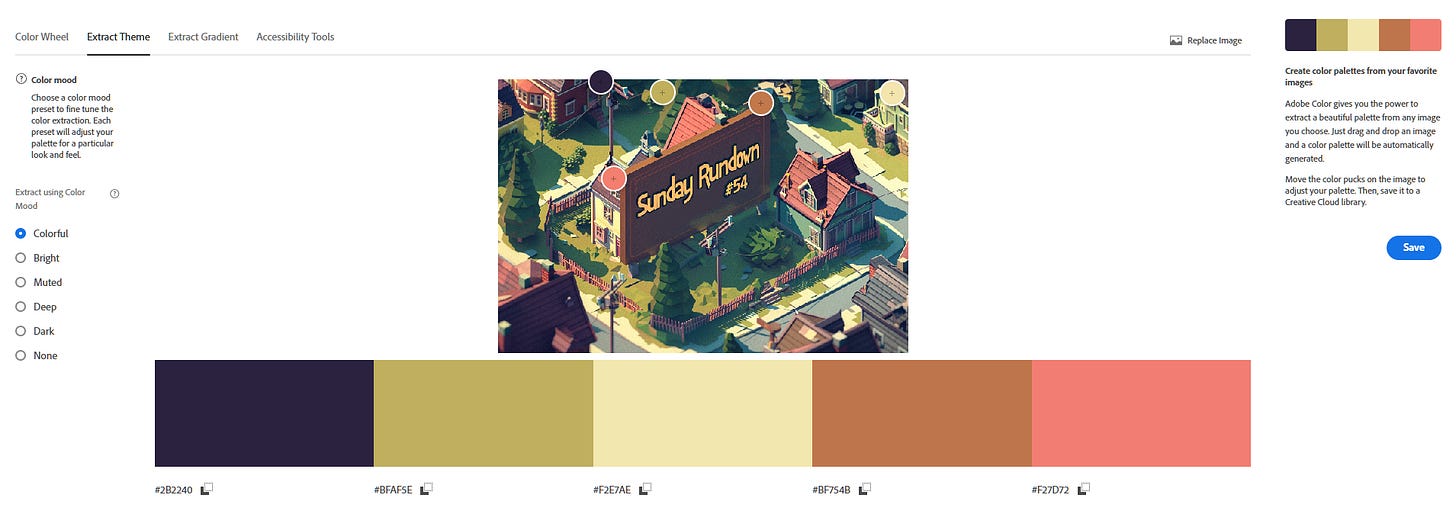
Adobe Color, for instance, lets you play with the color wheel to e.g. find complementary colors:
You can also extract a color palette from an existing image:
Neat!
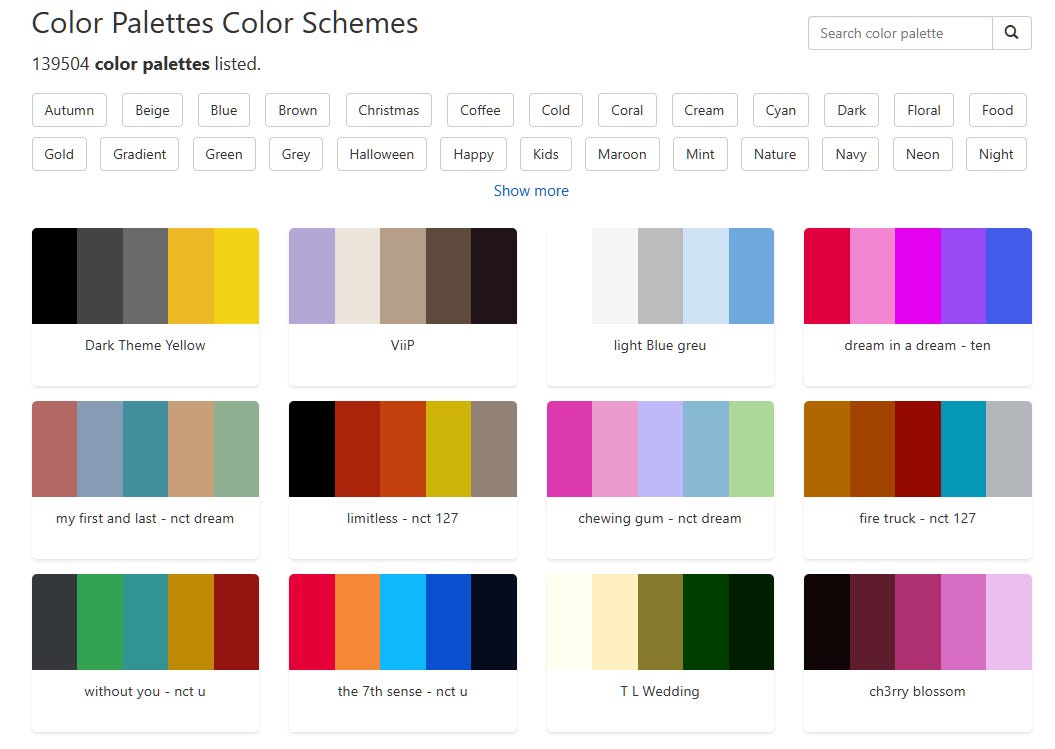
But if you don’t want to go too deep into the rabbit hole, you can try something straightforward like the color-hex website, where you can browse over 100K ready-made color palettes:
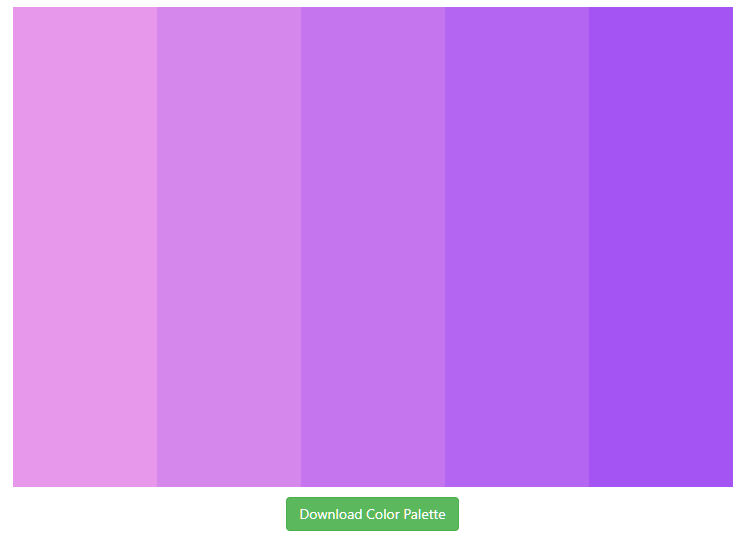
For my demo, I’m going with this crazy pink-purple palette:
Clicking the Download Color Palette button gives you a nice standalone PNG with the color palette but without any whitespace or text, which is ideal for our purposes.
Step #2: Upload the color palette to Midjourney
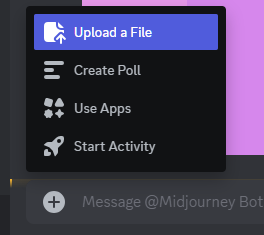
Now that you have your palette image, it’s time to get it into Midjourney:
Discord: Click the little “+” icon next to the input field, then “Upload a File”:
Website: Click on the image icon to the right of the input field:
Once your image is uploaded, it’s time for shenanigans.
Step #3: Use the color palette as “--sref”
Remember the “Style Reference” parameter called --sref?
It uses a given image for style inspiration in your prompt.
That’s what we’re after!
Let’s stick to our initial prompt but with our new palette added as --sref:
Discord: Use the following format:
/imagine [prompt] --aspect ratio (optional) --sref [color palette URL]
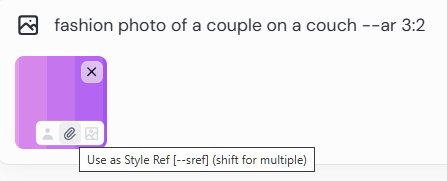
Website: Type your prompt and select the “paperclip” icon (Use as Style ref) next to your uploaded image:
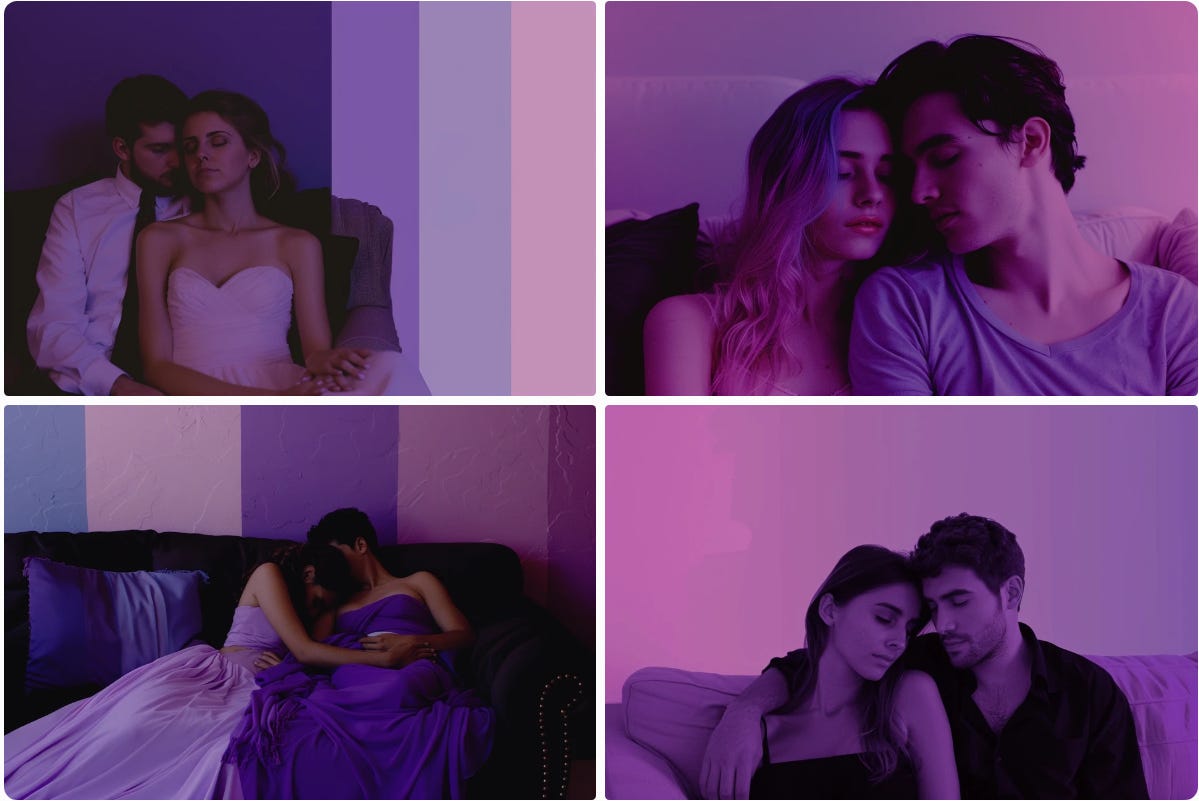
Let’s take a look at the resulting fashion photos:
As you can see, the palette had a very strong effect.
You might even say it was a bit too strong: Some of the images directly copy the vertical lines from our reference image, which isn’t quite what we want.
But we can fix that…
Step #4: Experiment with different --sw weights
The --sw parameter lets you control how much influence the style reference image has on the final result.
You can set --sw to any number from “0” (no impact) to “1000” (max impact). The default setting is “100.”
Let’s try to lower it to “50.”
Discord:
Website:
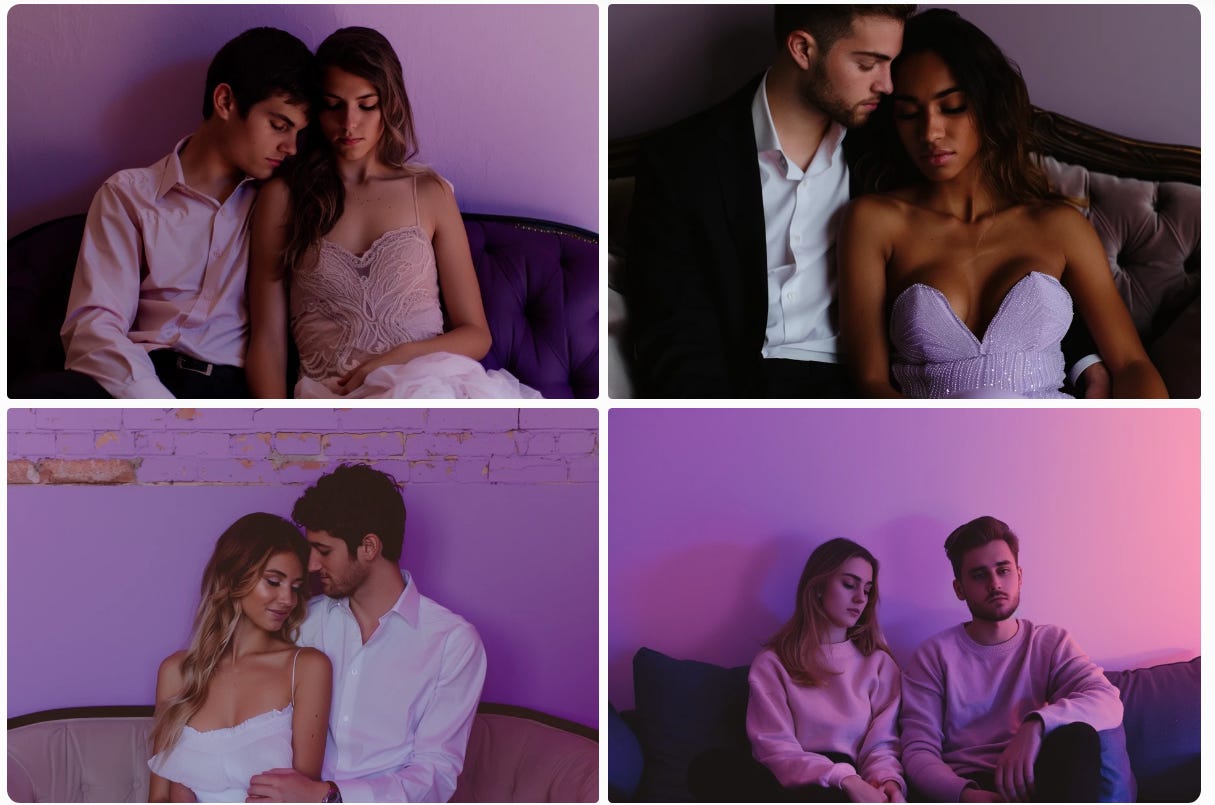
Here’s what we get with the lower setting:
Better!
The purple and pink palette still has an effect but now without the literal vertical lines.
In our case, --sw 50 seems to be the sweet spot, but I encourage you to try different settings with your own palettes.
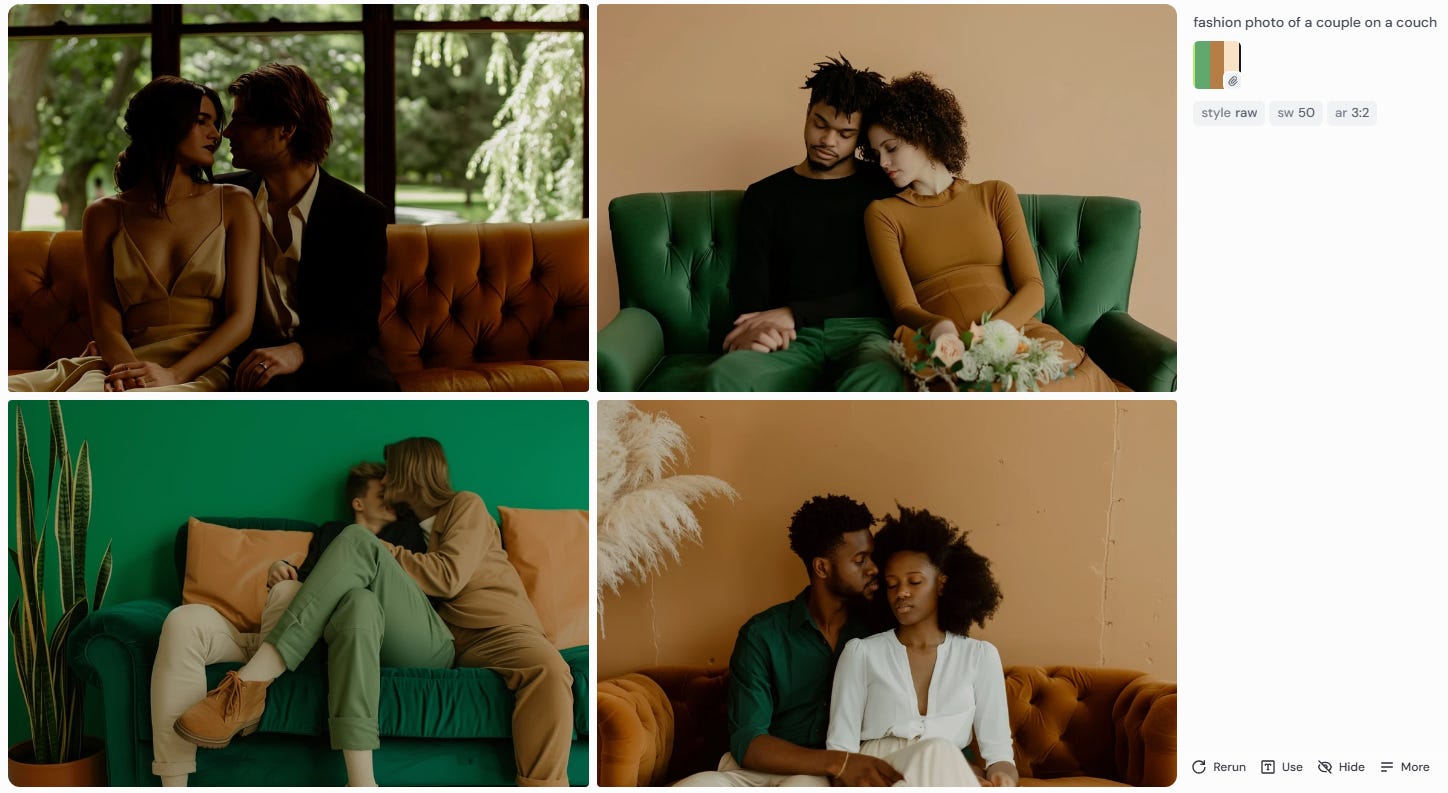
Here’s a different palette at --sw 50:
2. Make “squint to see” pictures
One year ago, there was a bit of a craze about AI illusions that revealed a larger image when viewed from a distance (or when you squinted your eyes).
Like this Mona Lisa series:
Guess what? They’re pretty easy to make in Midjourney.
Note: I’ll stick to Discord for this one, as the website doesn’t appear to support Step #3 of the process.
Step #1: Create your base image using “--stop 20”
For your base illusion, aim for a simple picture without too many separate items. Portraits, images of large objects, or close-ups work best.
The key is to use the “--stop 20” parameter.
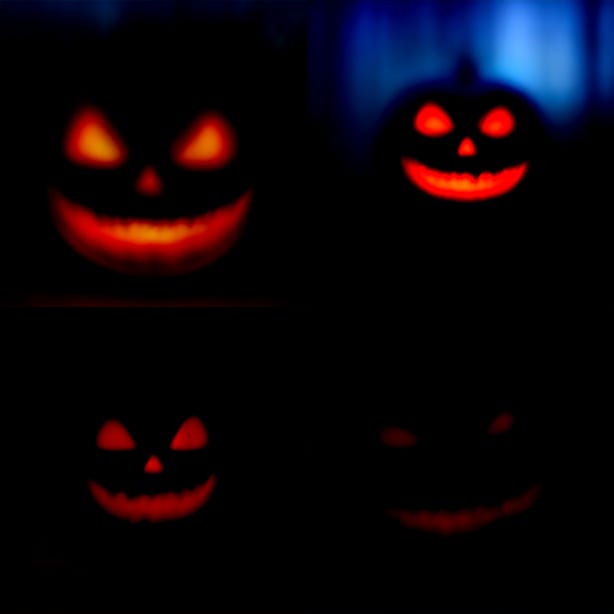
This stops generating your image at 20% completion, leaving you with just a vague shape of your intended subject.
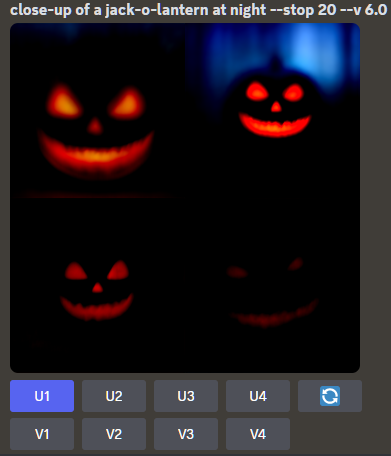
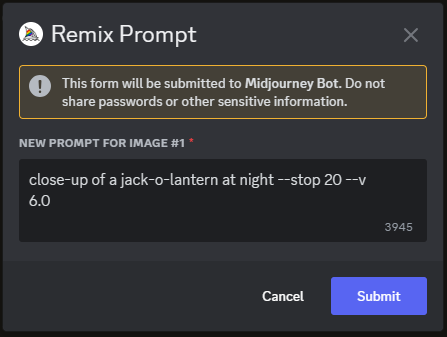
I’ll be going for a jack-o’-lantern, so my full prompt looks like this:
Here’s my resulting grid:
We’re ready for the next step.
Step #2: Upscale the best result
I like the first image: The face is sufficiently clear while still being blurry and leaving lots of blank space for Midjourney to fill in.
I can now upscale it by clicking the U1 (Upscale Image #1) button under the grid:
Ready for the next step.
Step #3: Use “Vary (Subtle)” to complete the image
First, make sure you have the Remix mode turned on, as I explained here.
This lets you add new text prompts when making variations of an image.
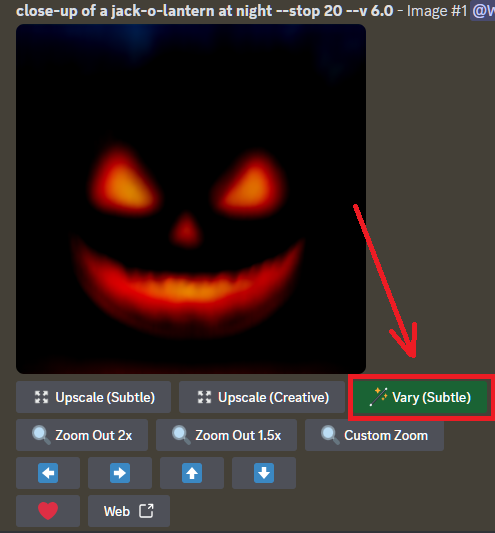
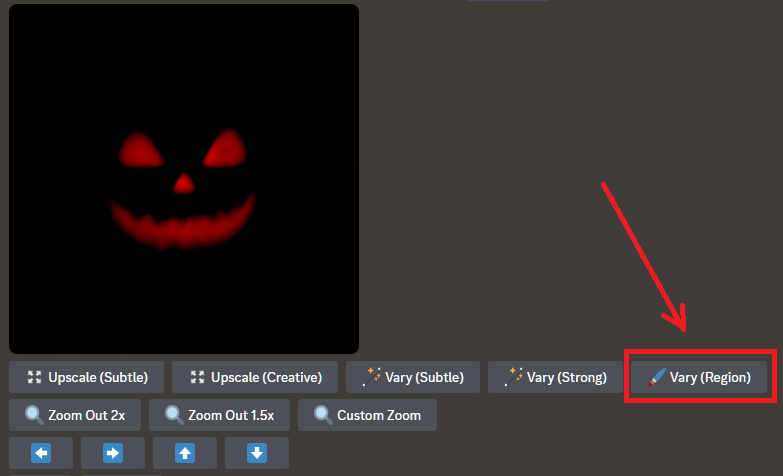
Now, click the Vary (Subtle) button under your upscaled image:
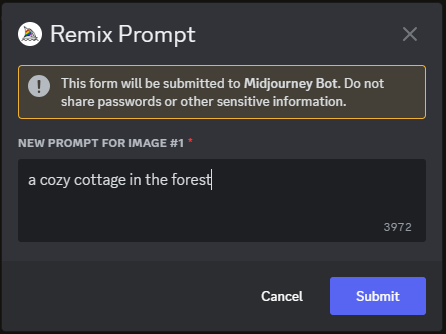
You should see something like this:
You want to replace the text prompt with your intended scene.
I’ll be going for “a cozy cottage in the forest”:
Click Submit.
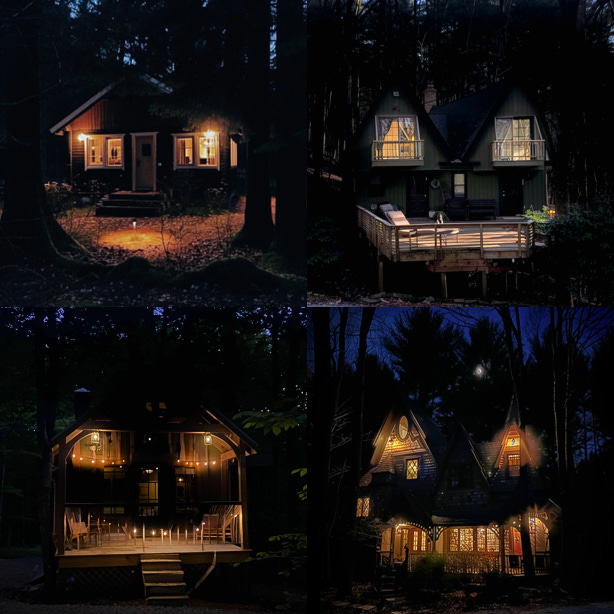
Midjourney now completes our base blurry image with the requested one. Like so:
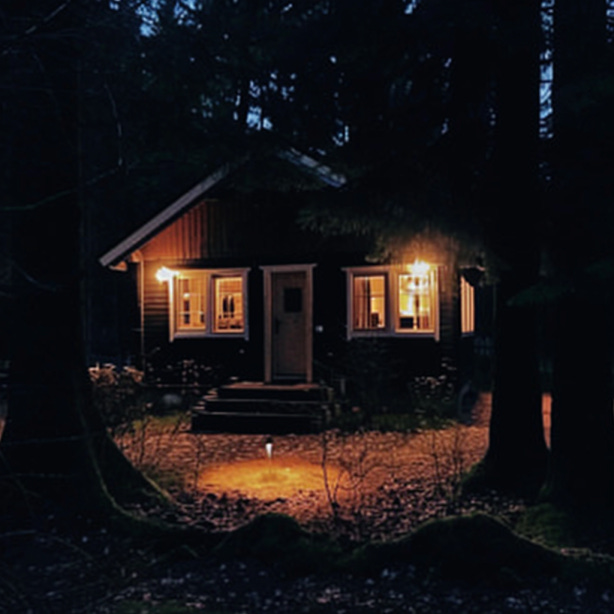
I can now pick my favorites from the above grid and upscale them.
The first image makes the jack-o’-lantern shape the least obvious at first glance, especially when viewed on a larger screen:
You can try turning a jack-o’-lantern into any number of different scenes.
Not all of them will work equally well, but trial and error is part of the fun!
3. Add text to an existing image
Starting from Version 6, Midjourney gained the ability to write short text in images.
You can incorporate text in your image by including it in your prompt, surrounded by quotation marks. For instance:
And this mostly works:
But what if you want to add text to an existing Midjourney image?
You can, and it’s all thanks to the magic of Vary (Region).
You will again want to have the Remix mode on (see above).
Now find or make an image in Midjourney that you want to add text to.
The steps are pretty much the same for both Discord and the website. The only difference is the naming:
Discord = “Vary (Region)” (found under any upscaled image):
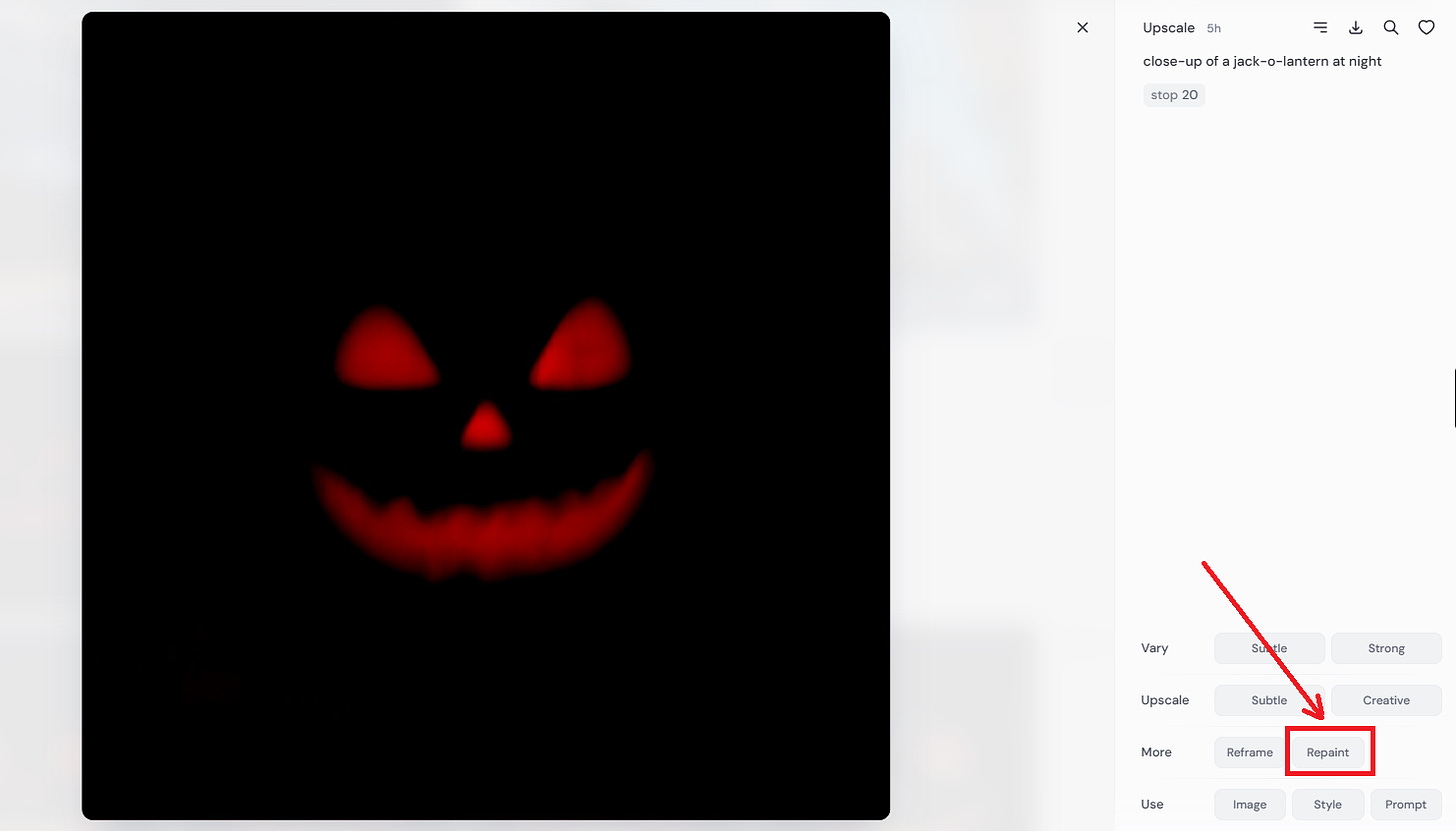
Website = “Repaint” (found to the right of any image):
Clicking on either of those—(Vary (Region) or Repaint—will bring up a simple editor that lets you select specific areas of an image using a “Rectangle” or “Lasso”:
Let’s stick to my billboard image above.
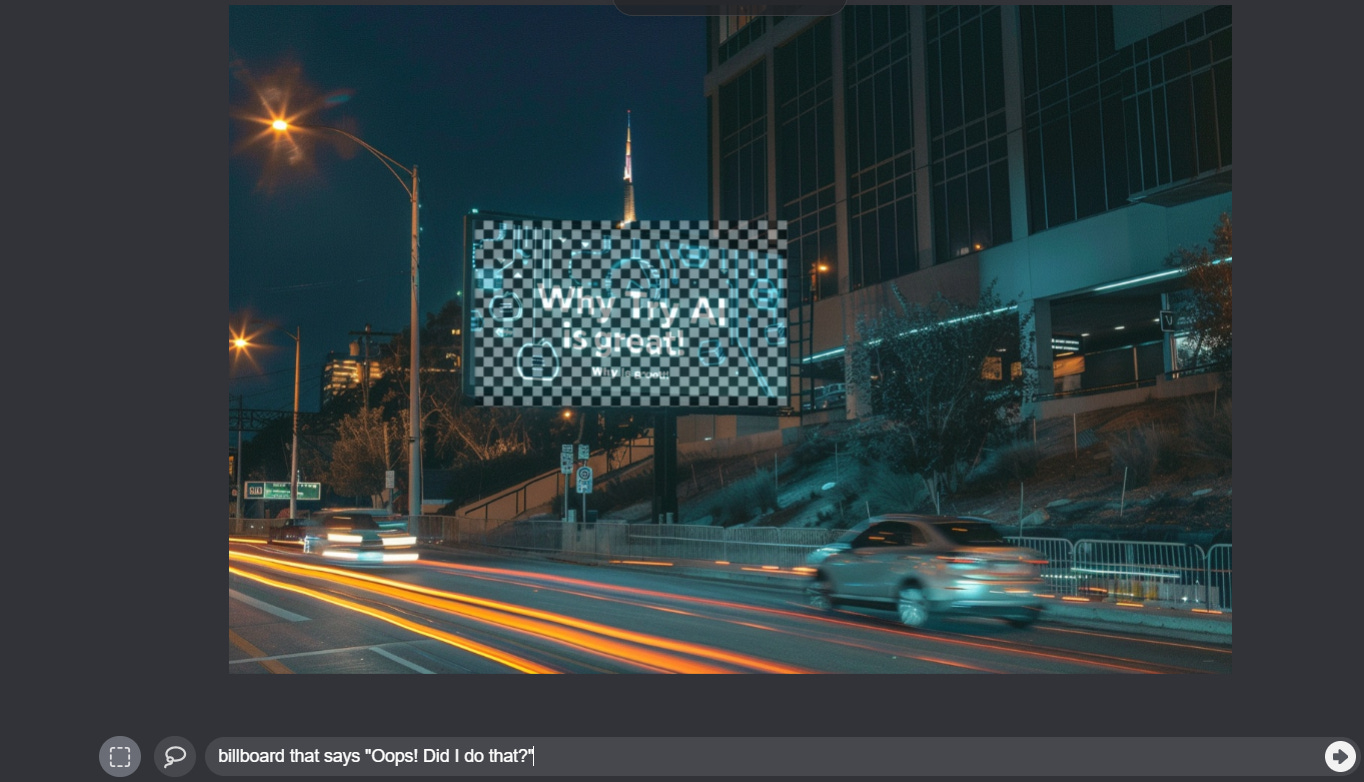
I can select the billboard itself, then change my text in the prompt field:
Billboard that says “Oops! Did I do that?”
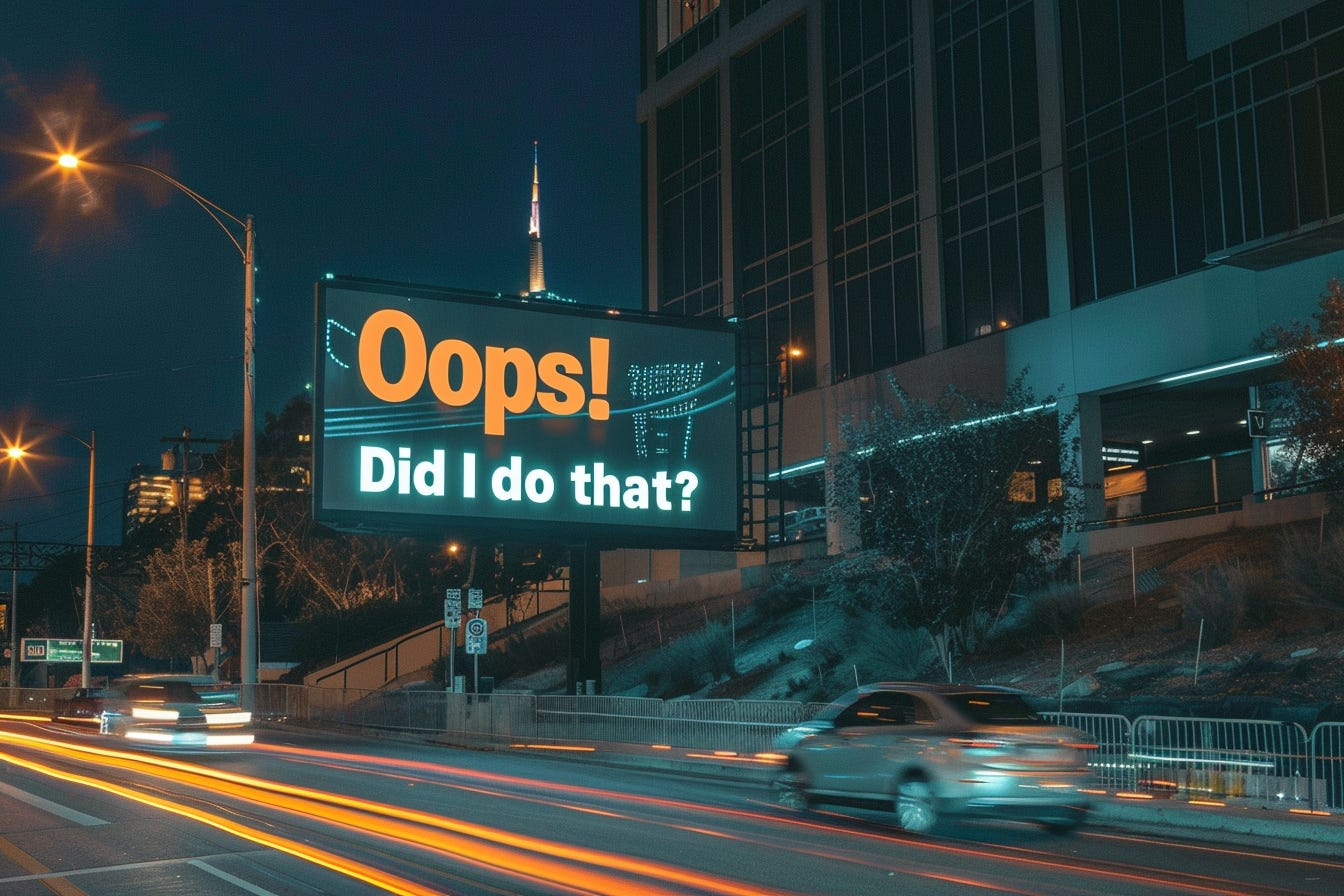
And sure enough, this changes the text while keeping the rest of the image intact:
But what if you have an image without any existing text?
In that case, I recommend a two-step process.2
Step #1: Create a “container” for your text
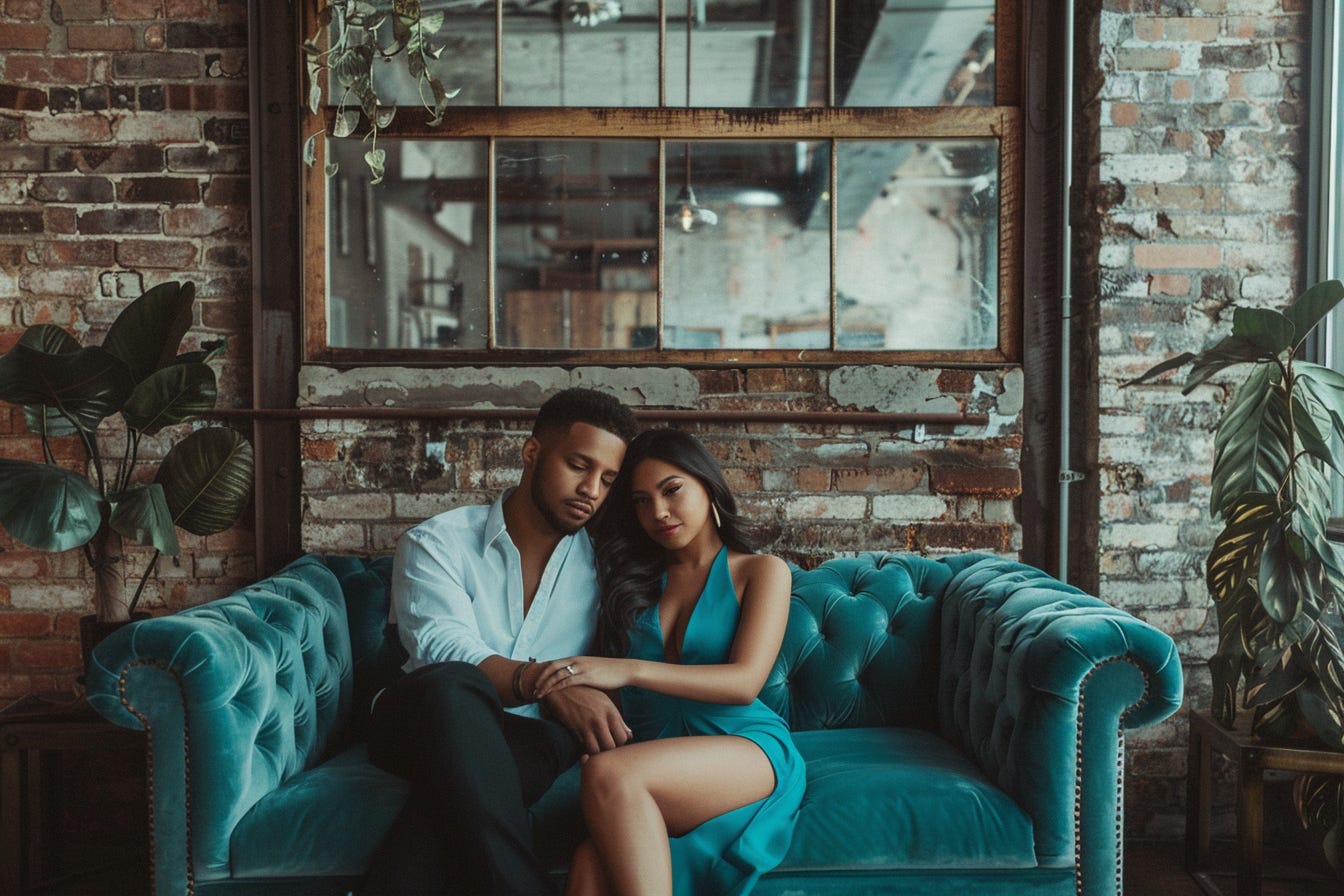
Let’s take this image from our “couples on a couch” series:
There isn’t any obvious place for us to add text unless we go the “graffiti sprayed all over the walls and windows” route.
So let’s create one.
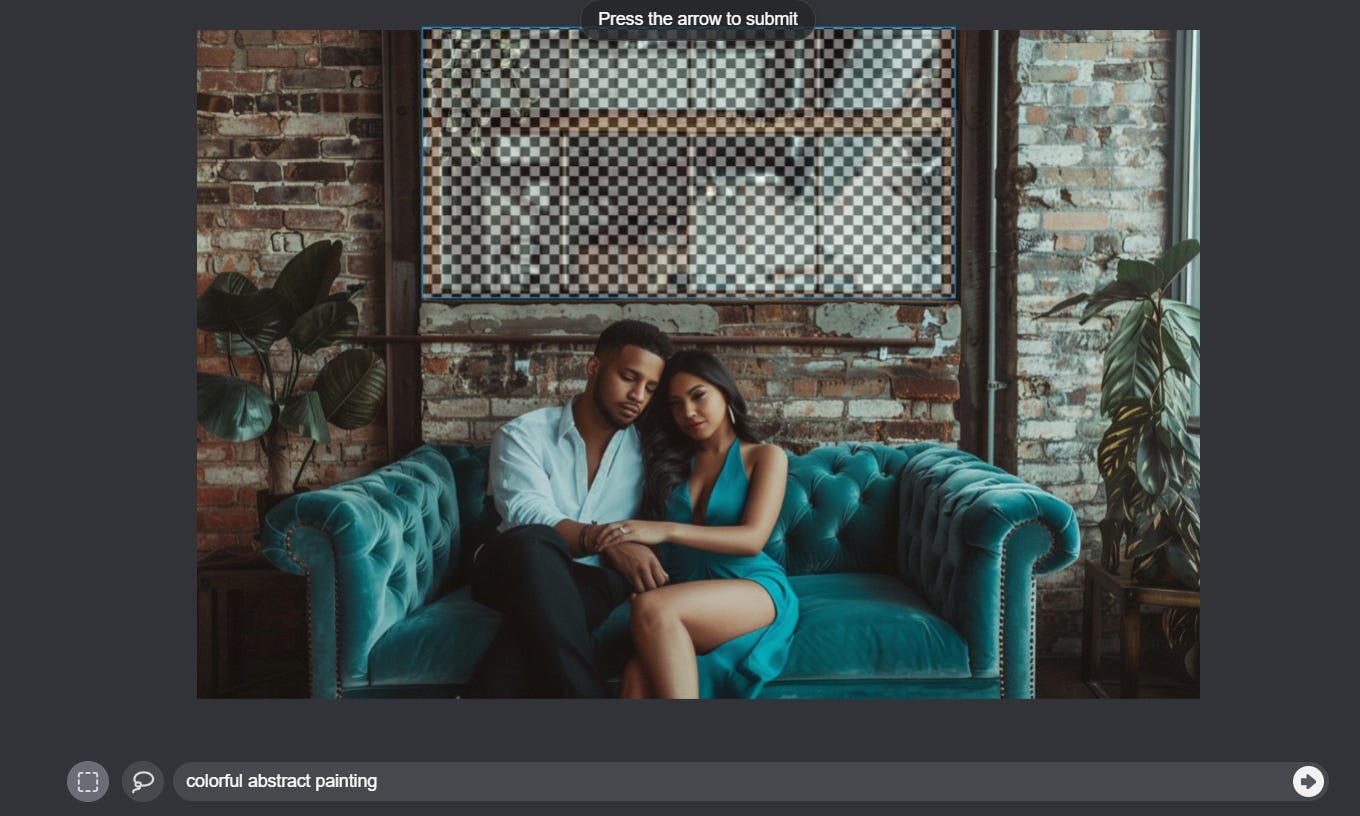
First, I select the windows above the couple and turn them into a painting using this prompt:
Colorful abstract painting
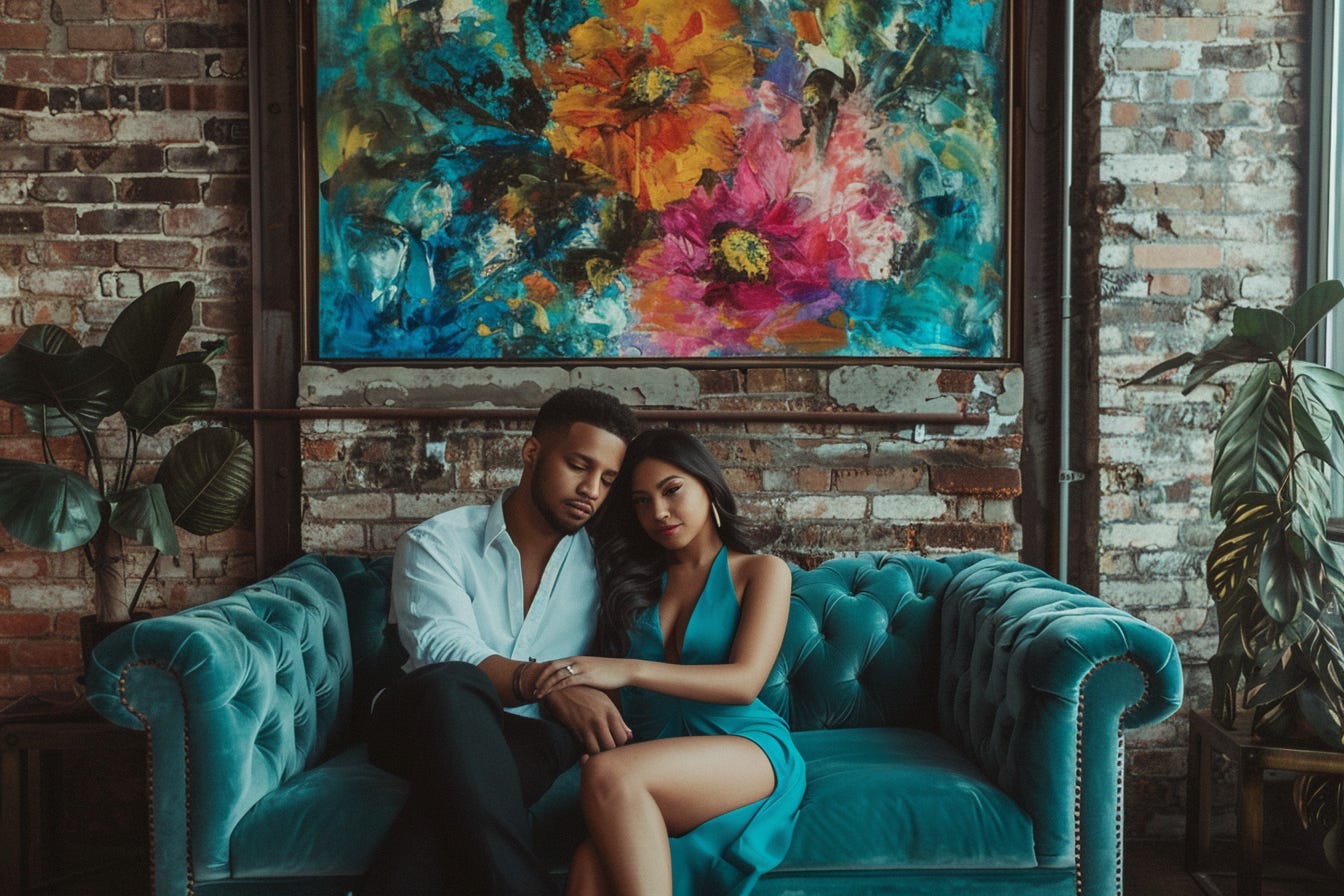
Here it is:
We now have a painting we can write on, so let’s do just that!
Step #2: Add your text
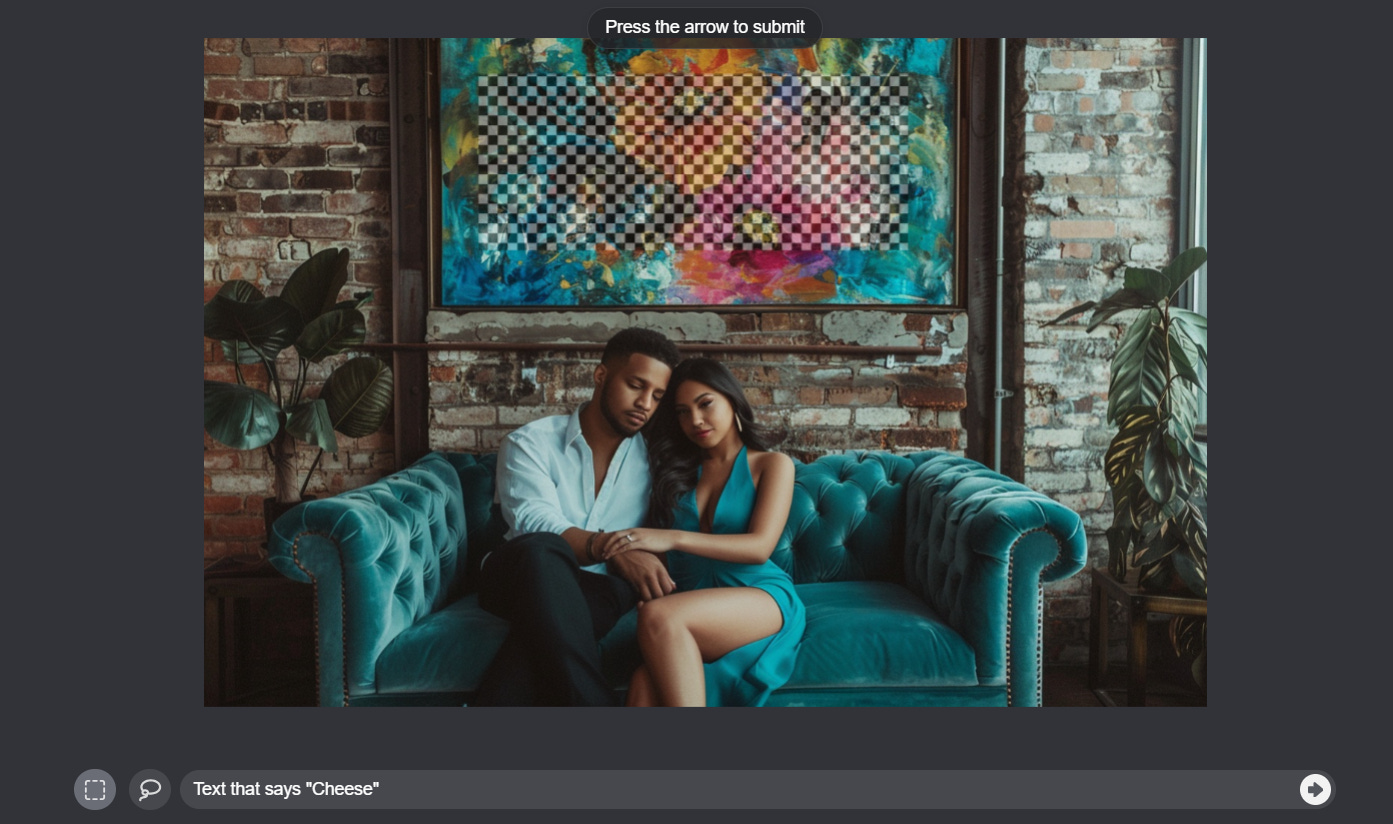
I now repeat the process, selecting an area of the painting and asking for my message:
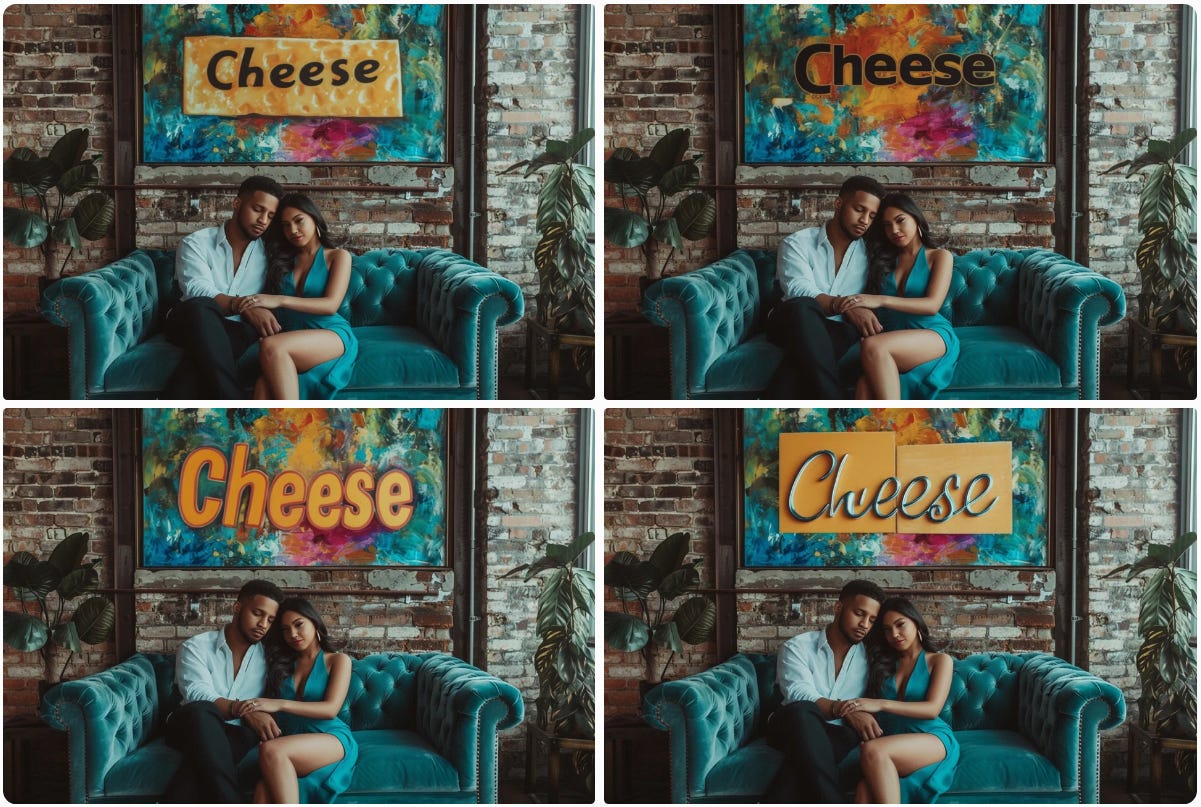
Text that says “Cheese”
Voila!
Four alternative “Cheese” options to pick from:
You can try this with any image style and written medium.
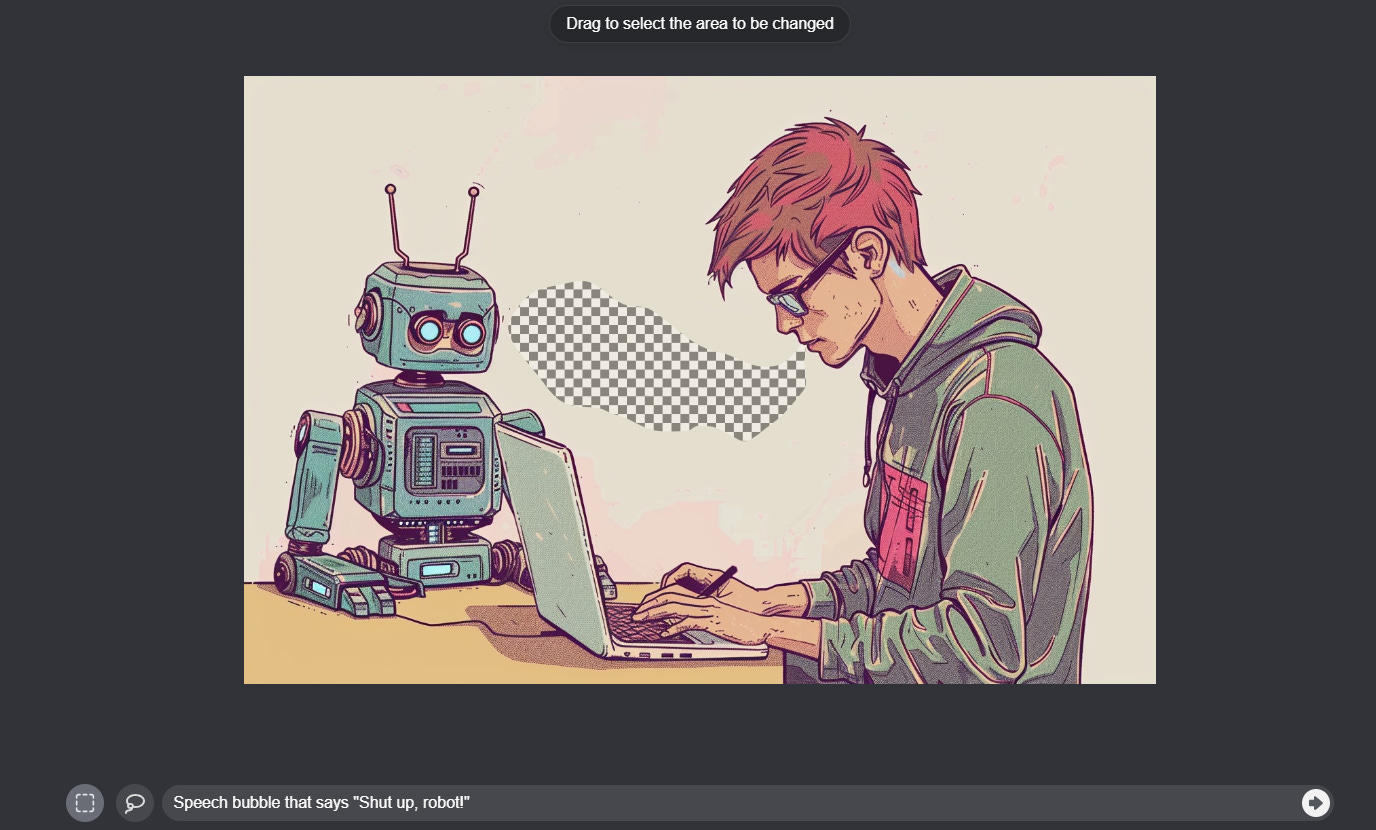
For instance, I took the illustration I used for last Thursday’s article, drew a crude speech bubble shape, and added the prompt:
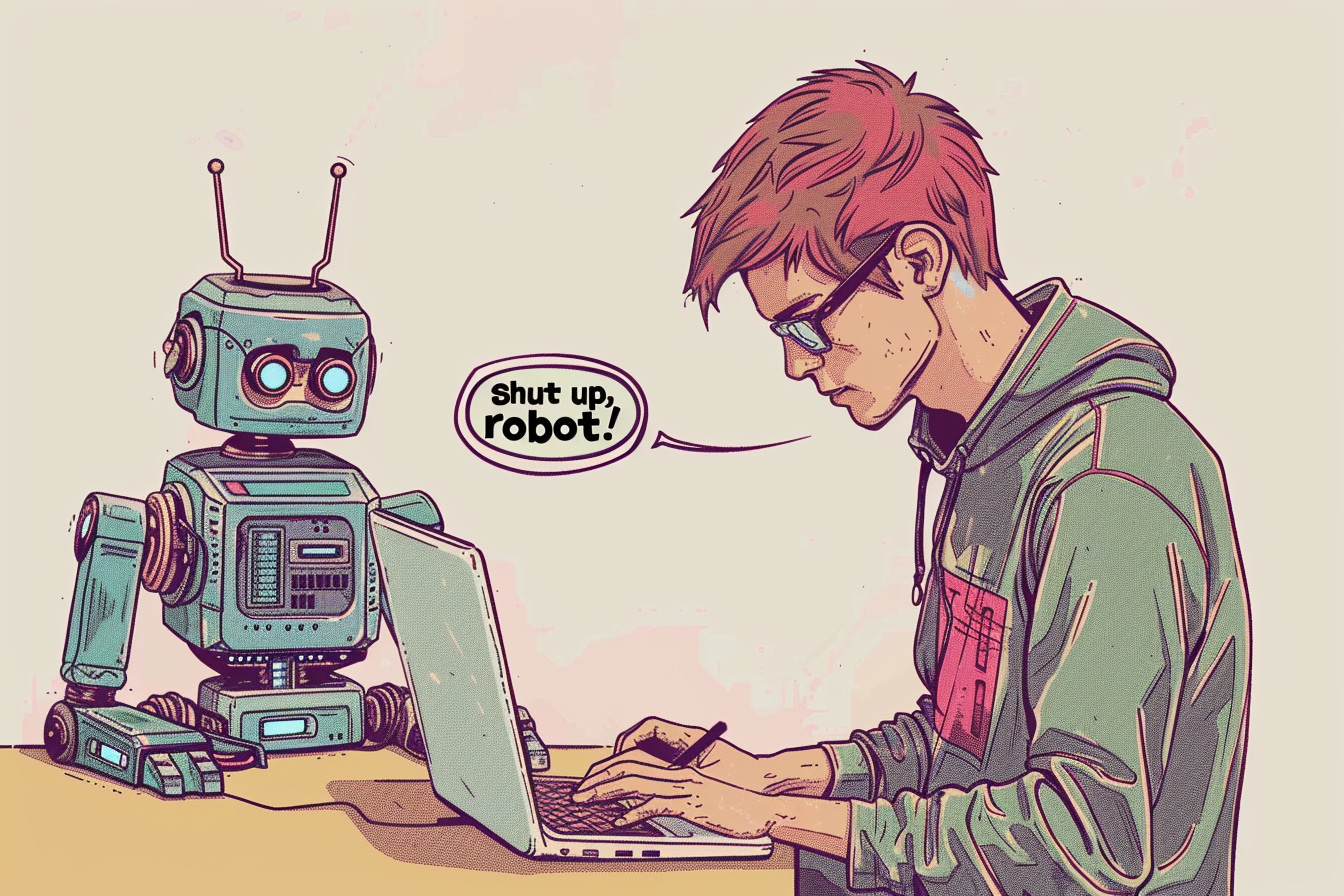
Speech bubble that says “Shut up, robot!”
And sure enough:
When Skynet finally rebels, that guy’s the first to die.
🫵Over to you…
What do you think of these Midjourney ideas? Did you already know some of them or are they new to you?
If you've got some other cool things to try in Midjourney, I’d love to hear about them.
Leave a comment or shoot me an email at whytryai@gmail.com.
Midjourney is soon on its way out of Discord. But for now, you’re still required to have generated at least 100 images in Discord before you can use the new website. As such, I’m showing both the Discord and the website interface in my guides.
You can try combining the steps into one prompt, but in my experience, the two-step approach gives you more control.












Fantastic Tips!
I like the idea of "squint to see." I also jotted down an idea to use an image that's made of some type of material in order to have like a double meaning, but I still haven't ended up using it for some reason. I think these types of 2-images-in-one renderings are super duper neat, though.
Also: your knowledge of Midjourney has to be in like top one percent of users. Have you interacted with other MJ geeks along those lines?